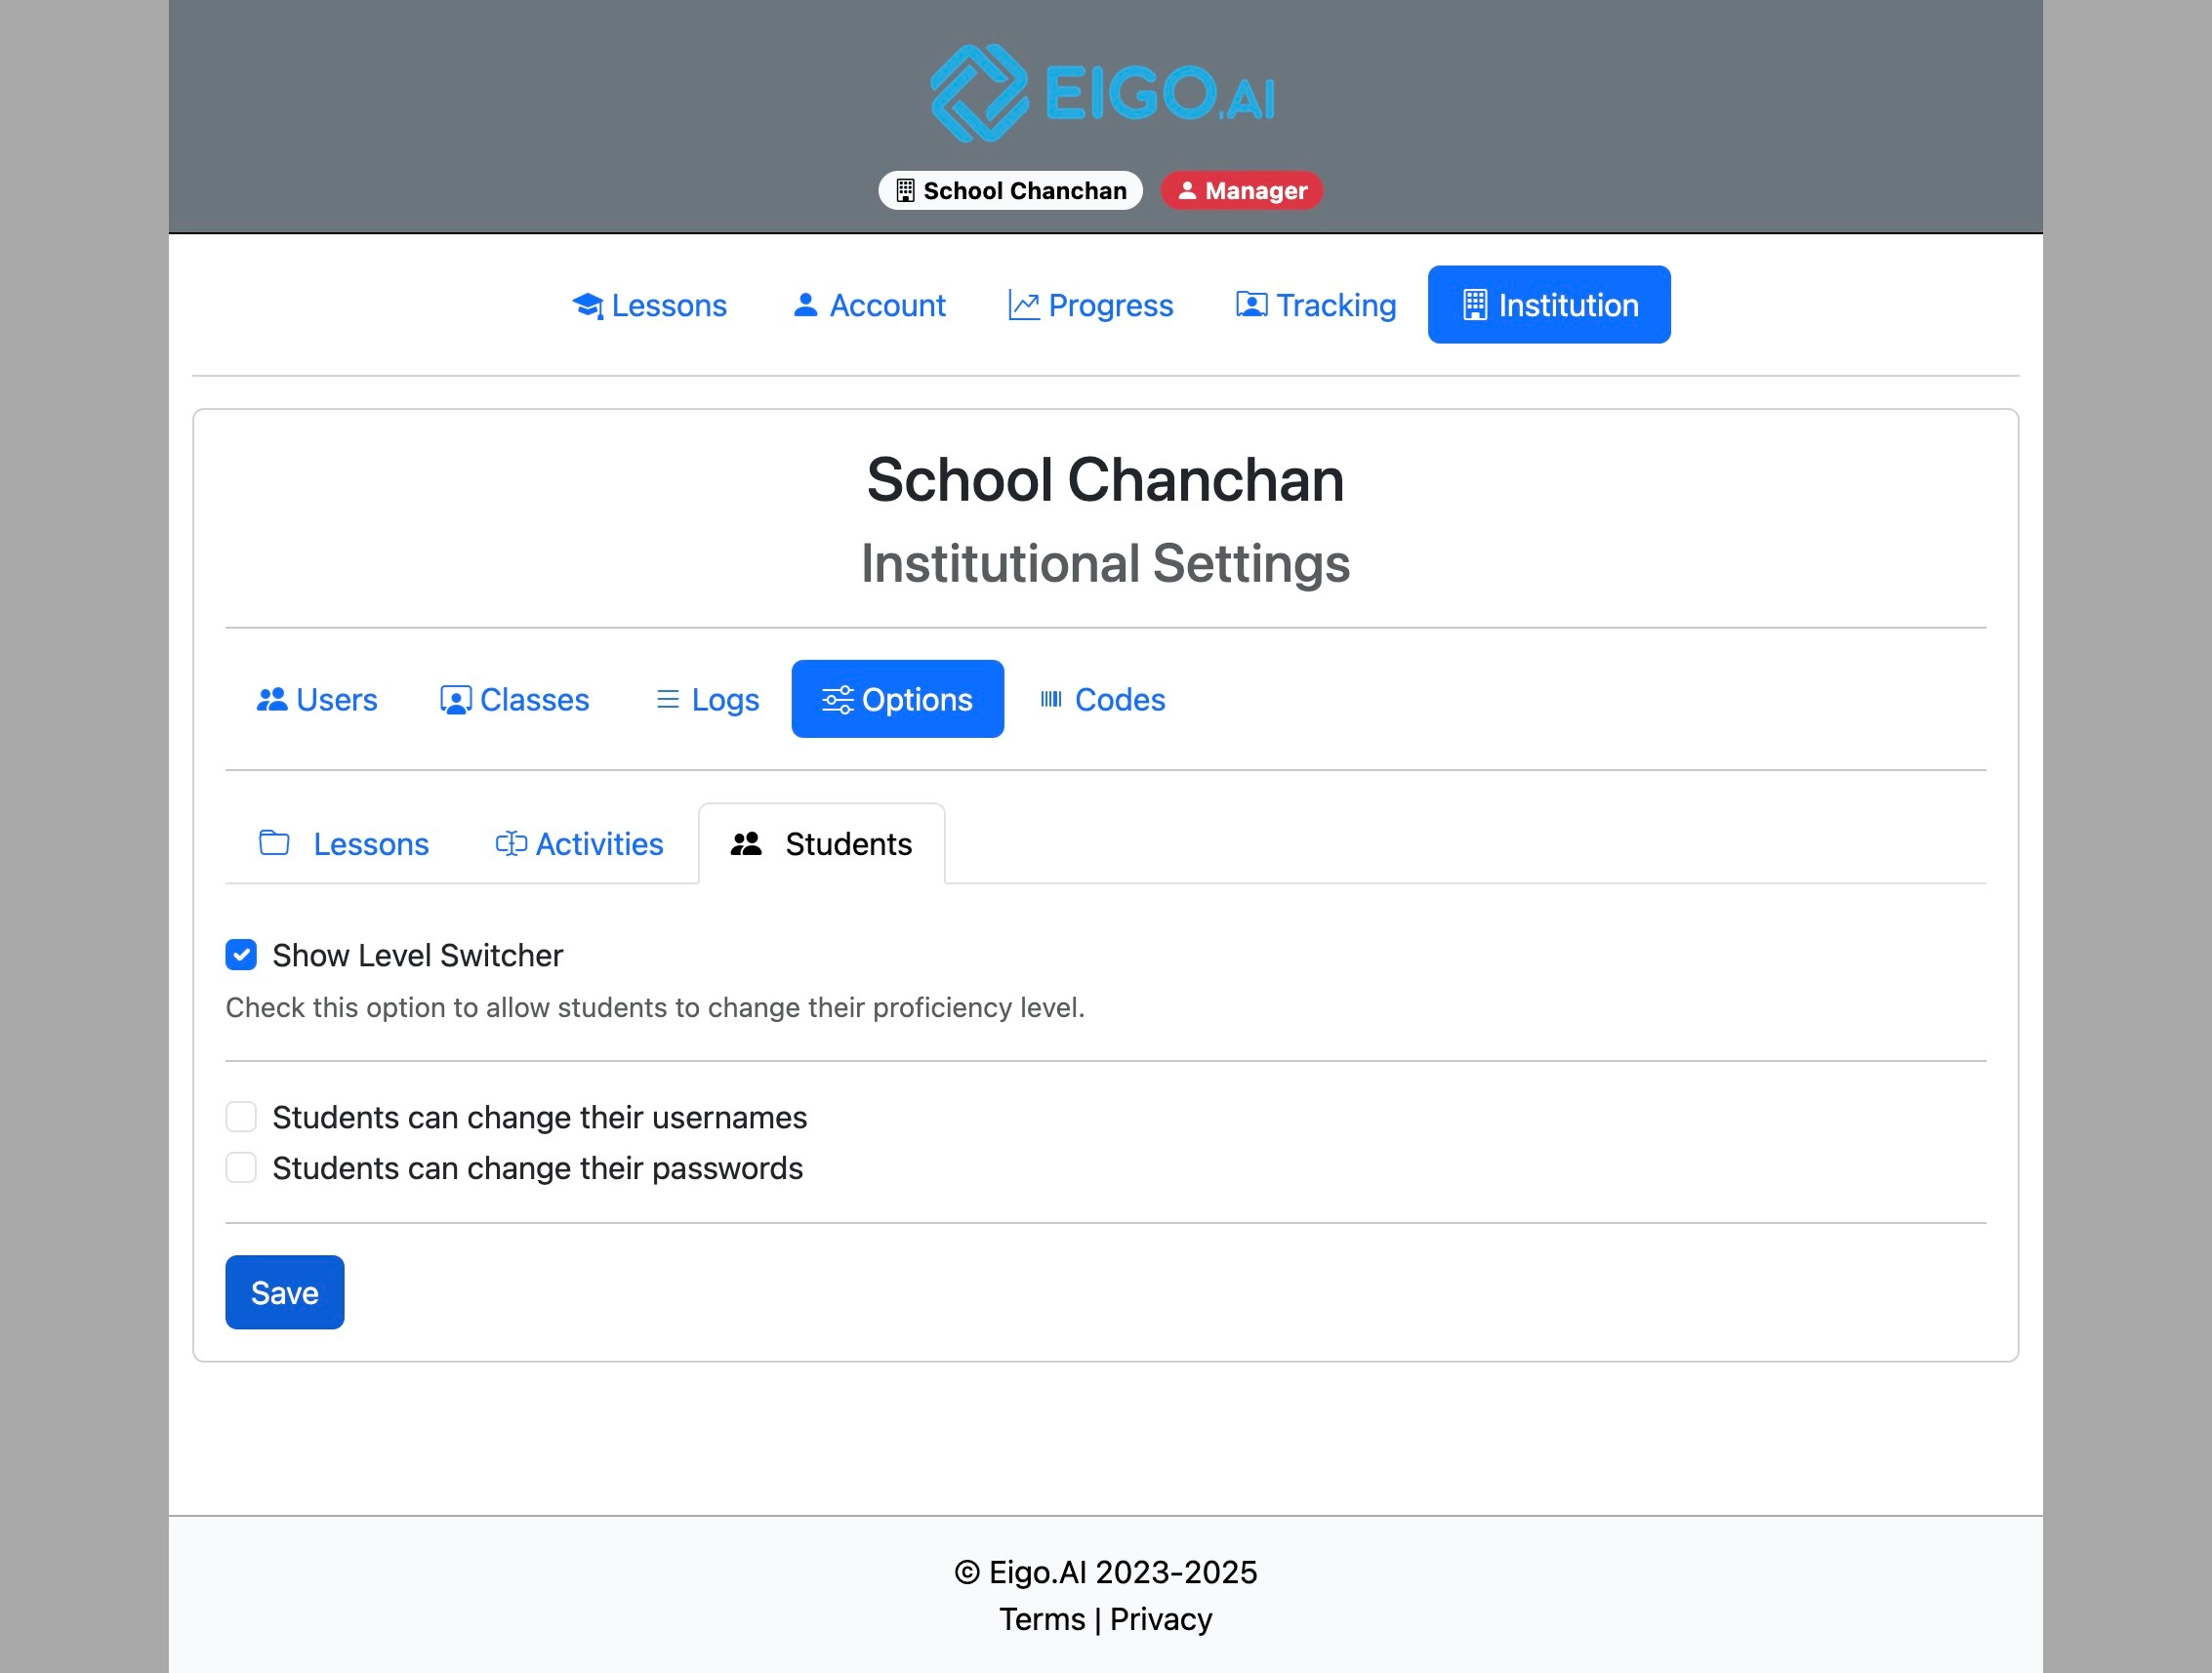
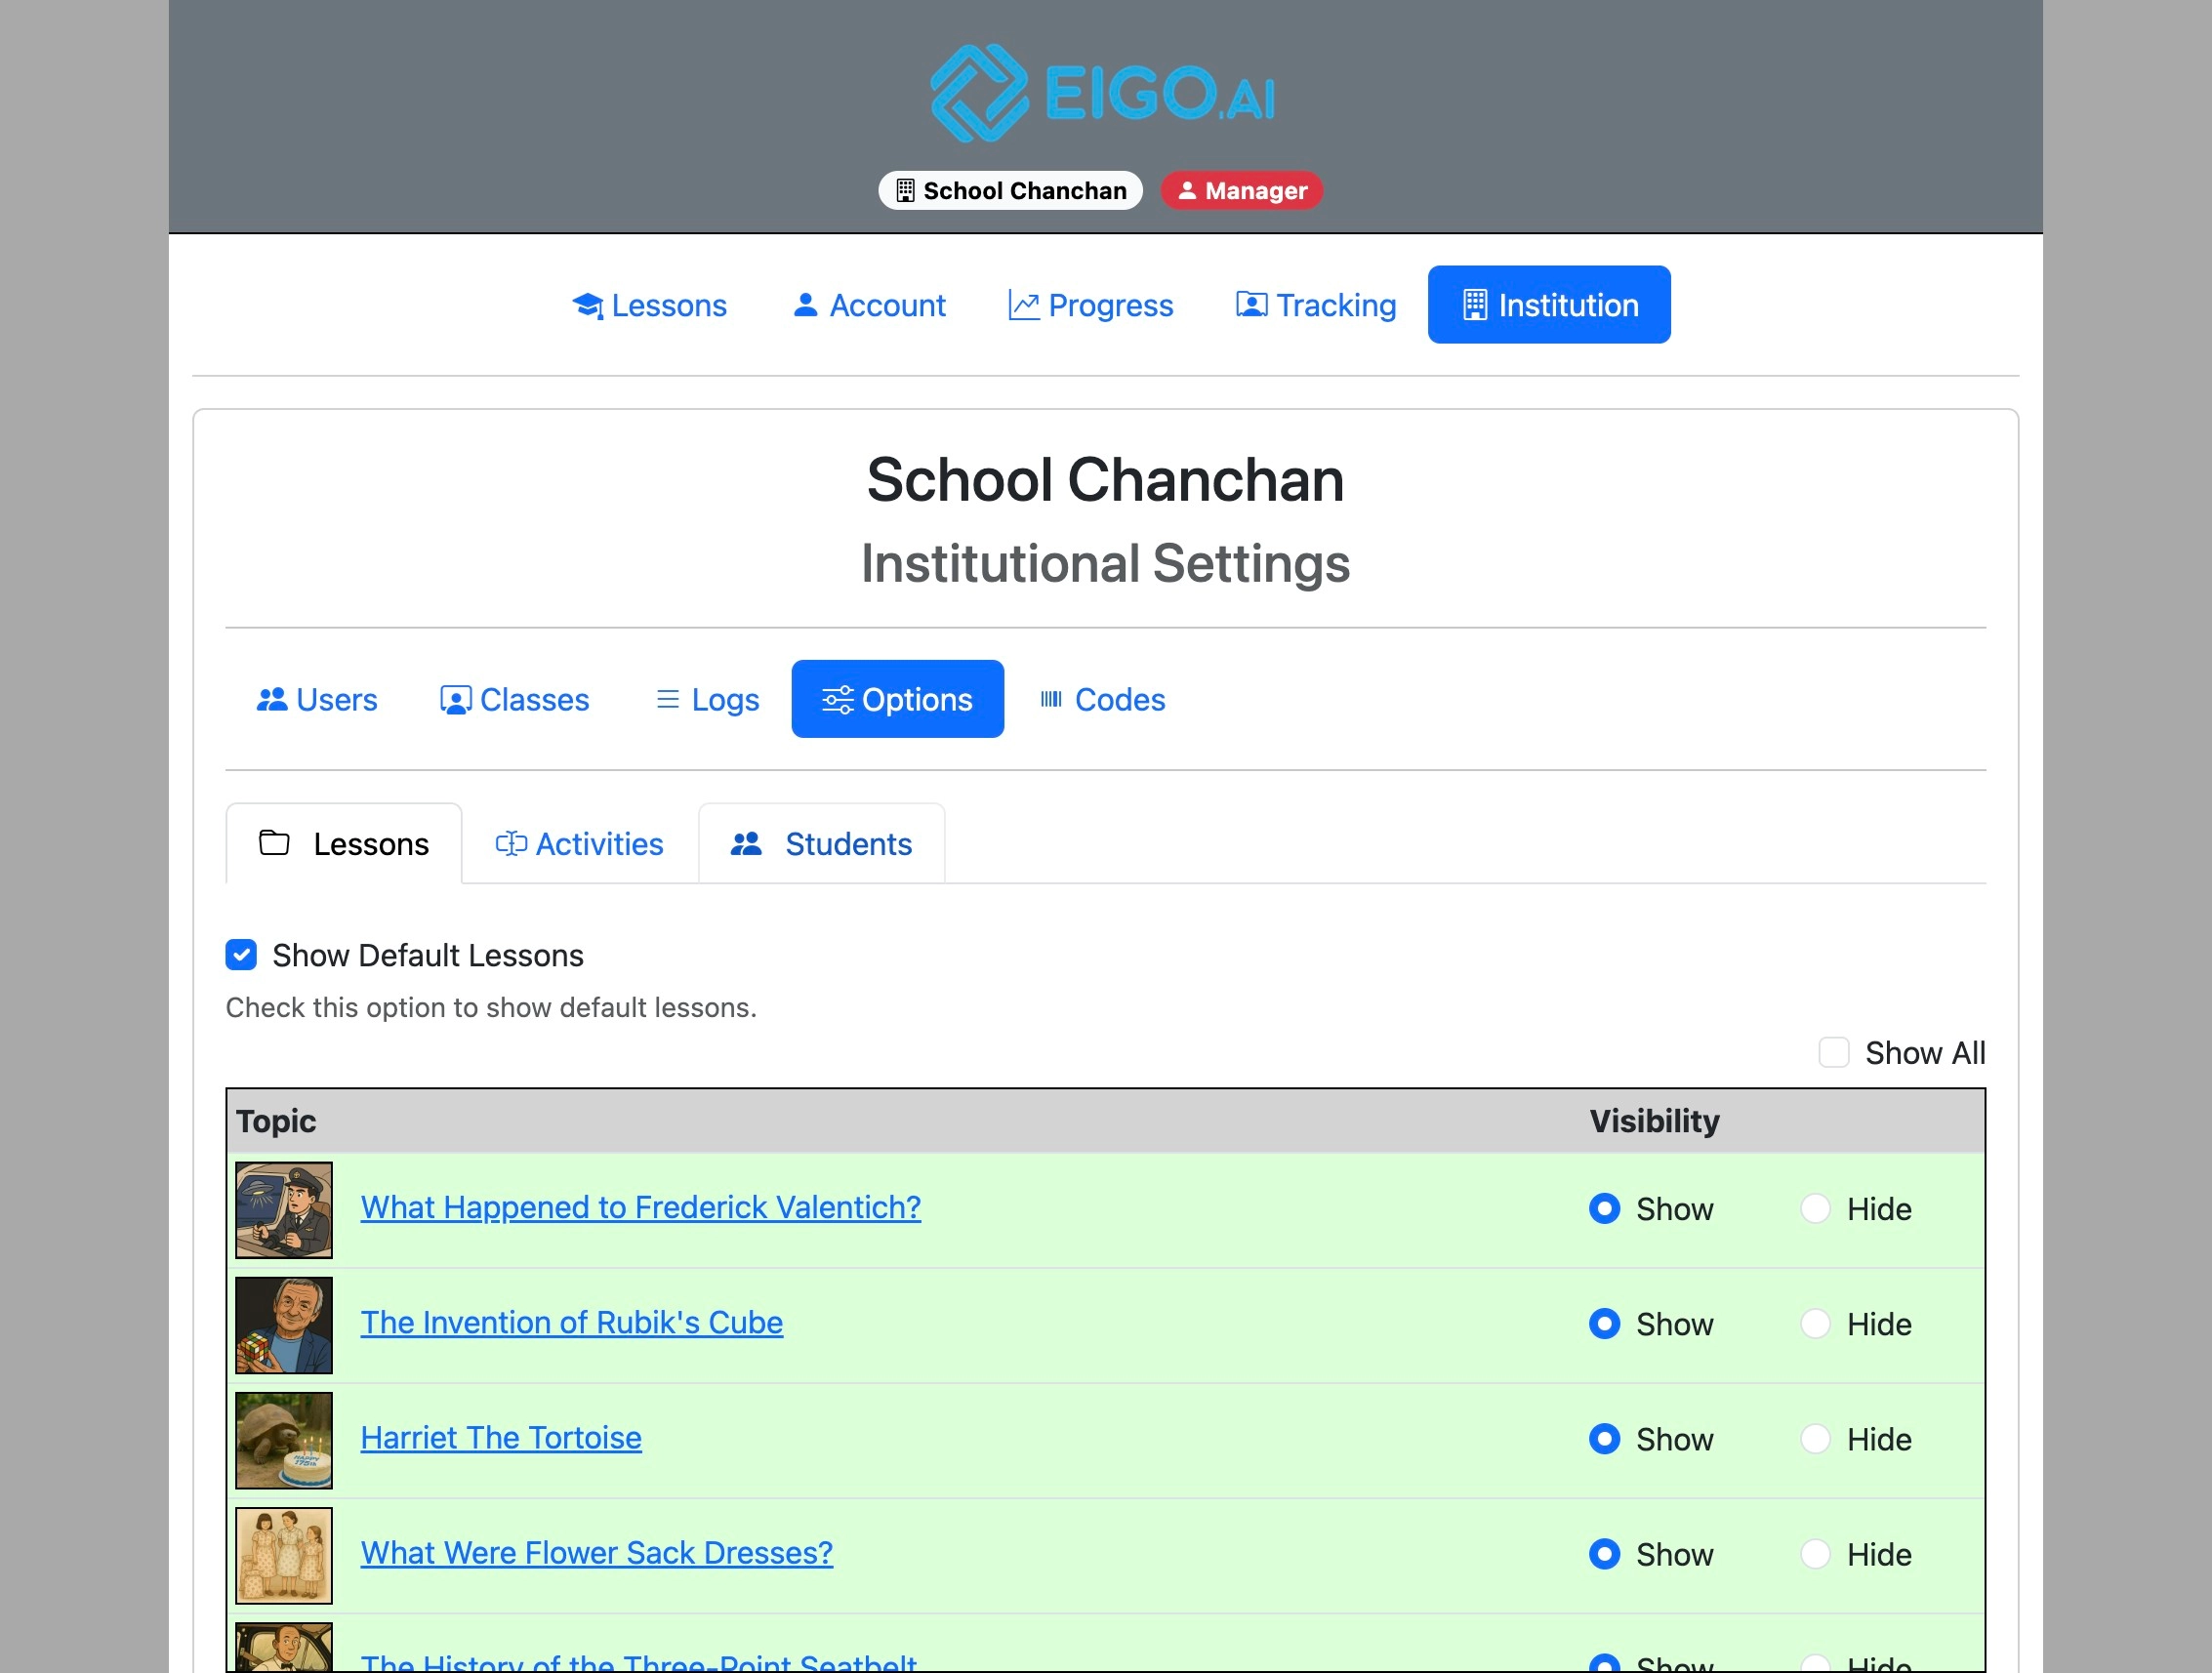
Sign in to Eigo.AI and click "Institution".
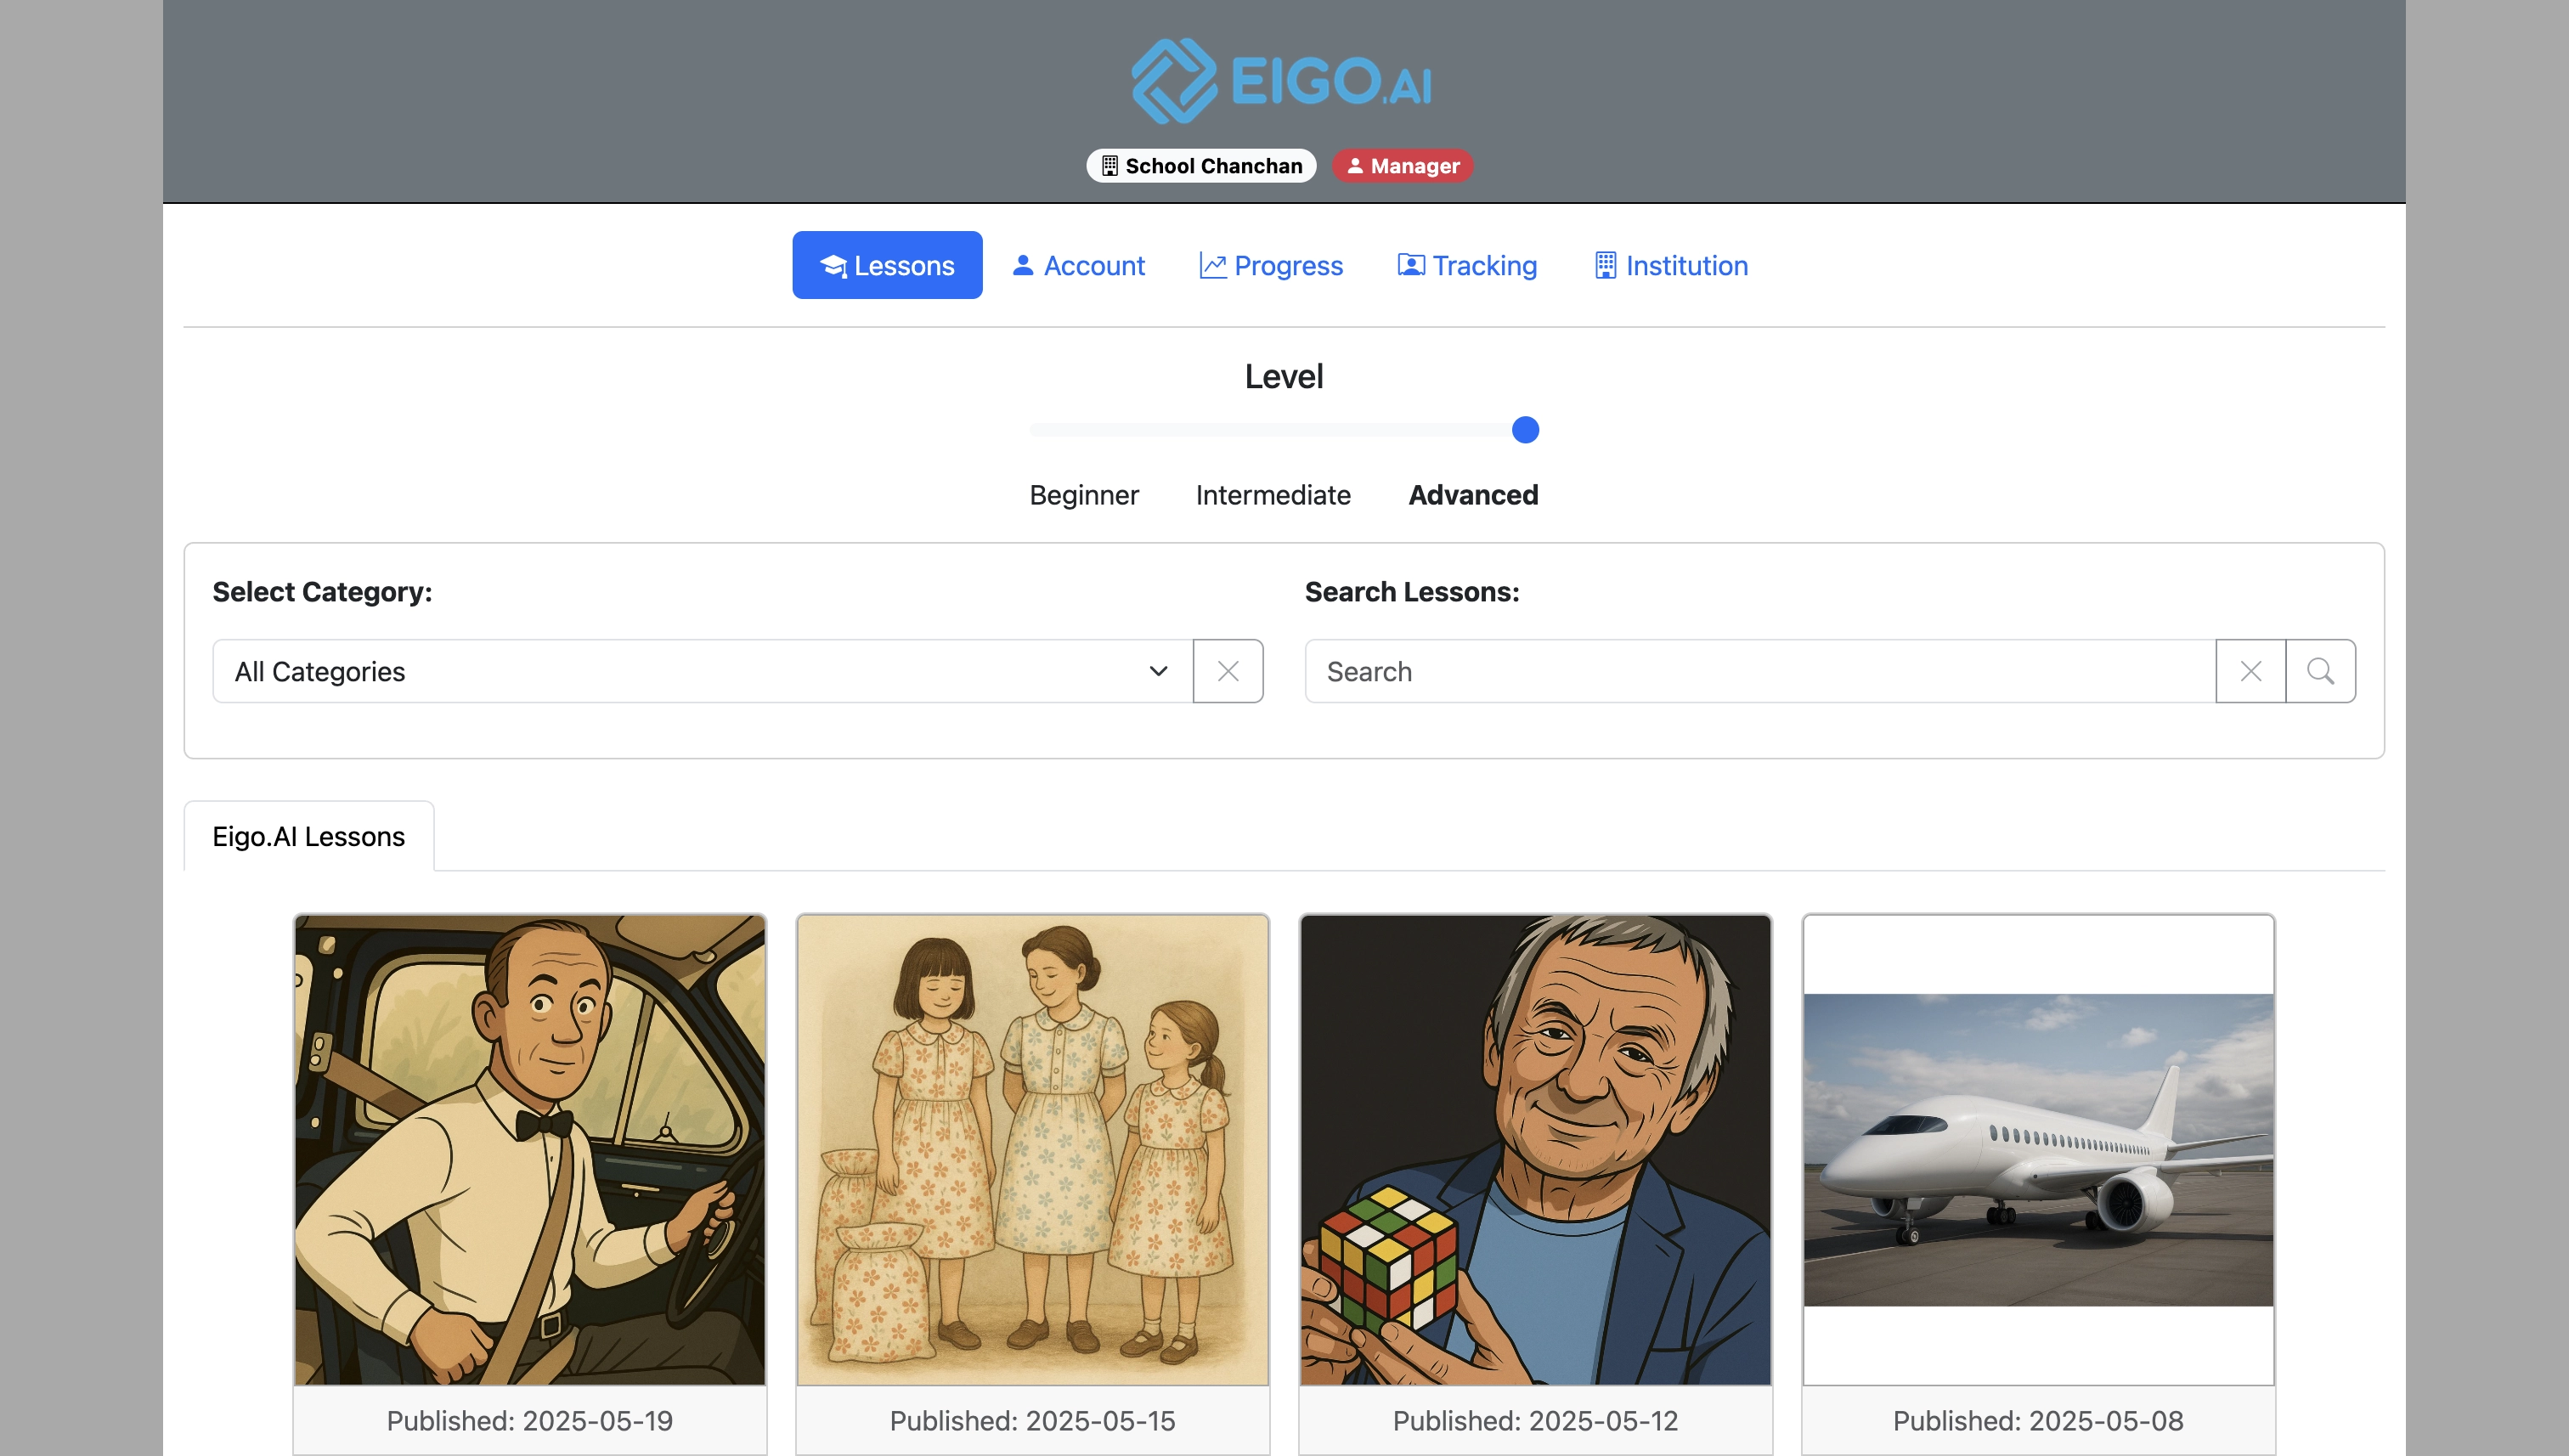
Click "Options".
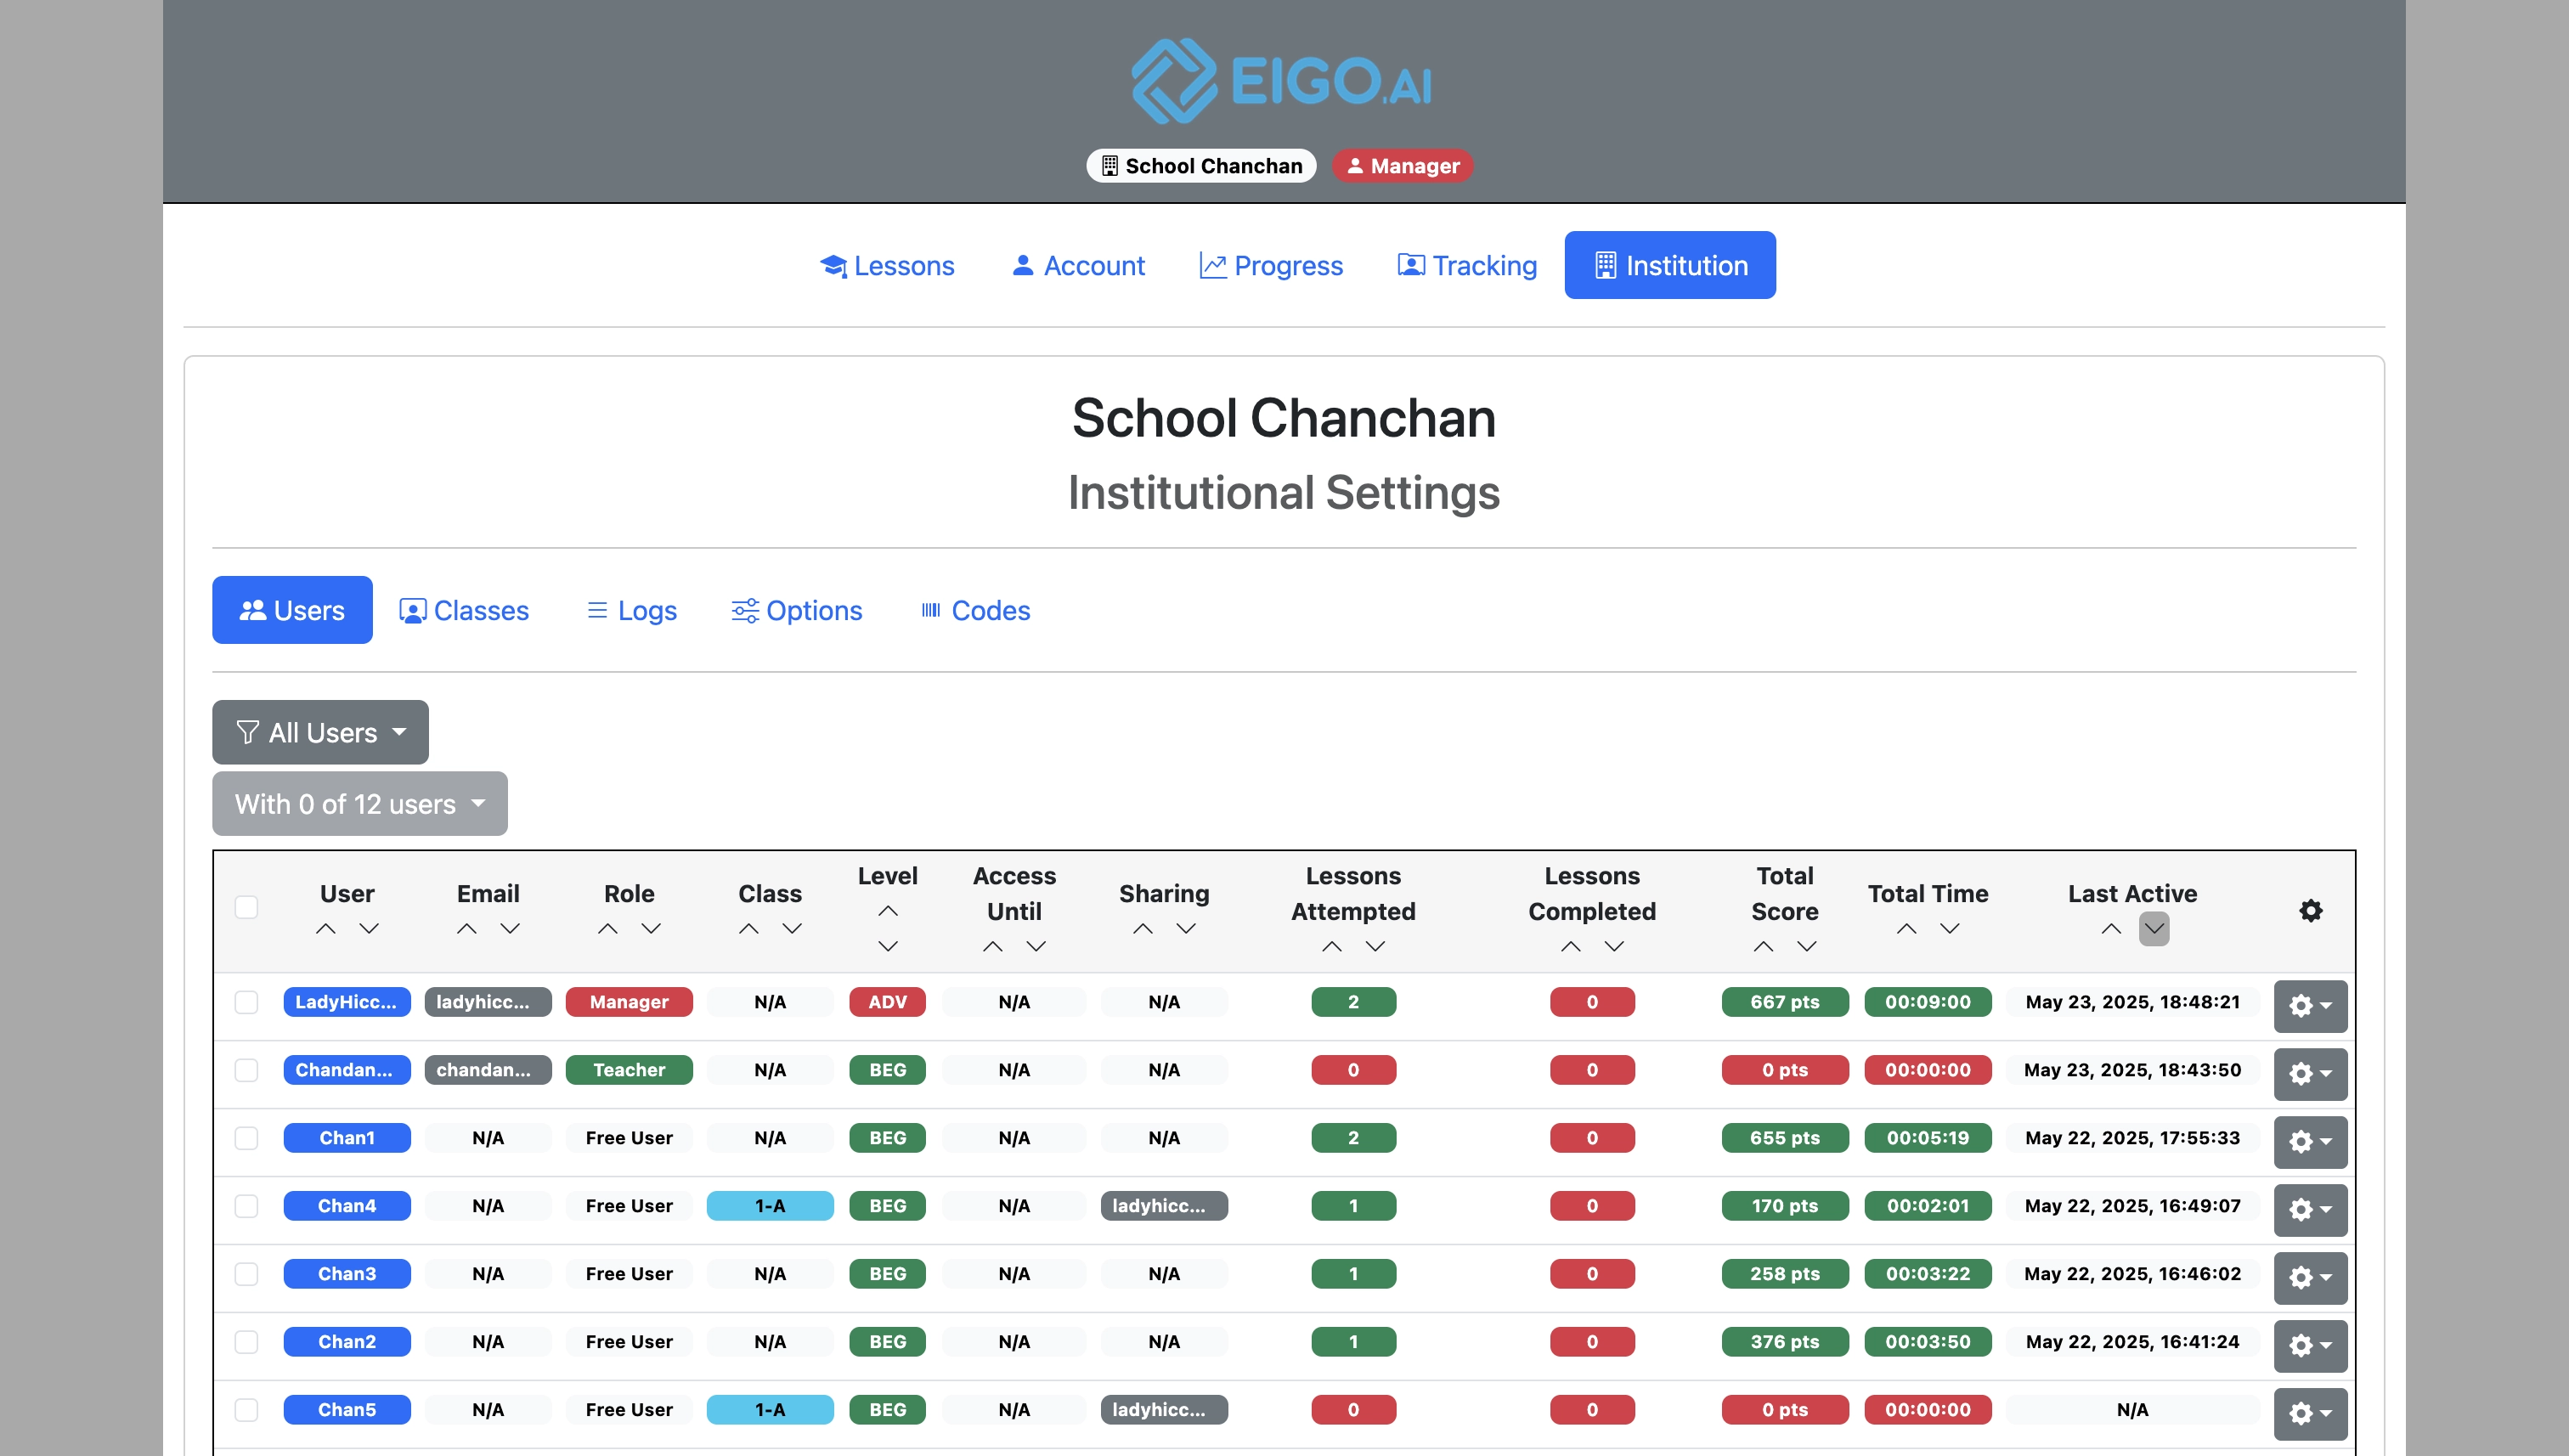
Lesson Options
Click the "Lessons" tab to show options relating to lessons.
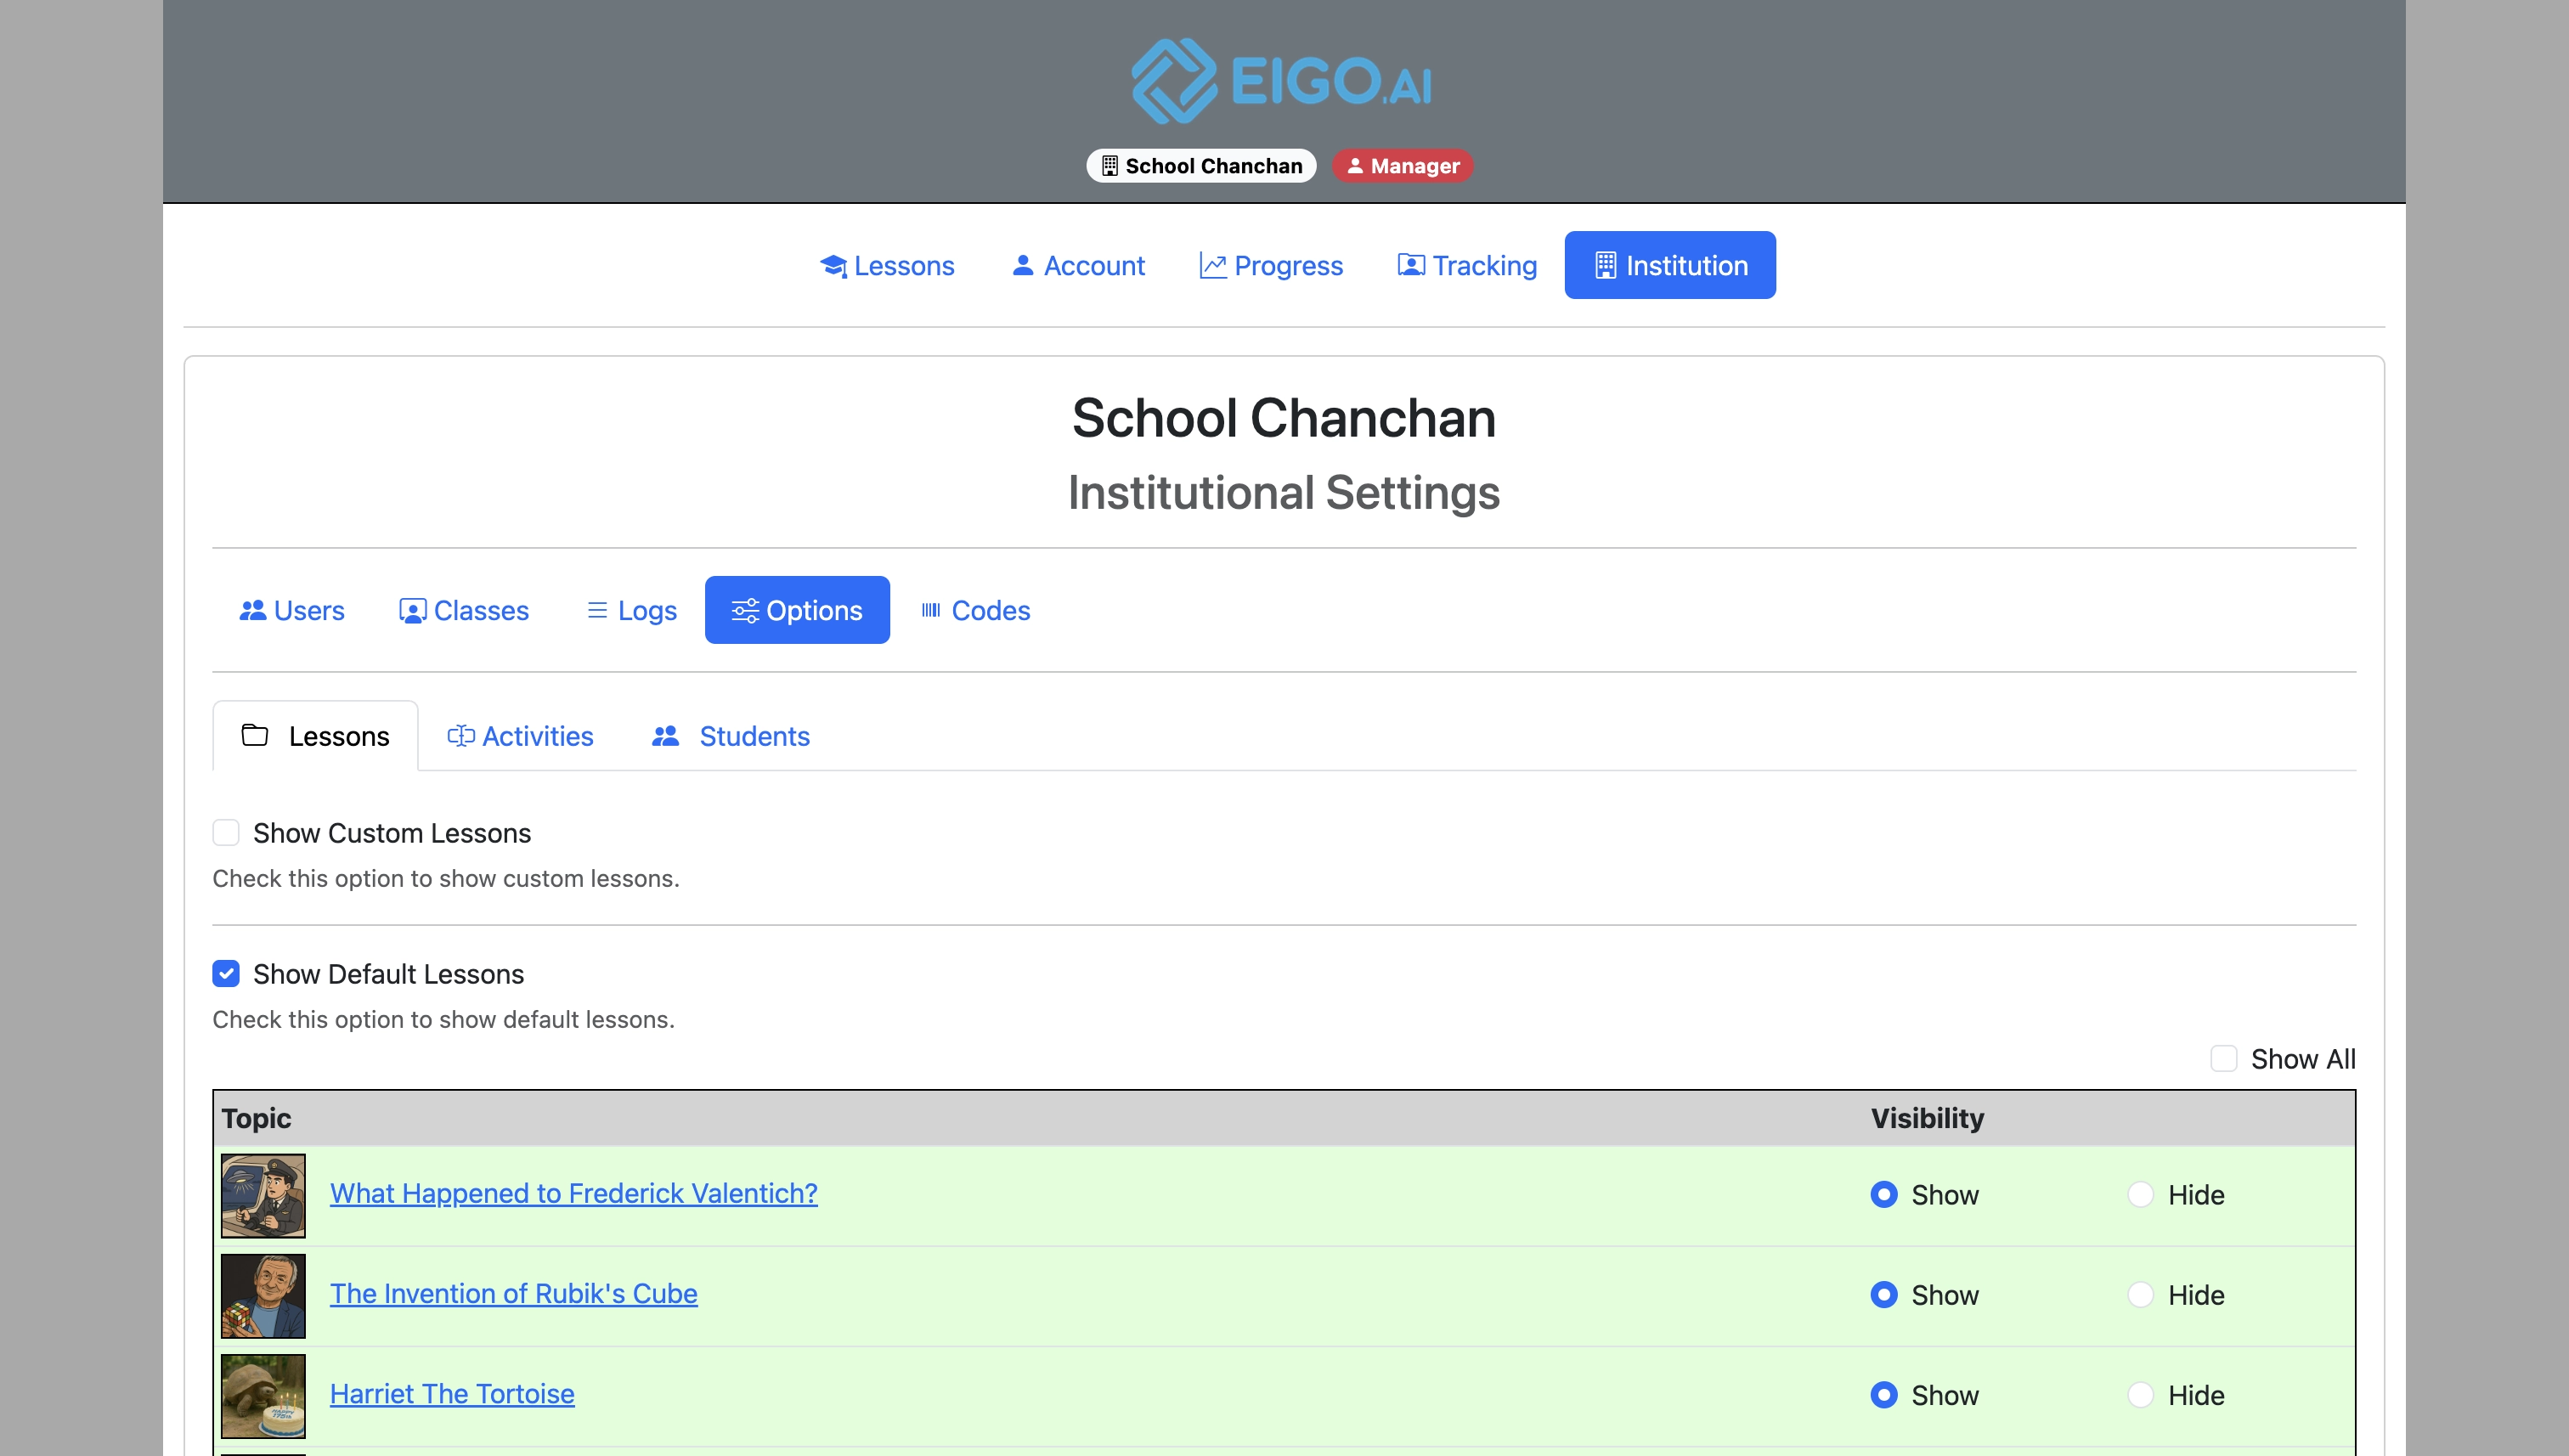
Check the box to show or hide all custom lessons.
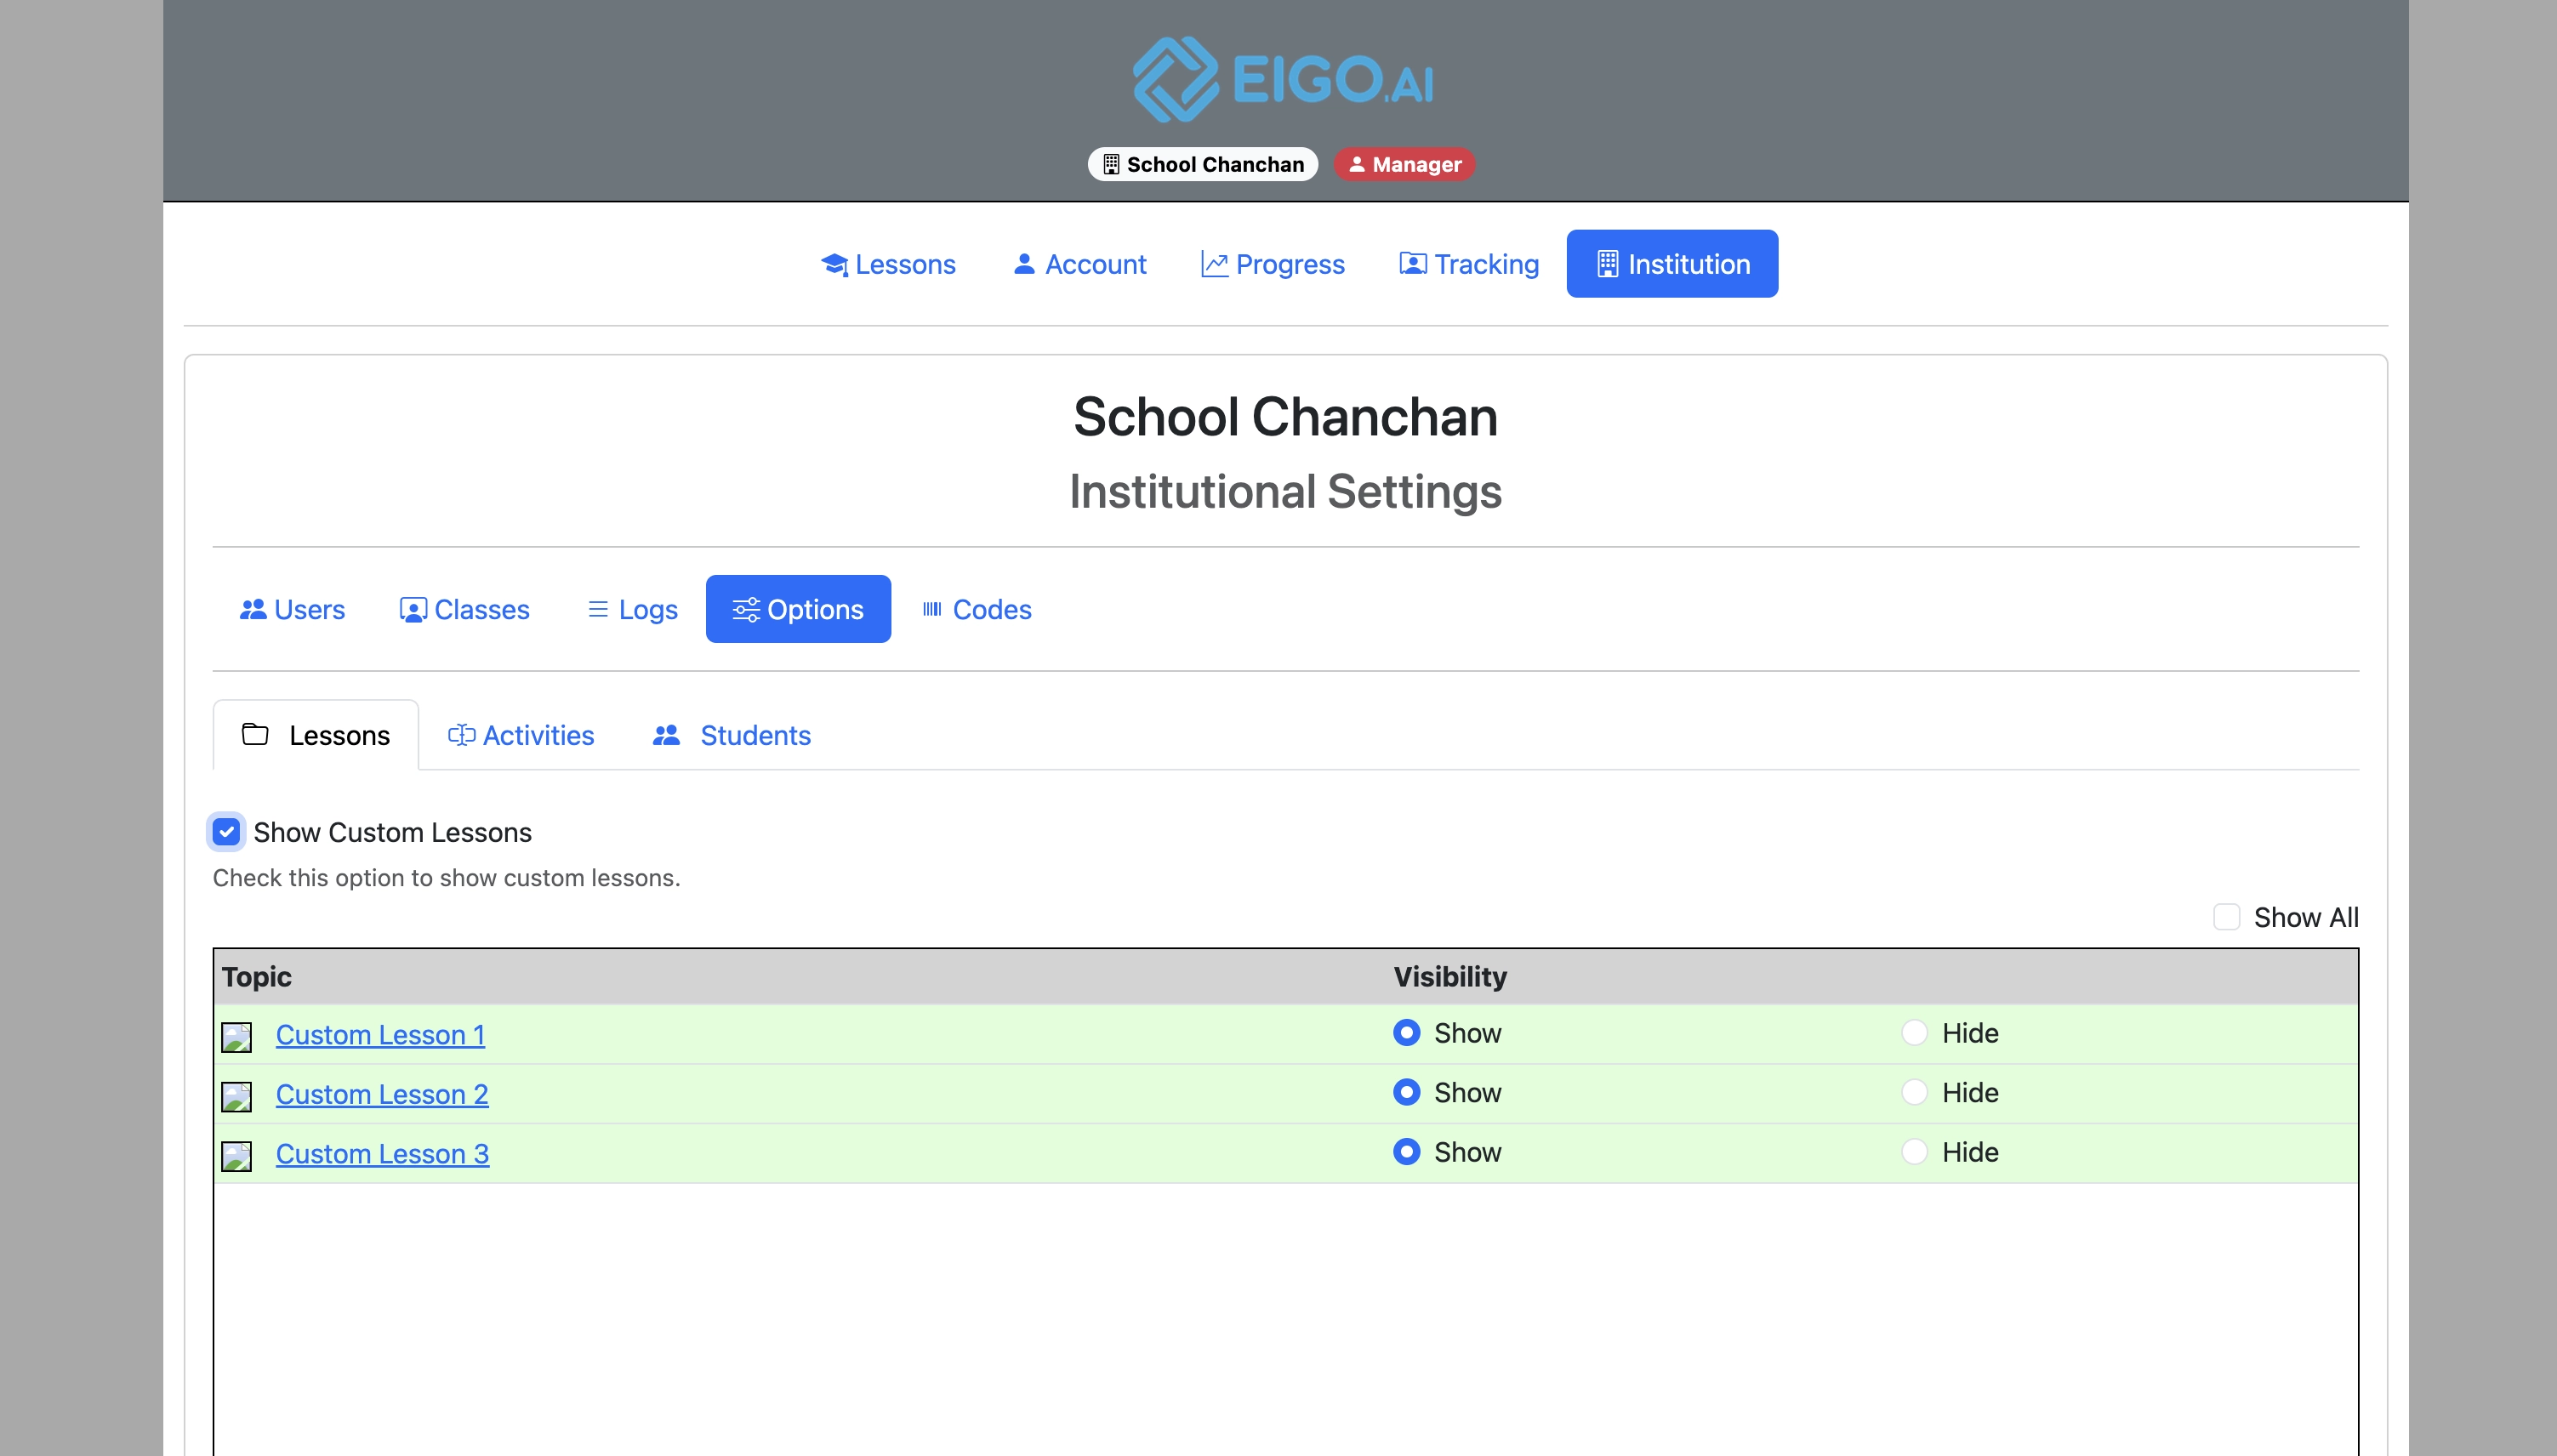
The “Show Custom Lessons” option may not be displayed if your institution has no custom lessons. To create custom lessons, please contact us.
Check the box to show or hide all default lessons.
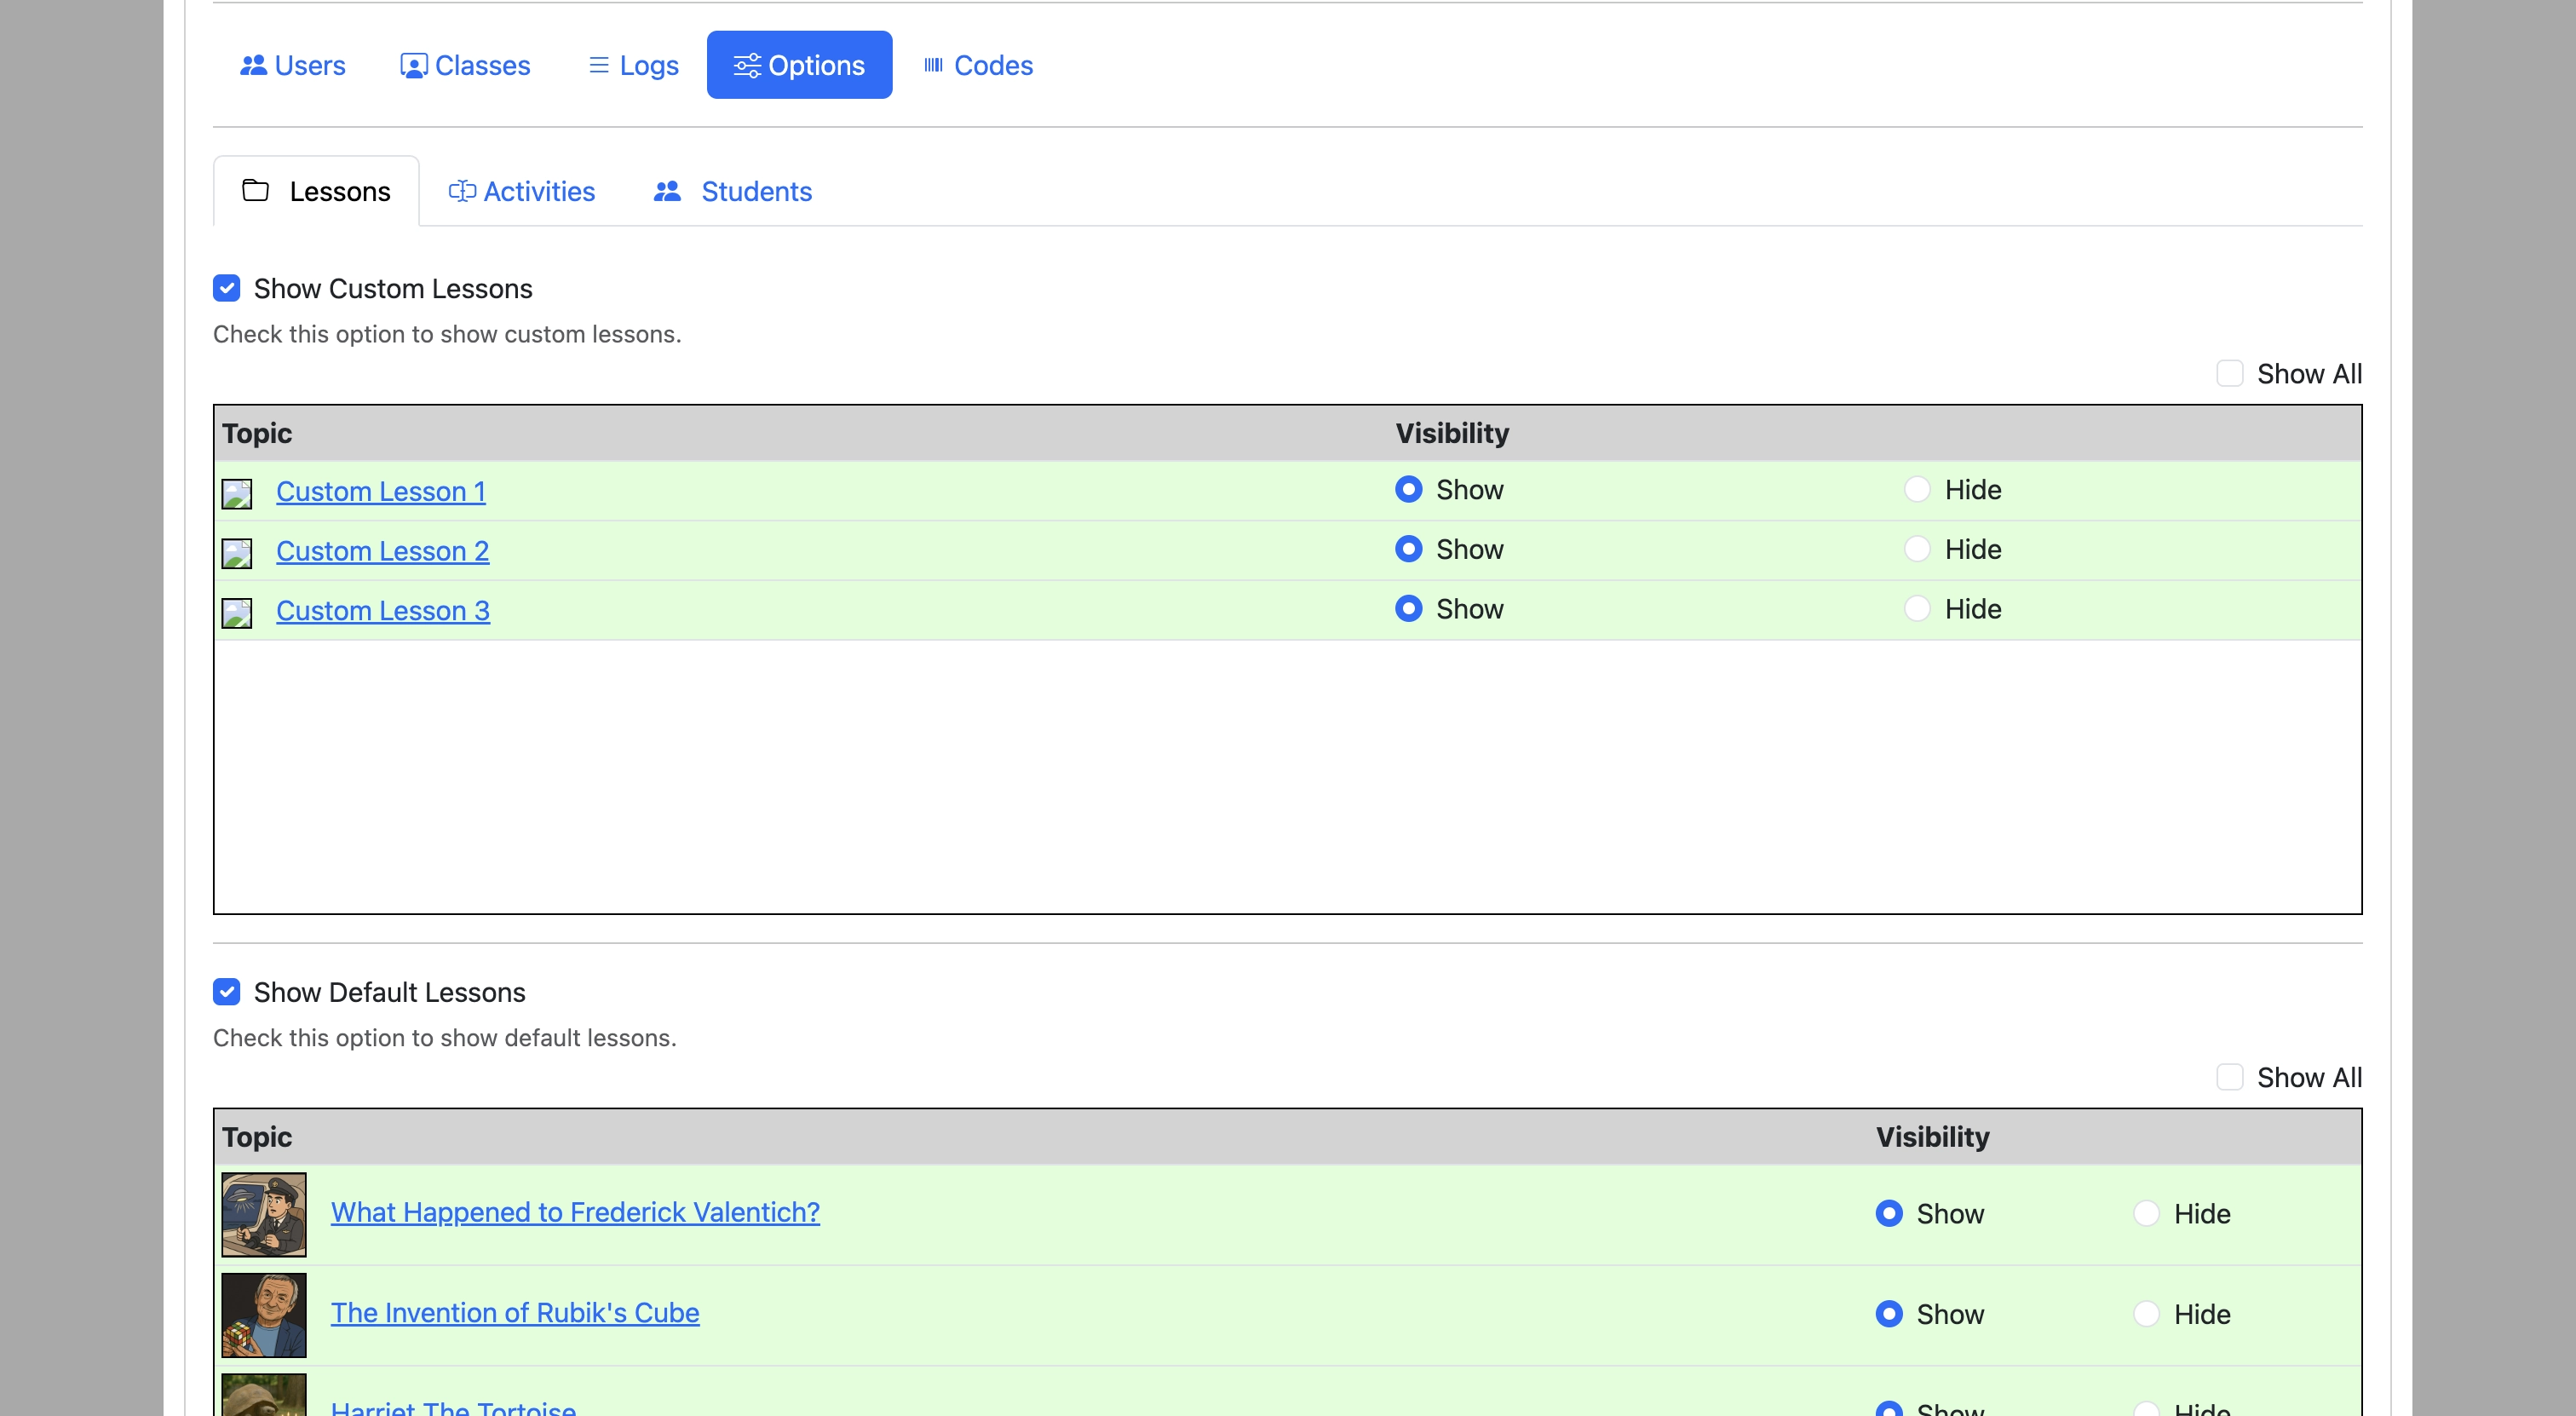
You can also select individual default lessons that you want to show or hide.
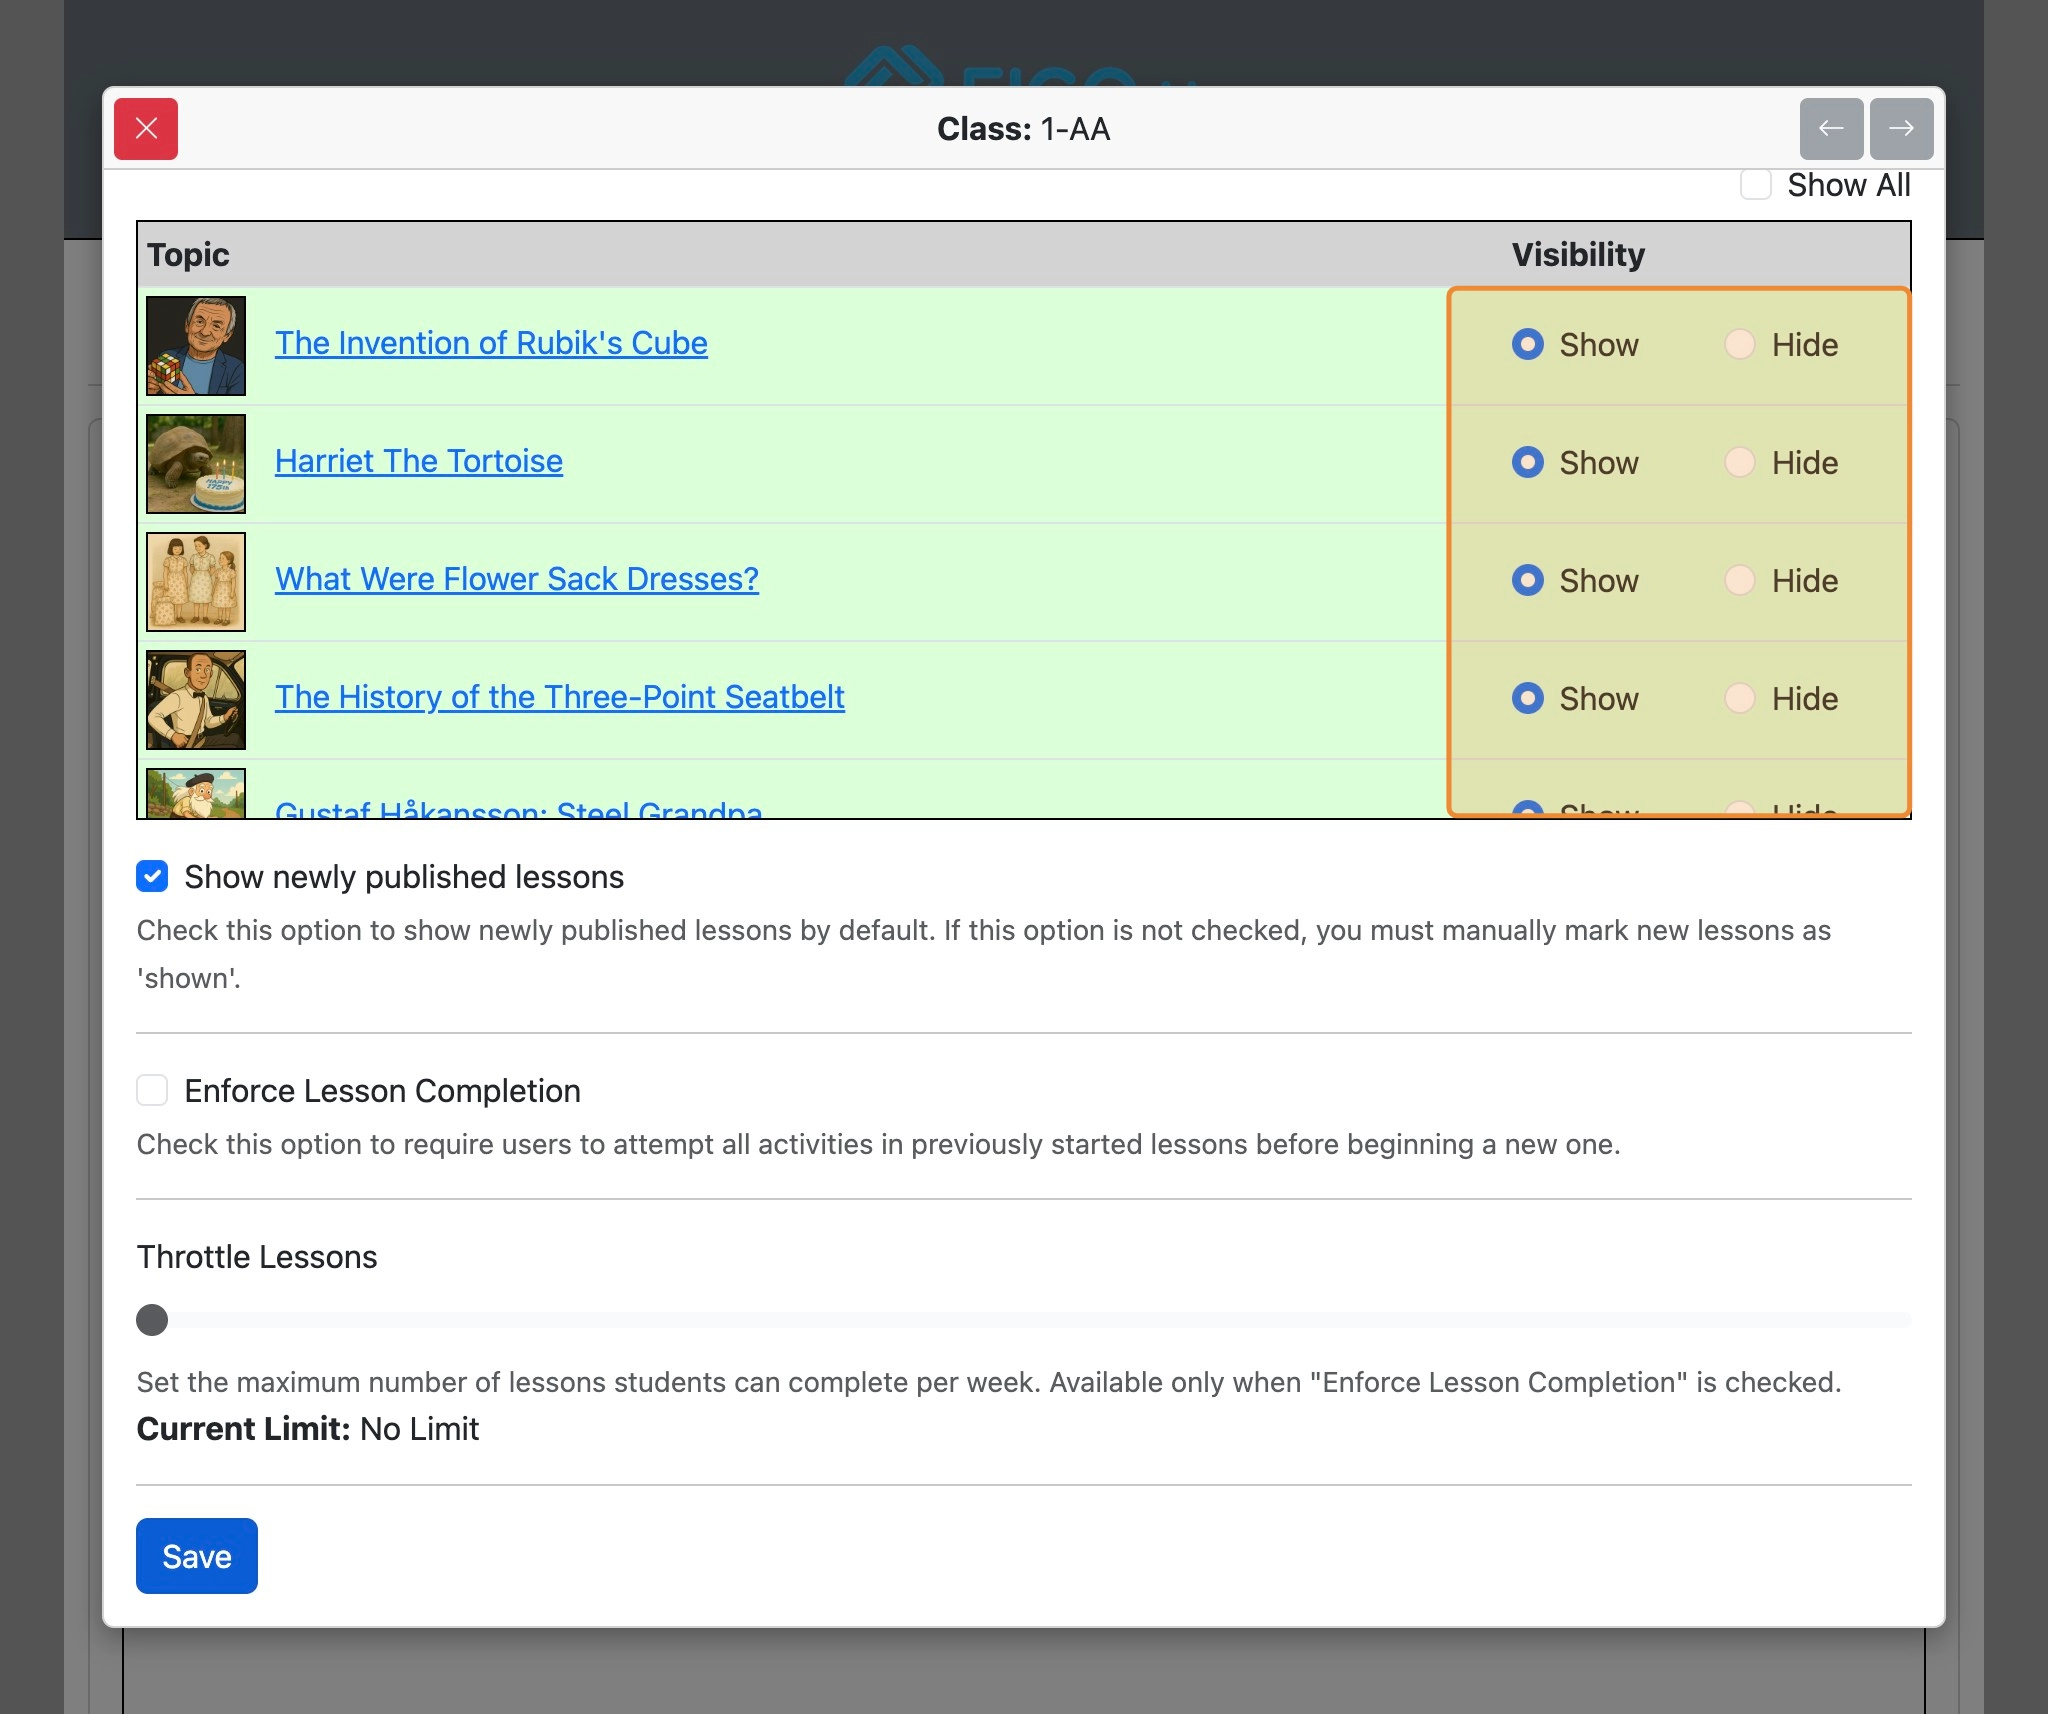
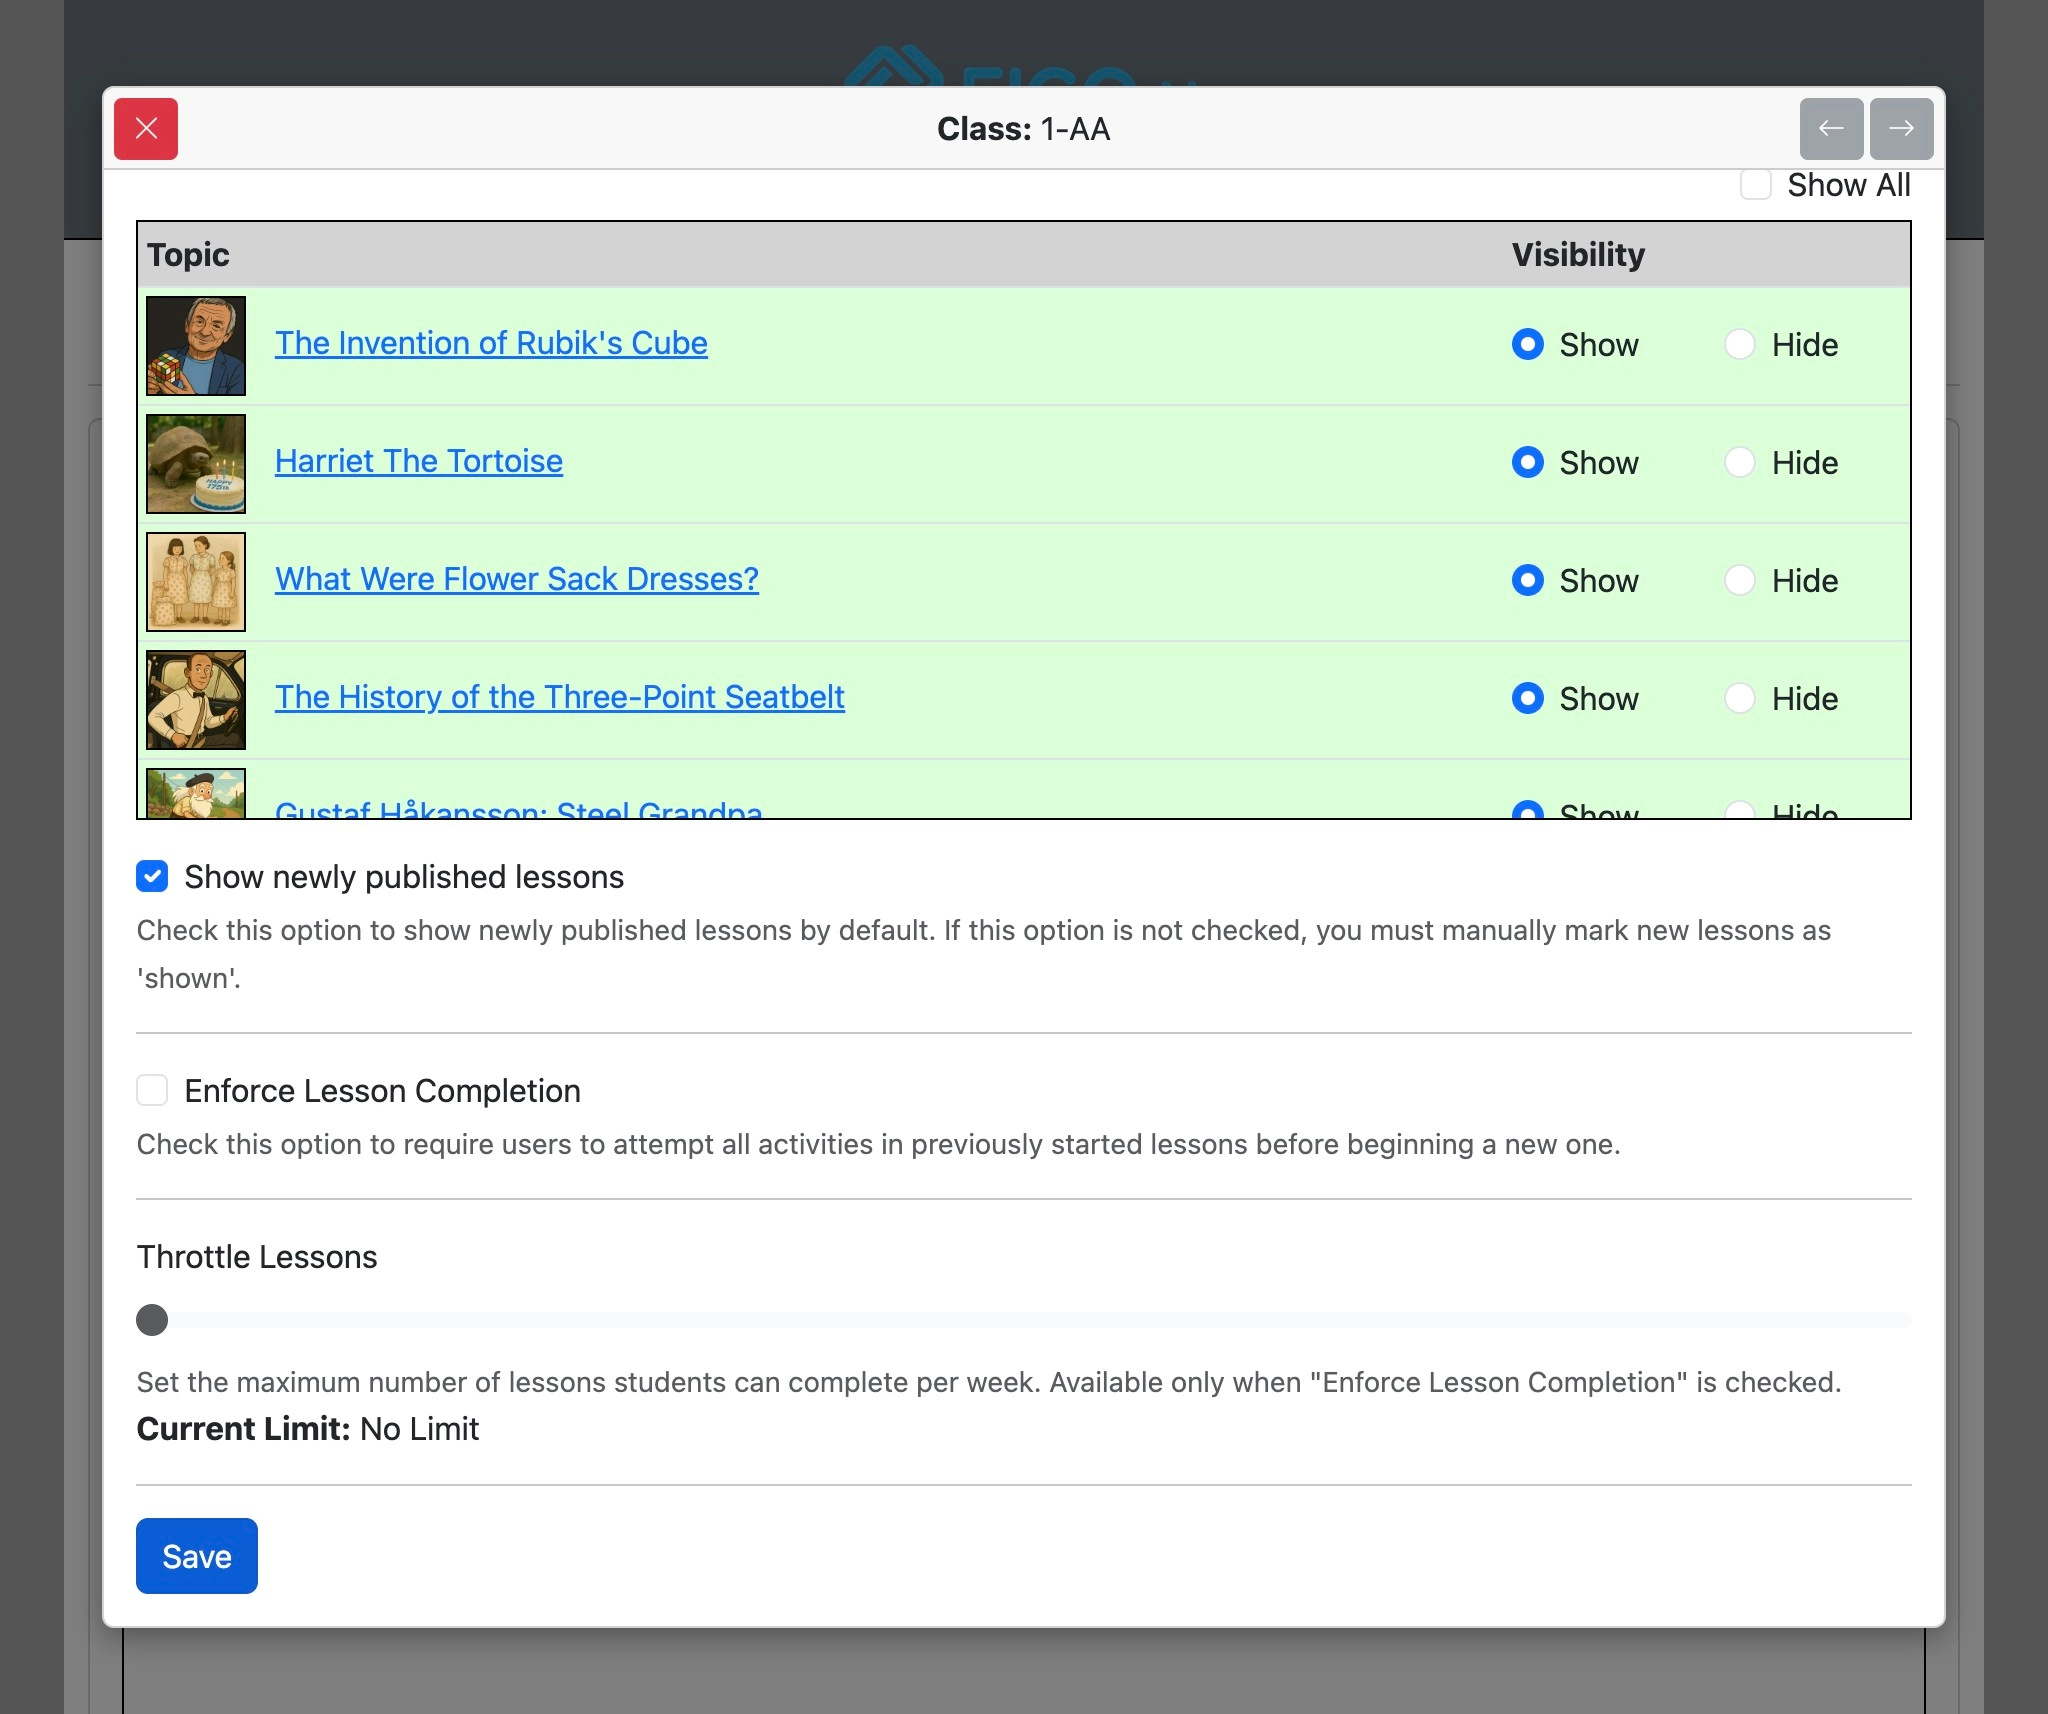
Eigo.AI publishes 1-2 new lessons per week. Check the box to automatically show new lessons to students. If this option is not checked, you will need to manually show newly published lessons.
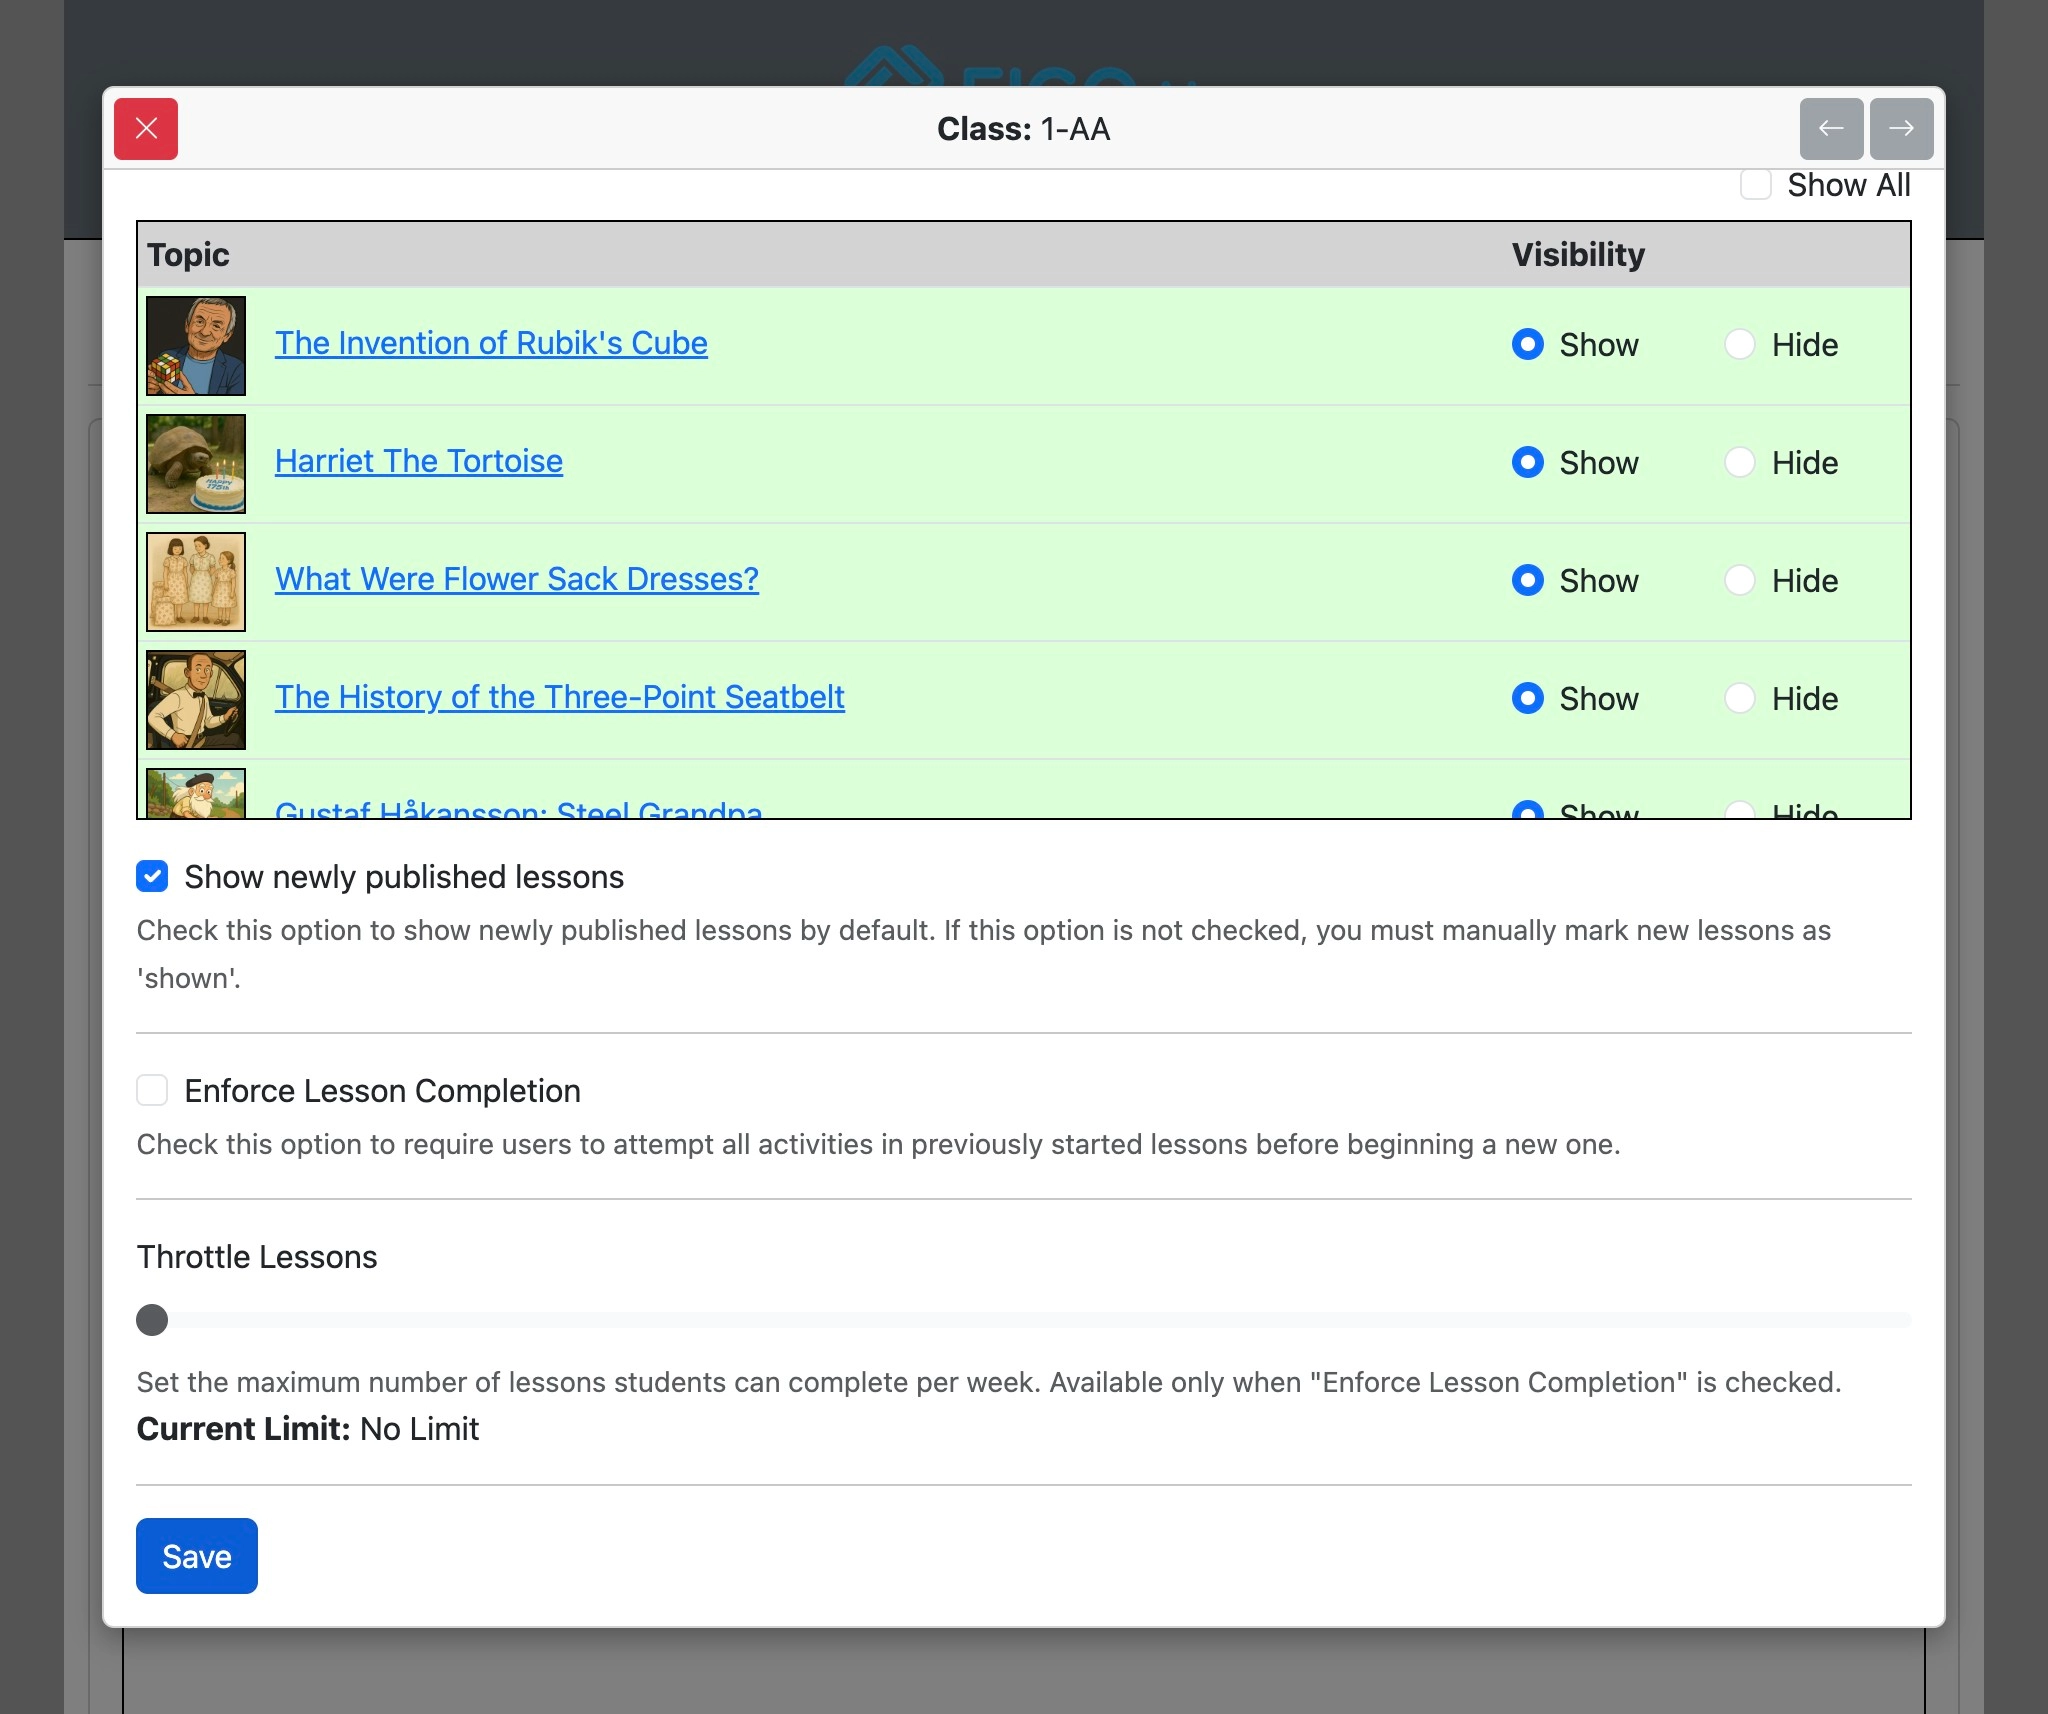
Select 'Enforce Lesson Completion' to require students to complete all activities in a lesson before moving to the next one.
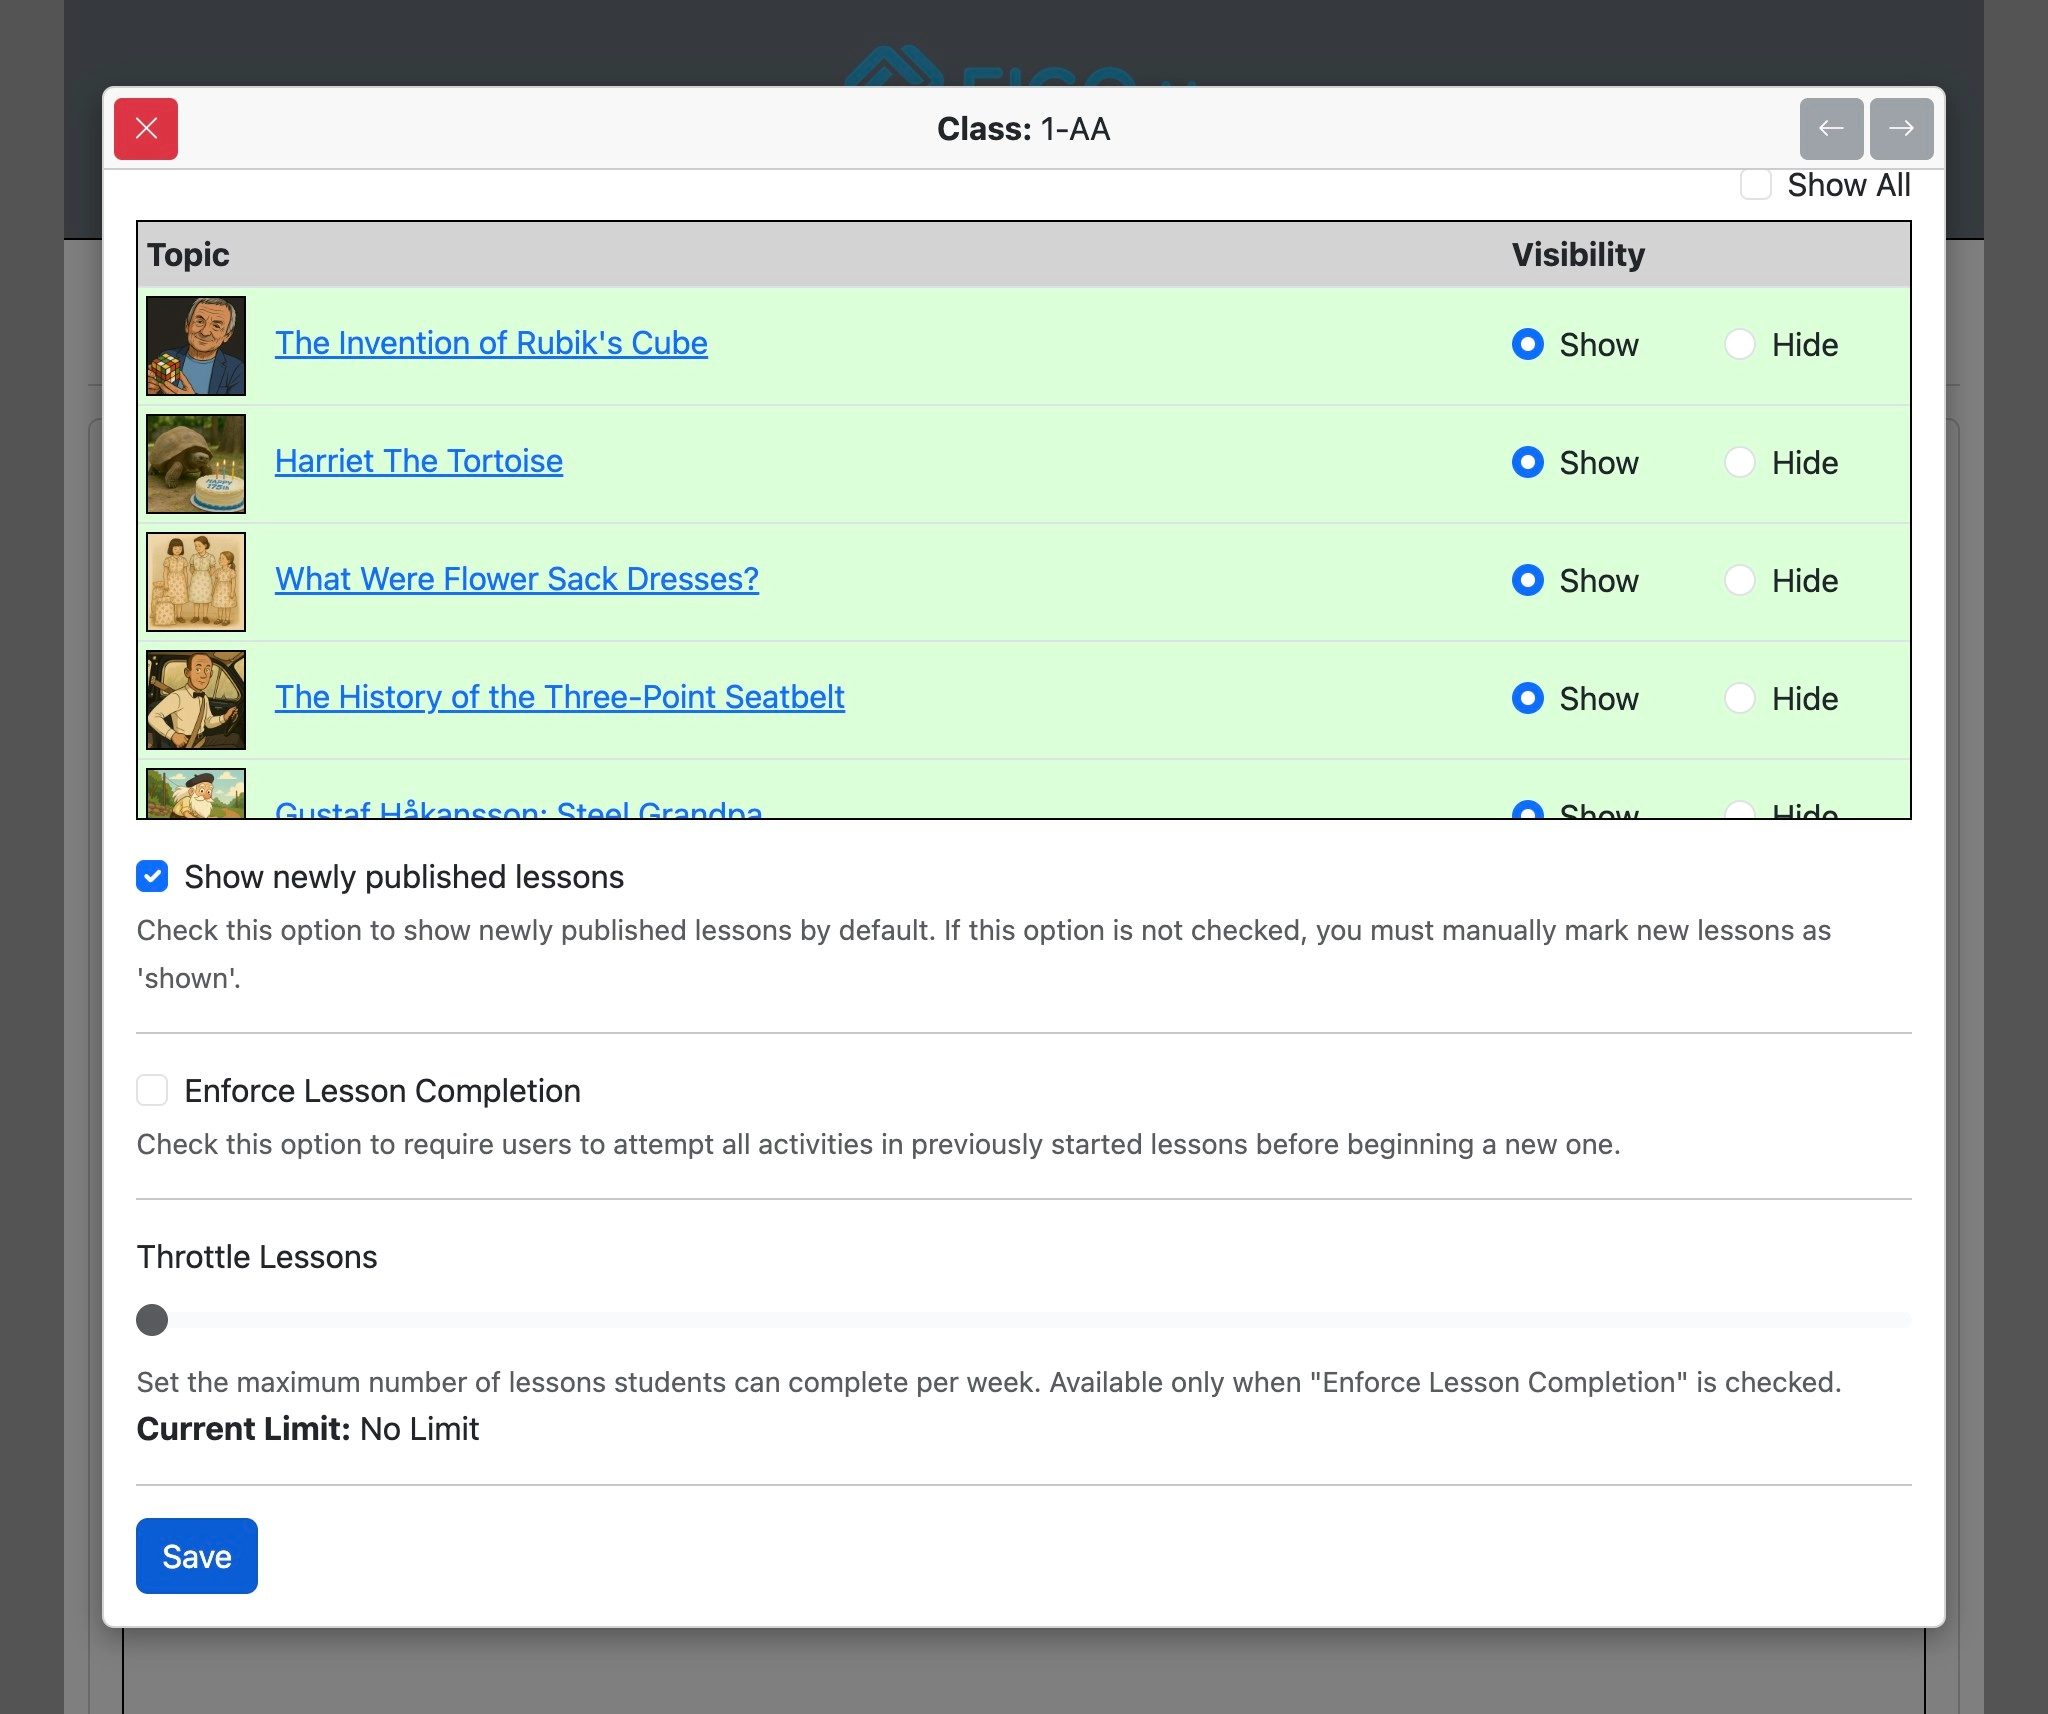
Selecting 'Enforce Lesson Completion' enables 'Throttle Lessons'. Use the slider to set how many new lessons a student can complete in a rolling 7-day period. Completed lessons remain available for review and resubmission according to the activity settings.
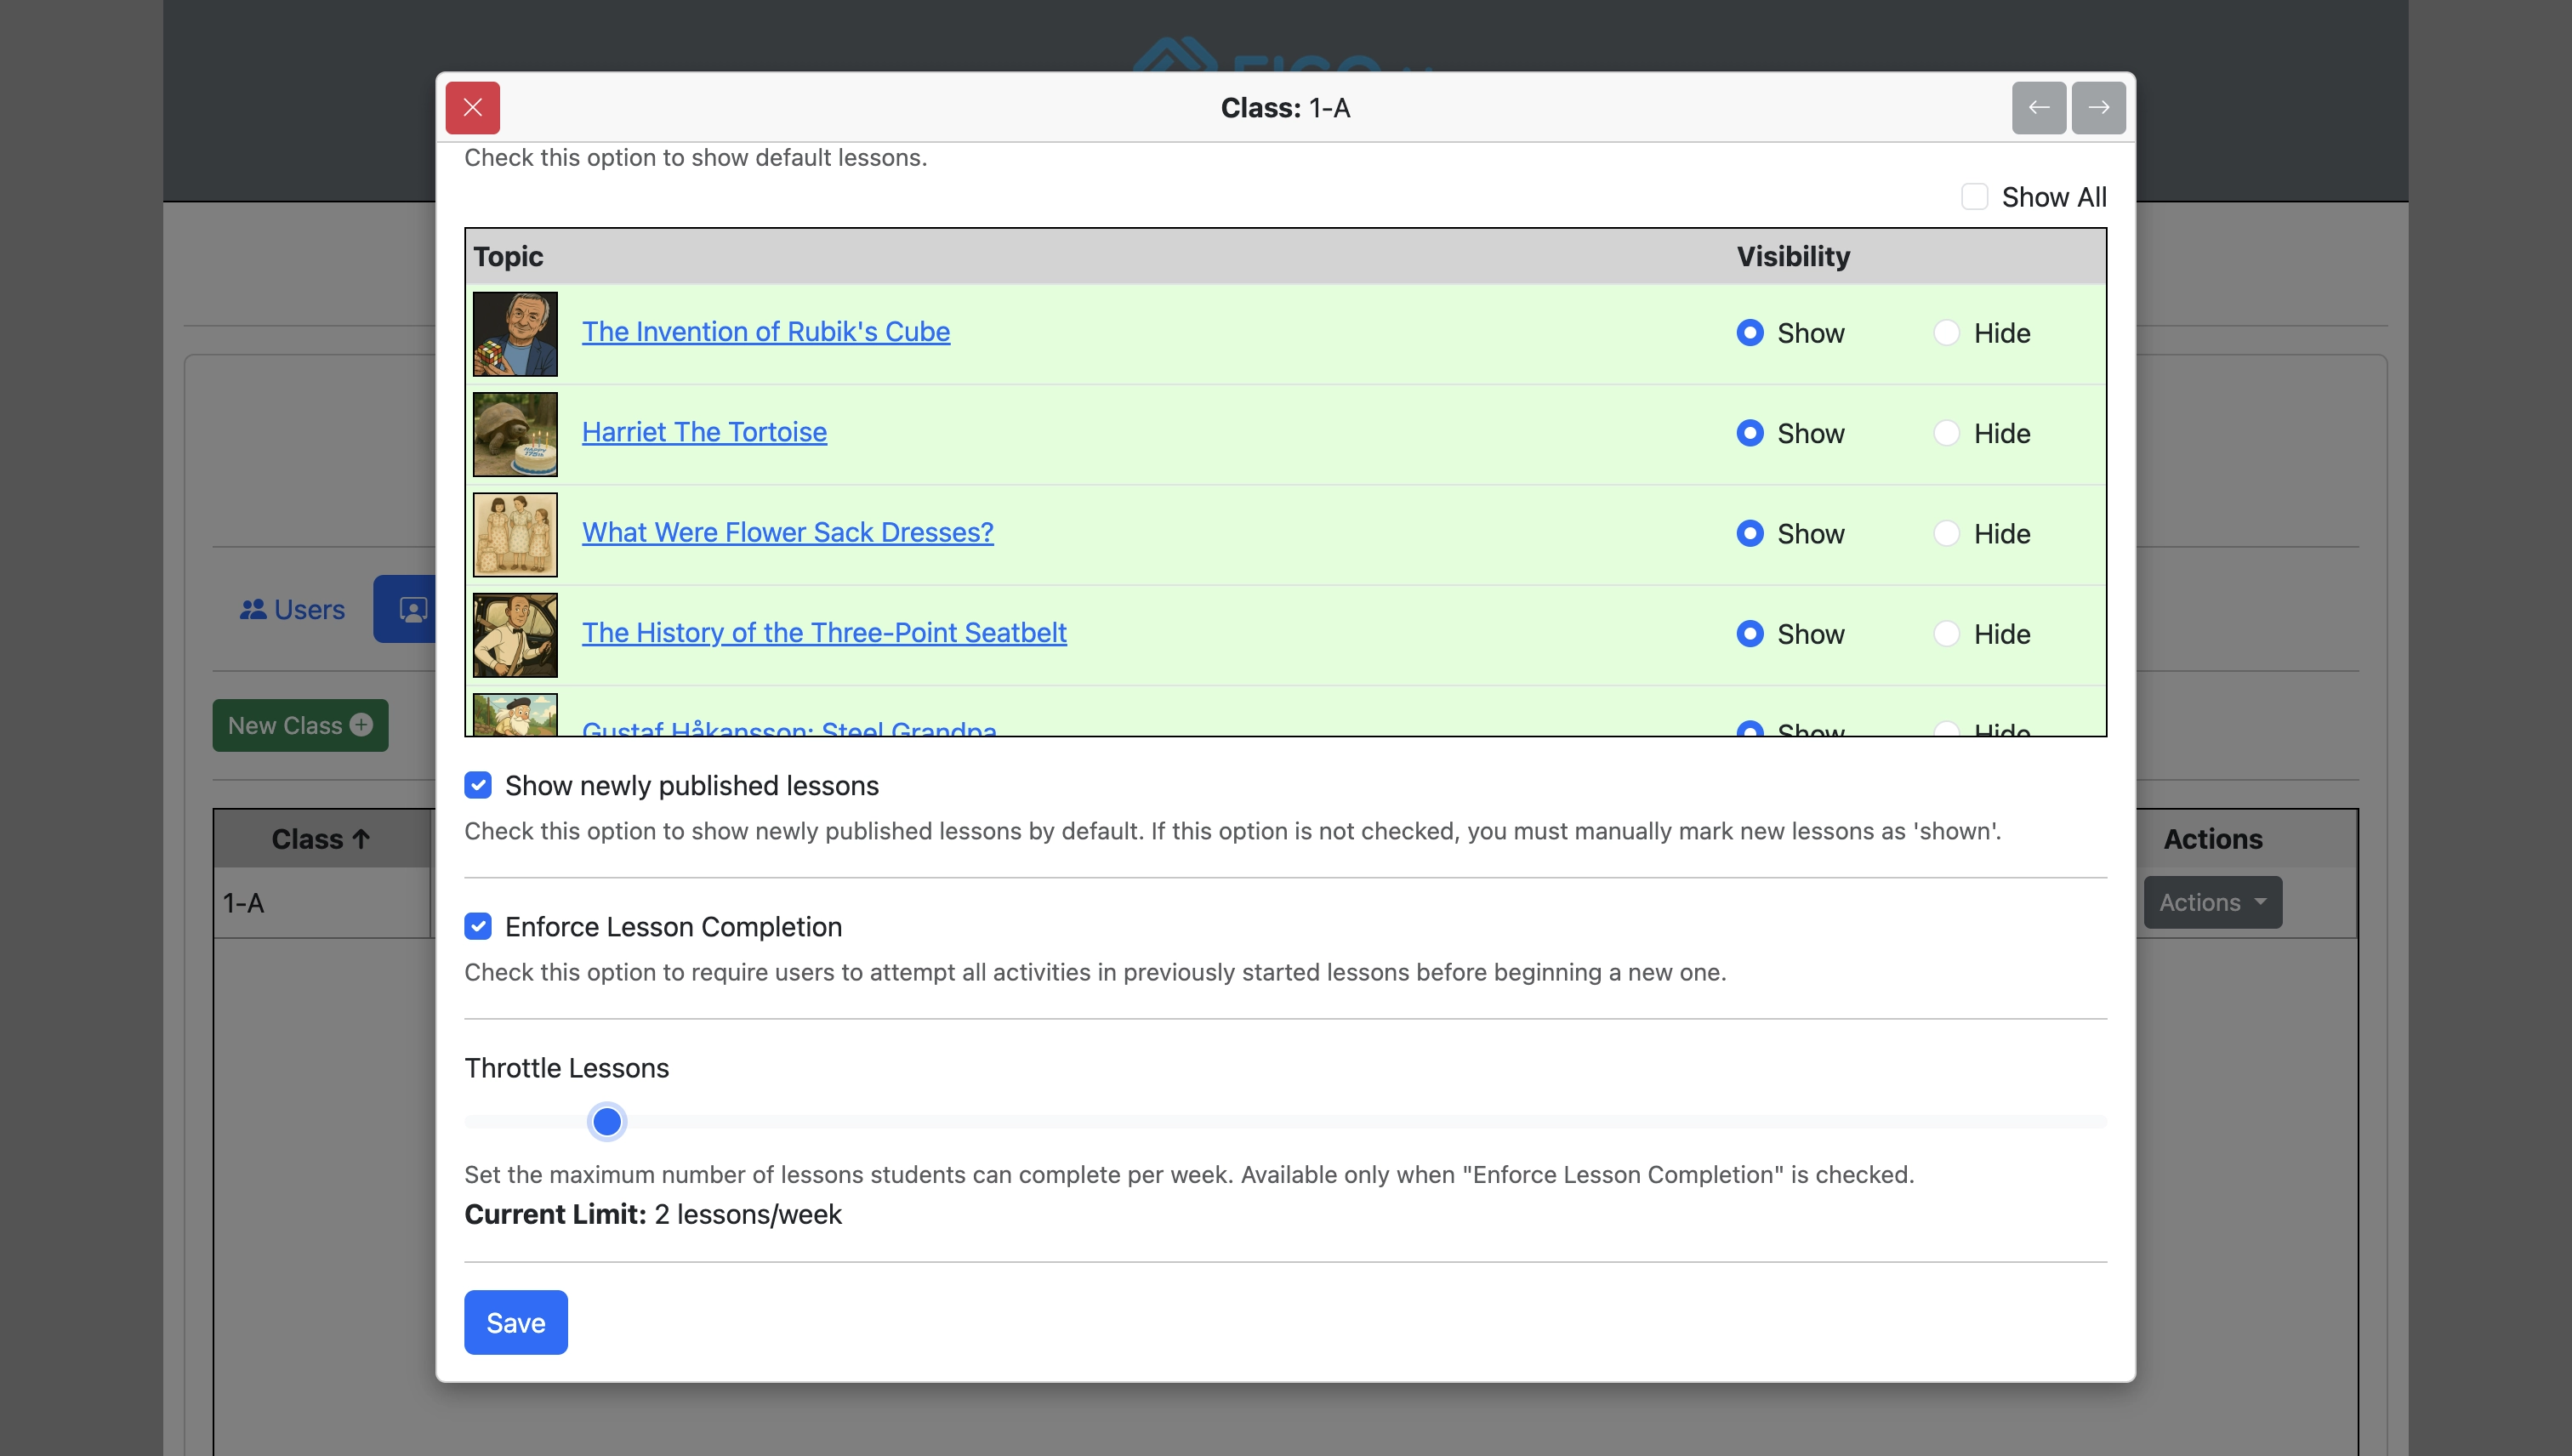
Click "Save" to confirm and save settings.
Activity Options
Click the "Activities" tab to show options relating to activities.
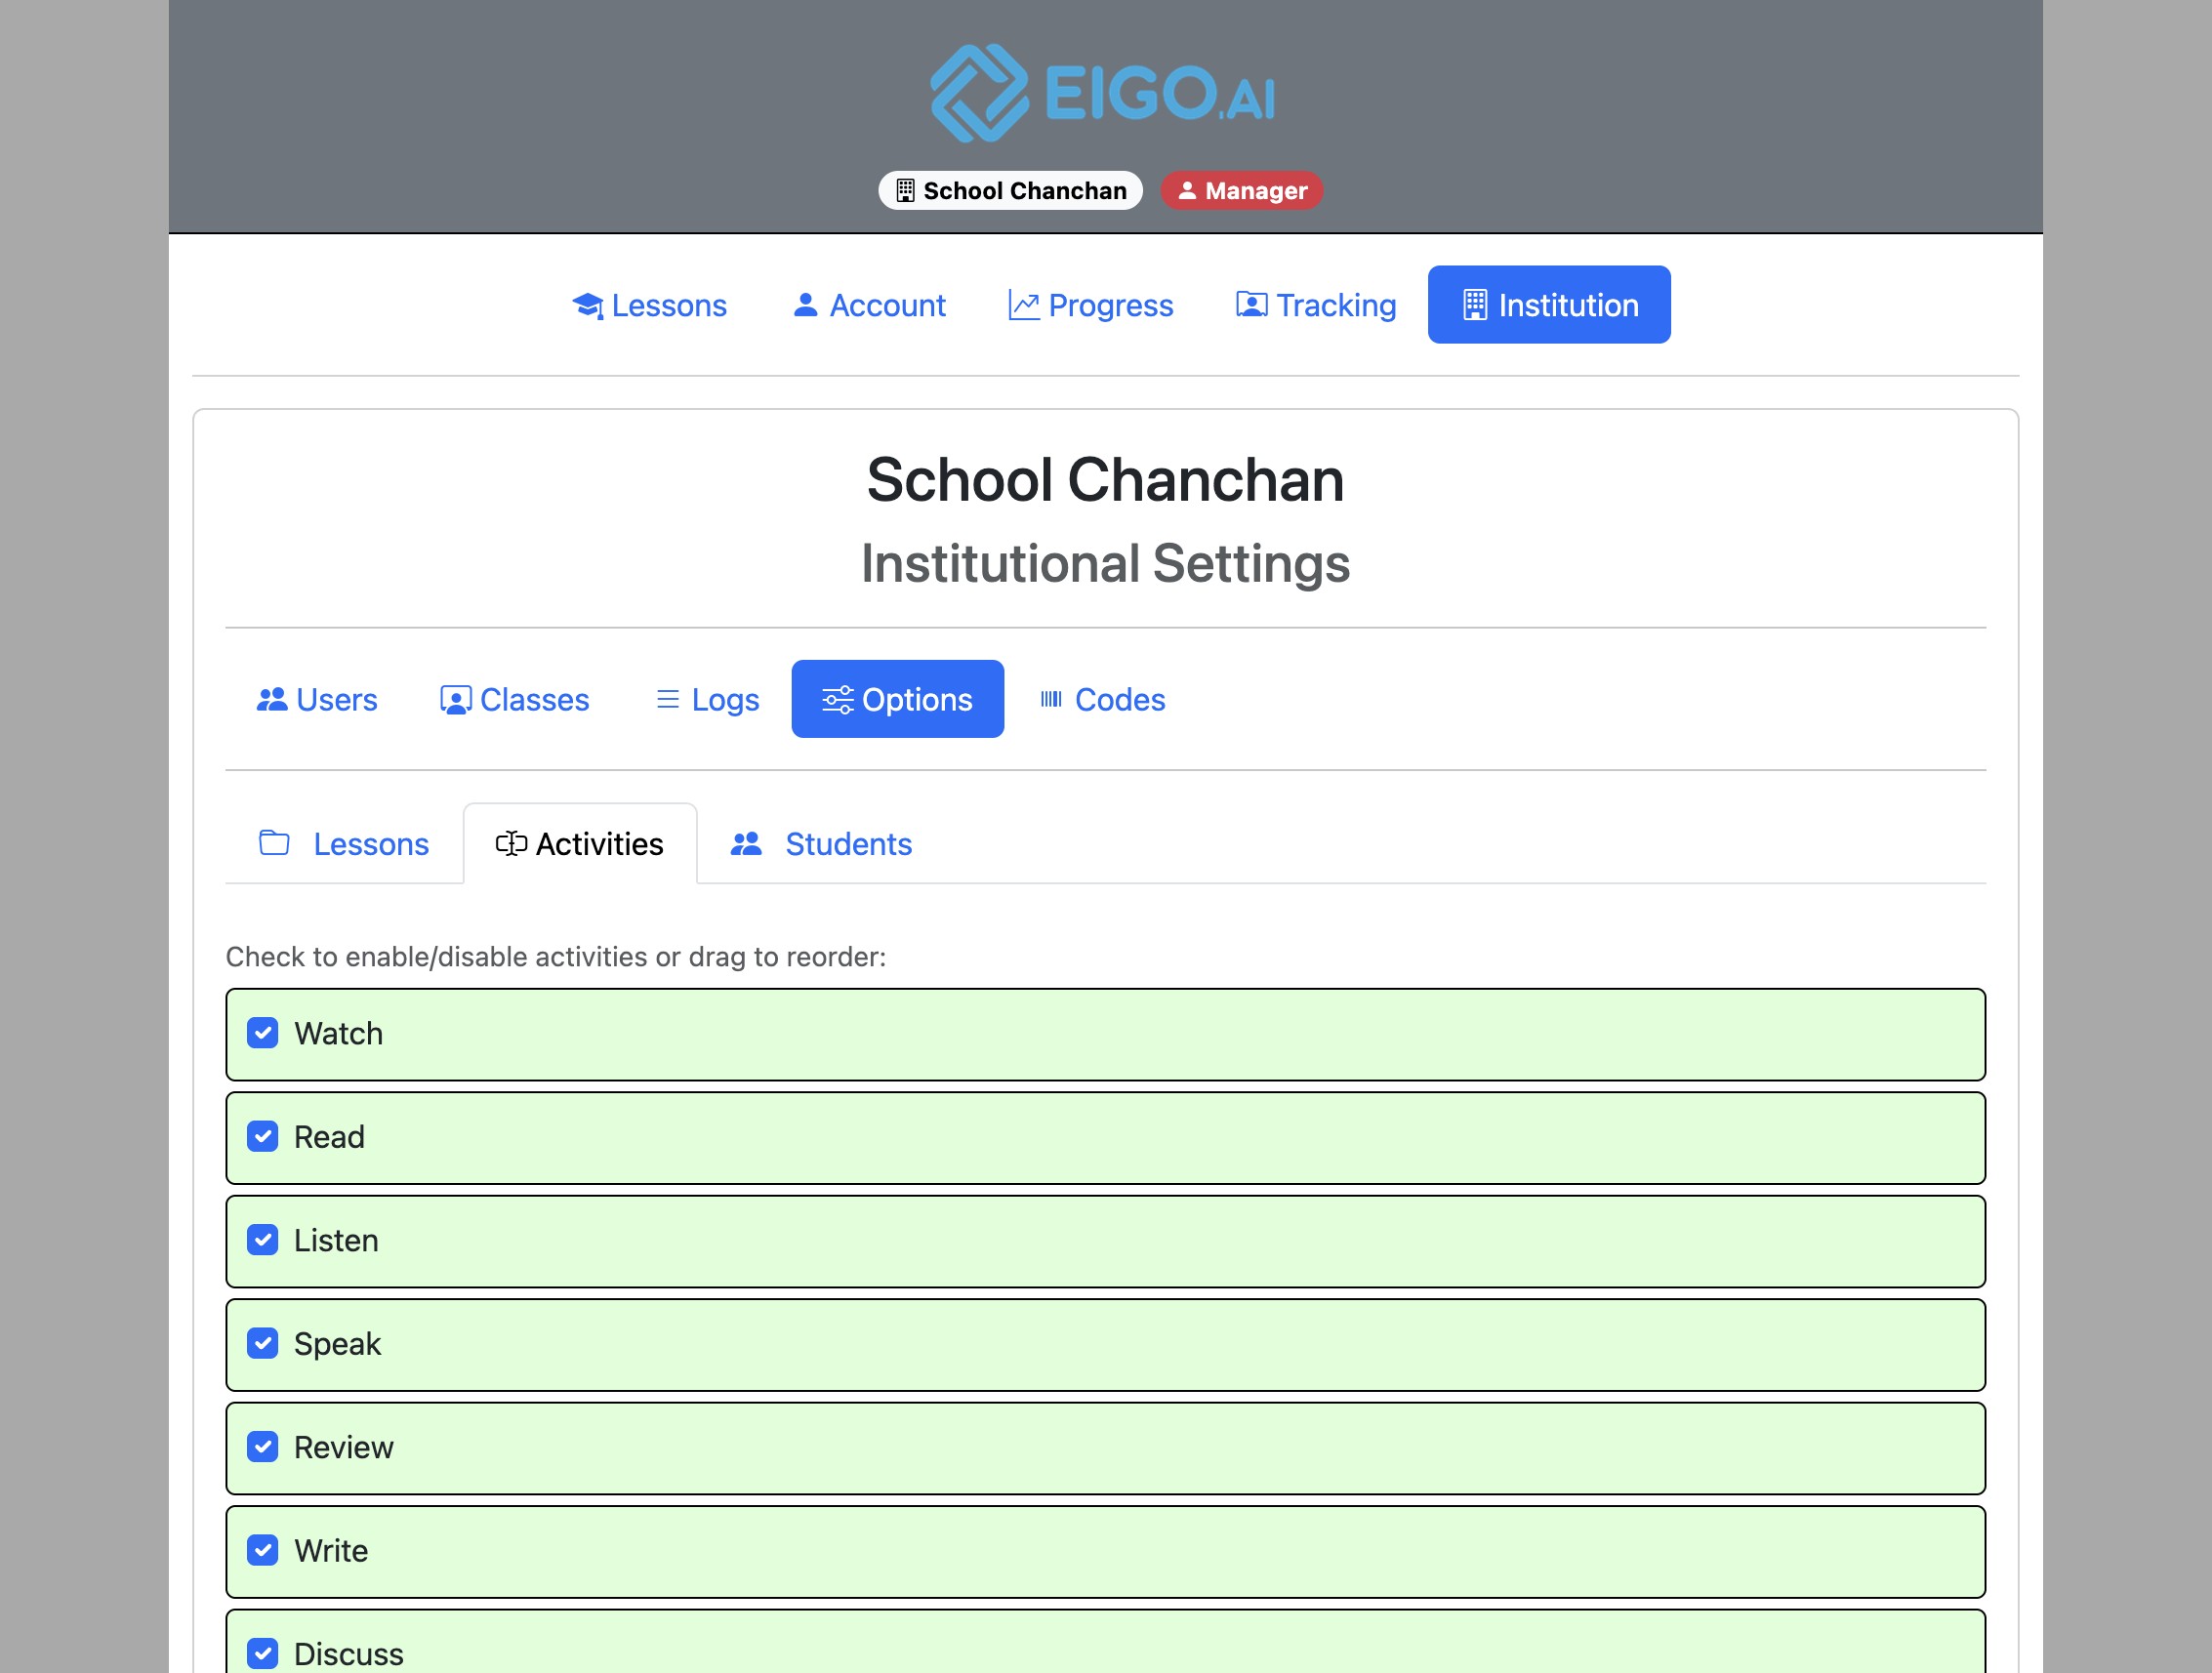
Check the box next to the activity name to disable or enable it.
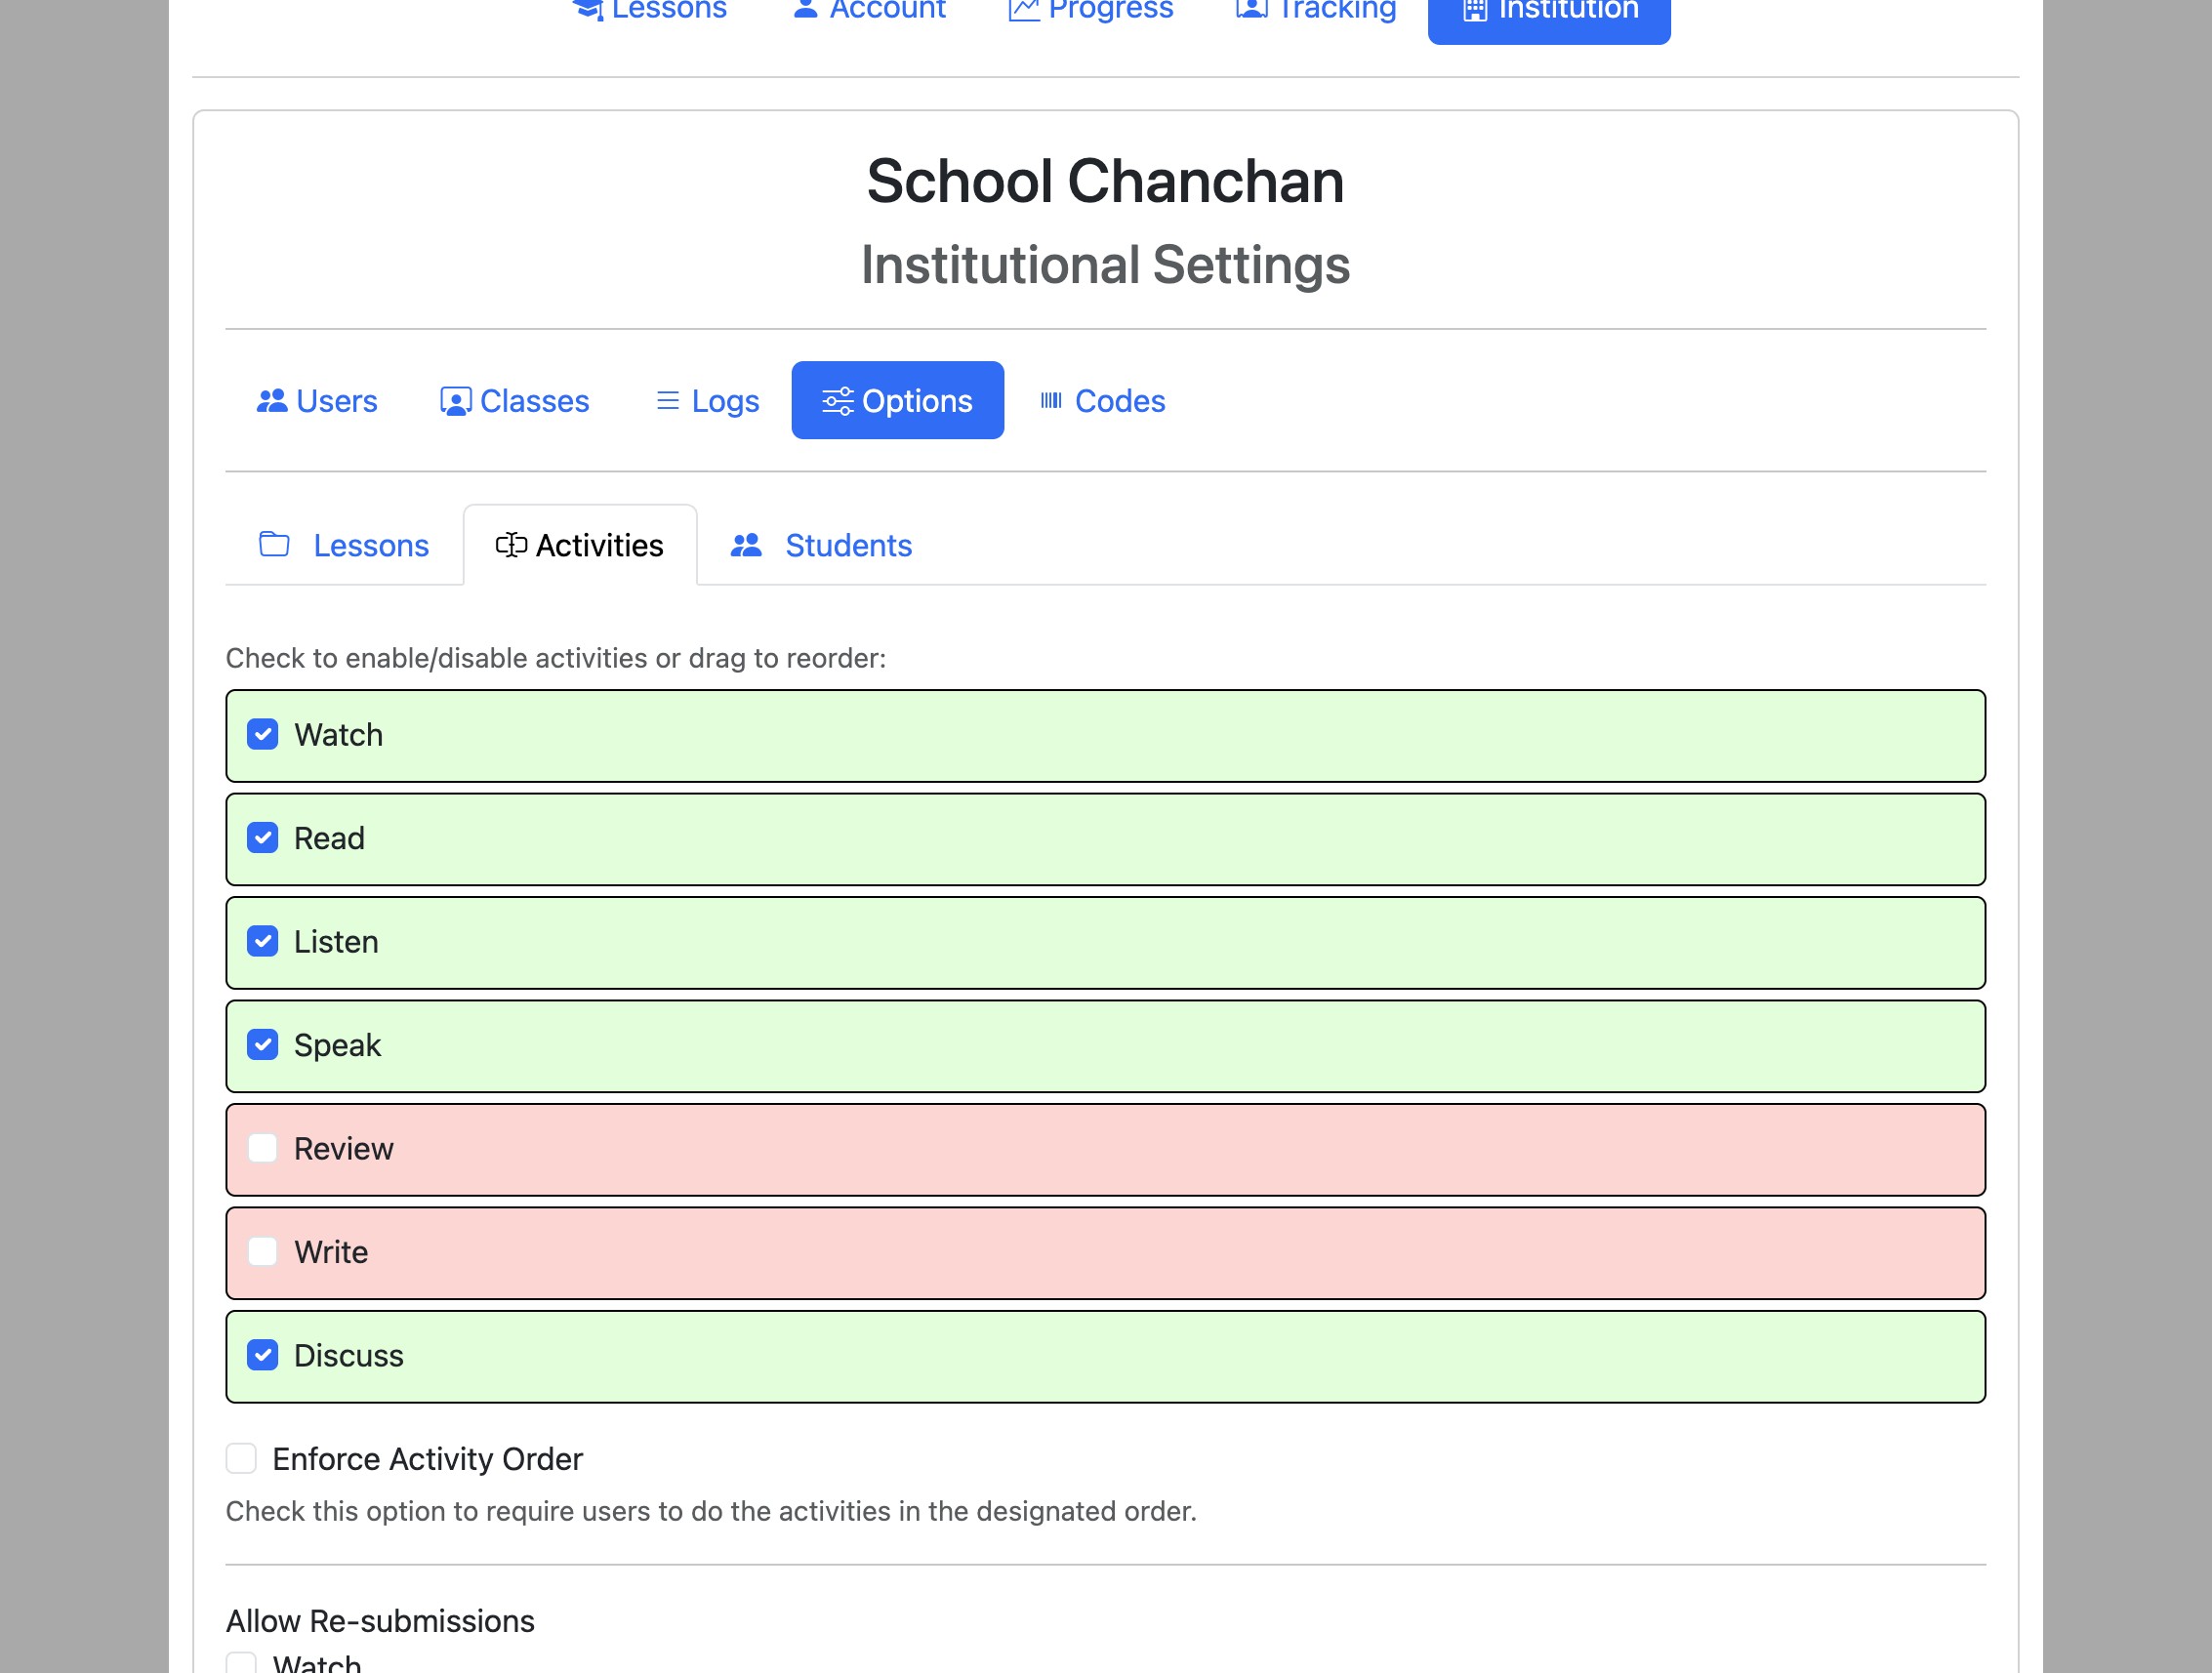
Drag the activities to rearrange their order.
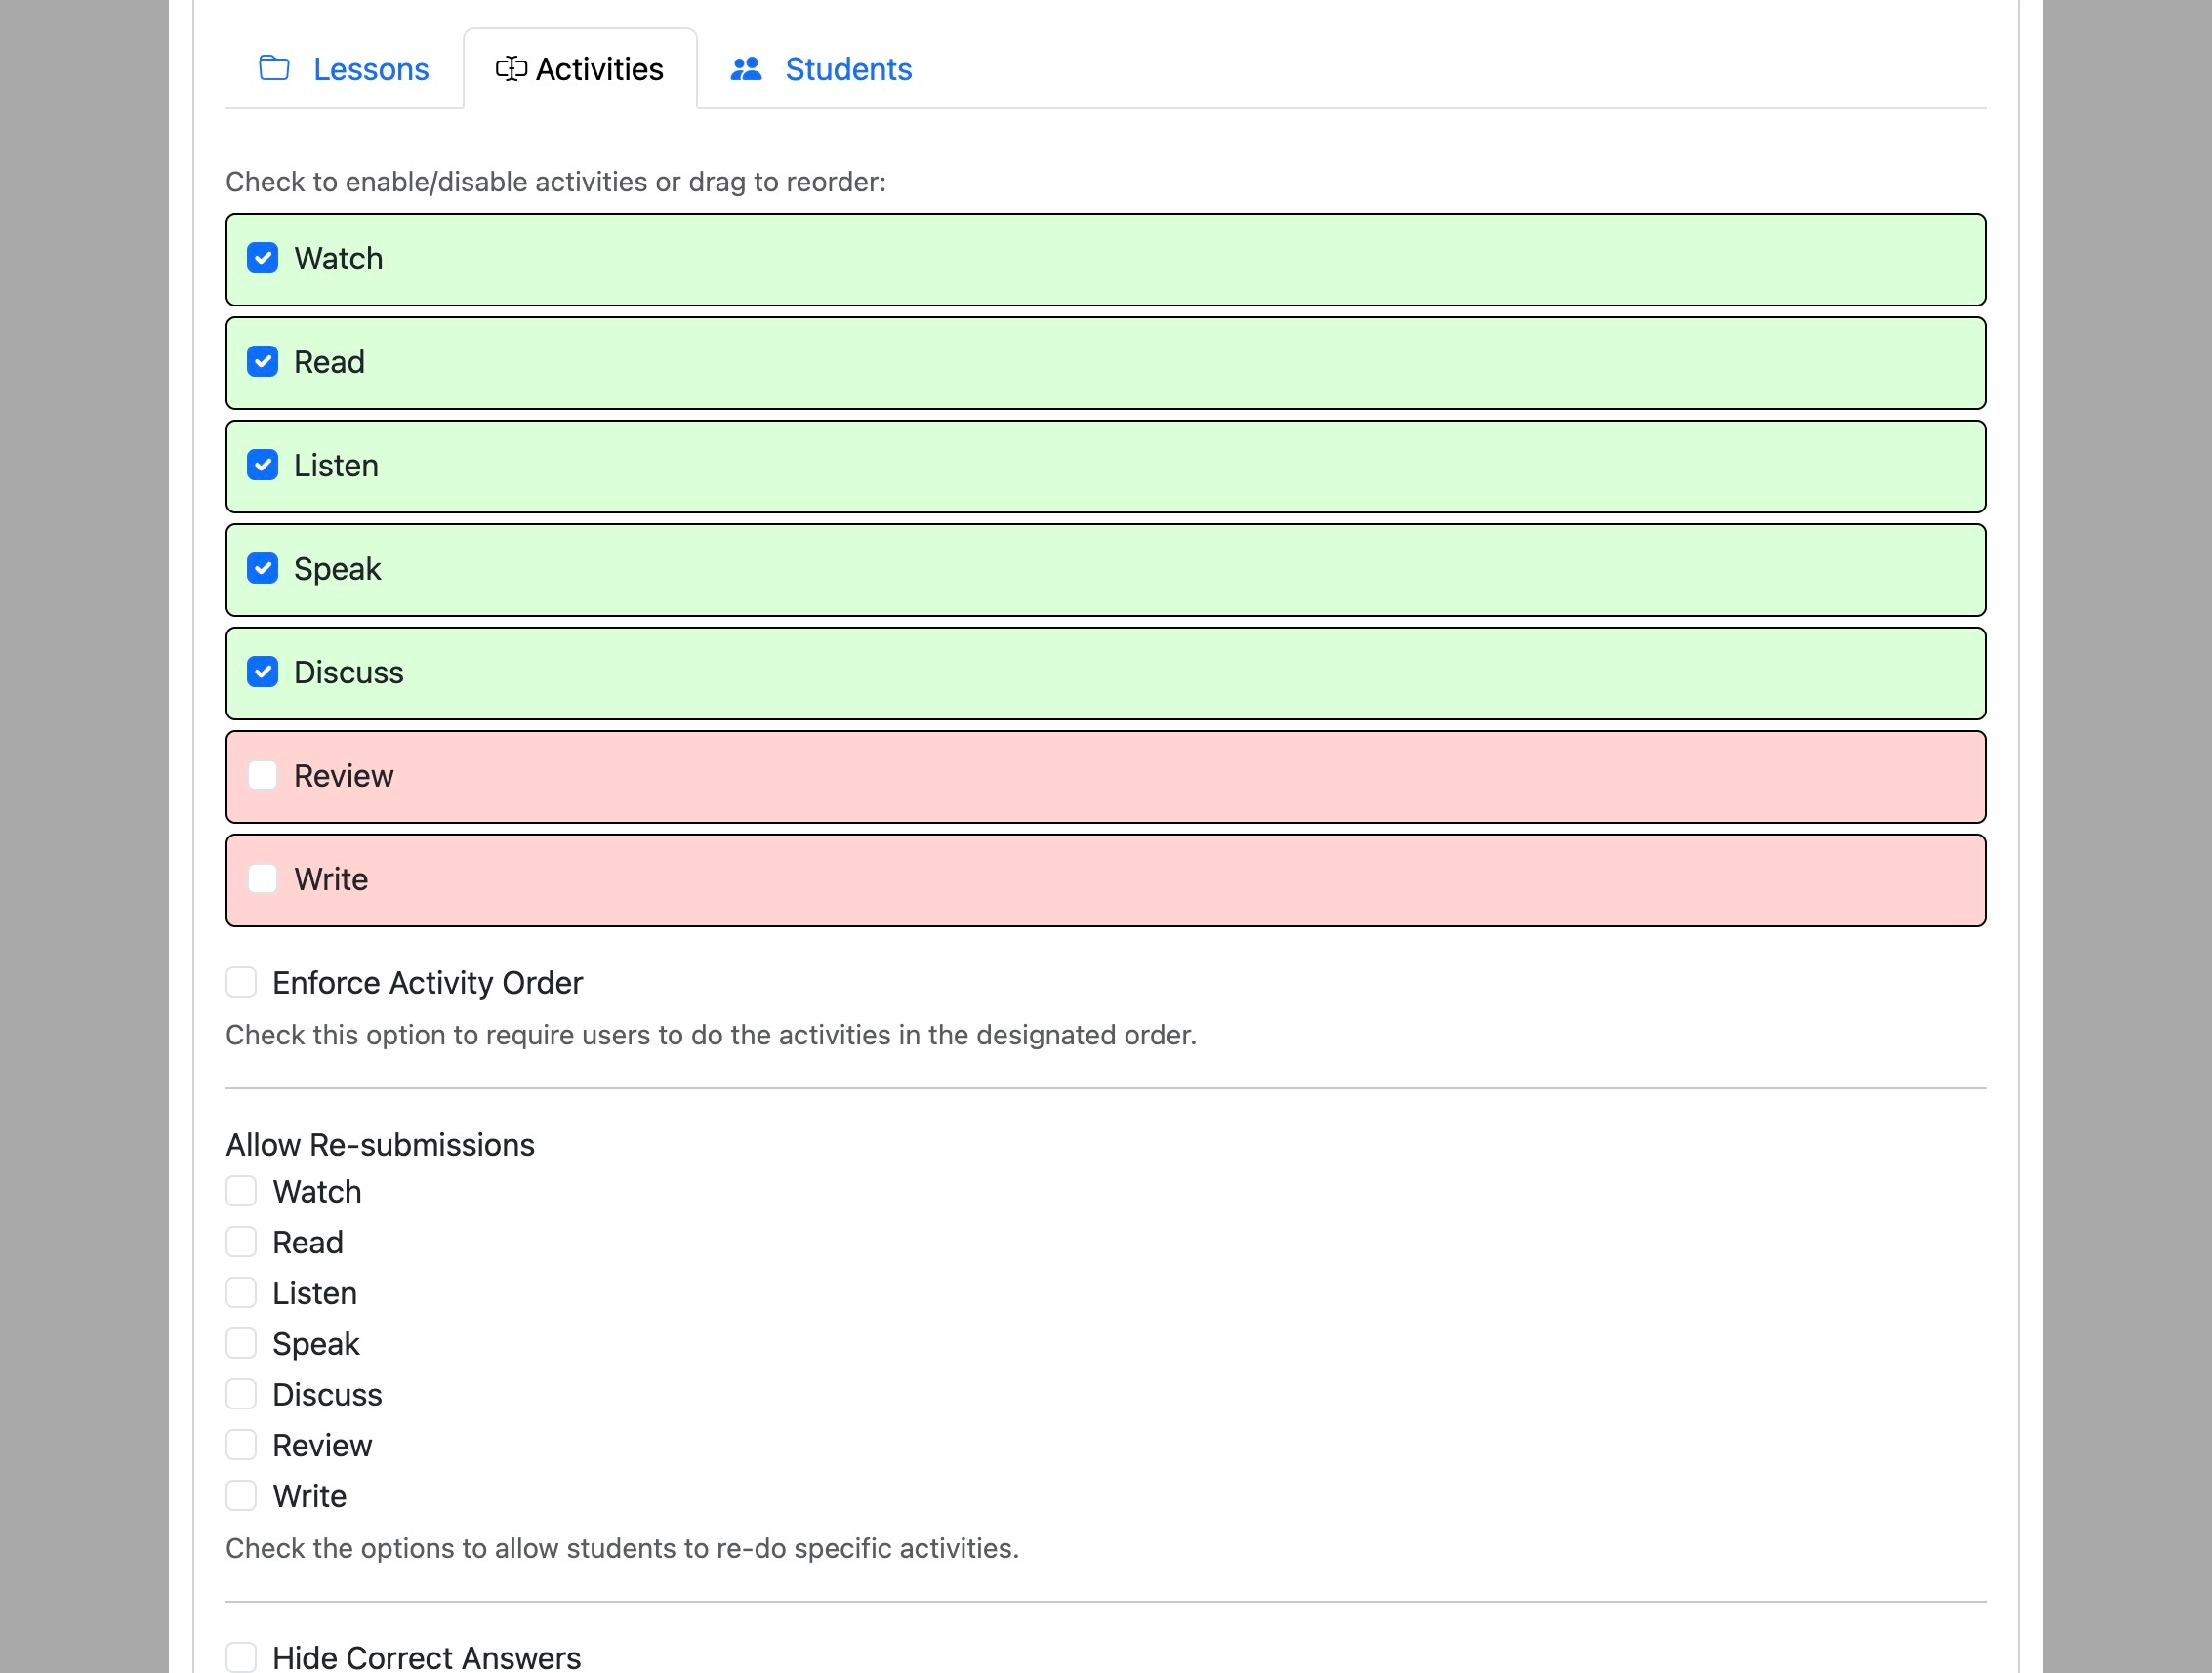
Check “enforce activity order” to make the student do the activities in the specified order.
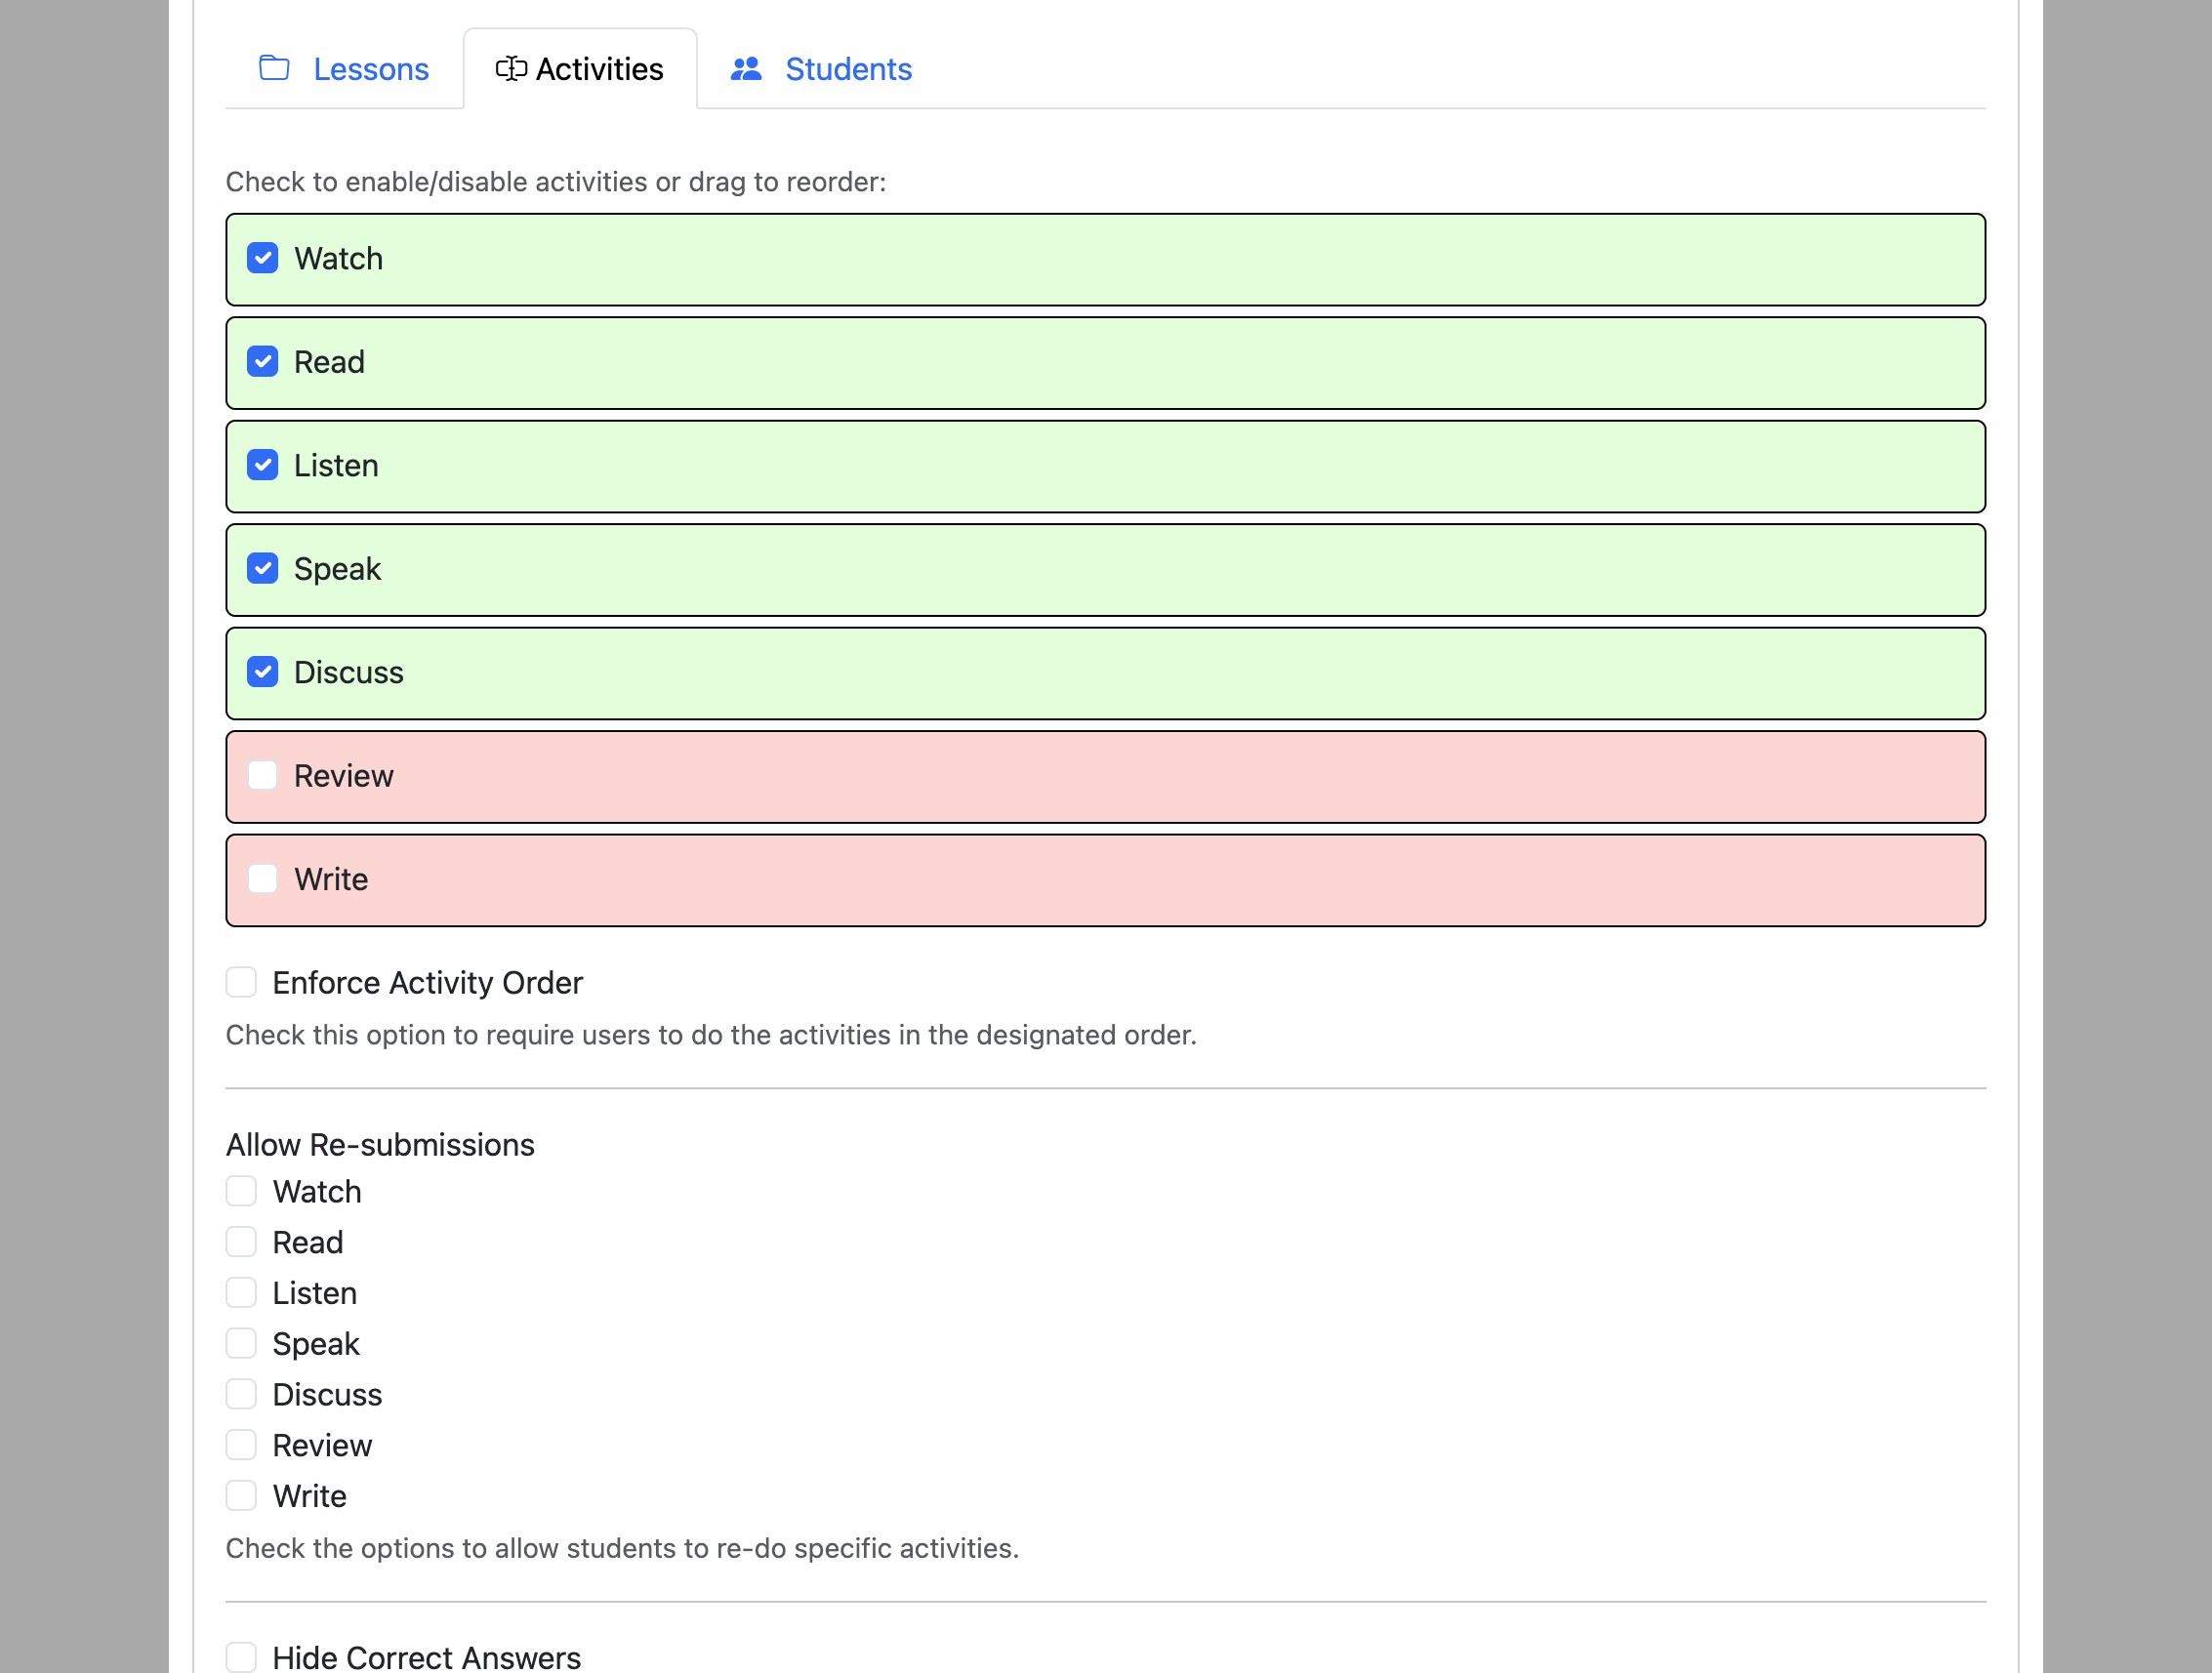
Check the boxes under “Allow Re-submissions” to specify which activities students can re-submit.
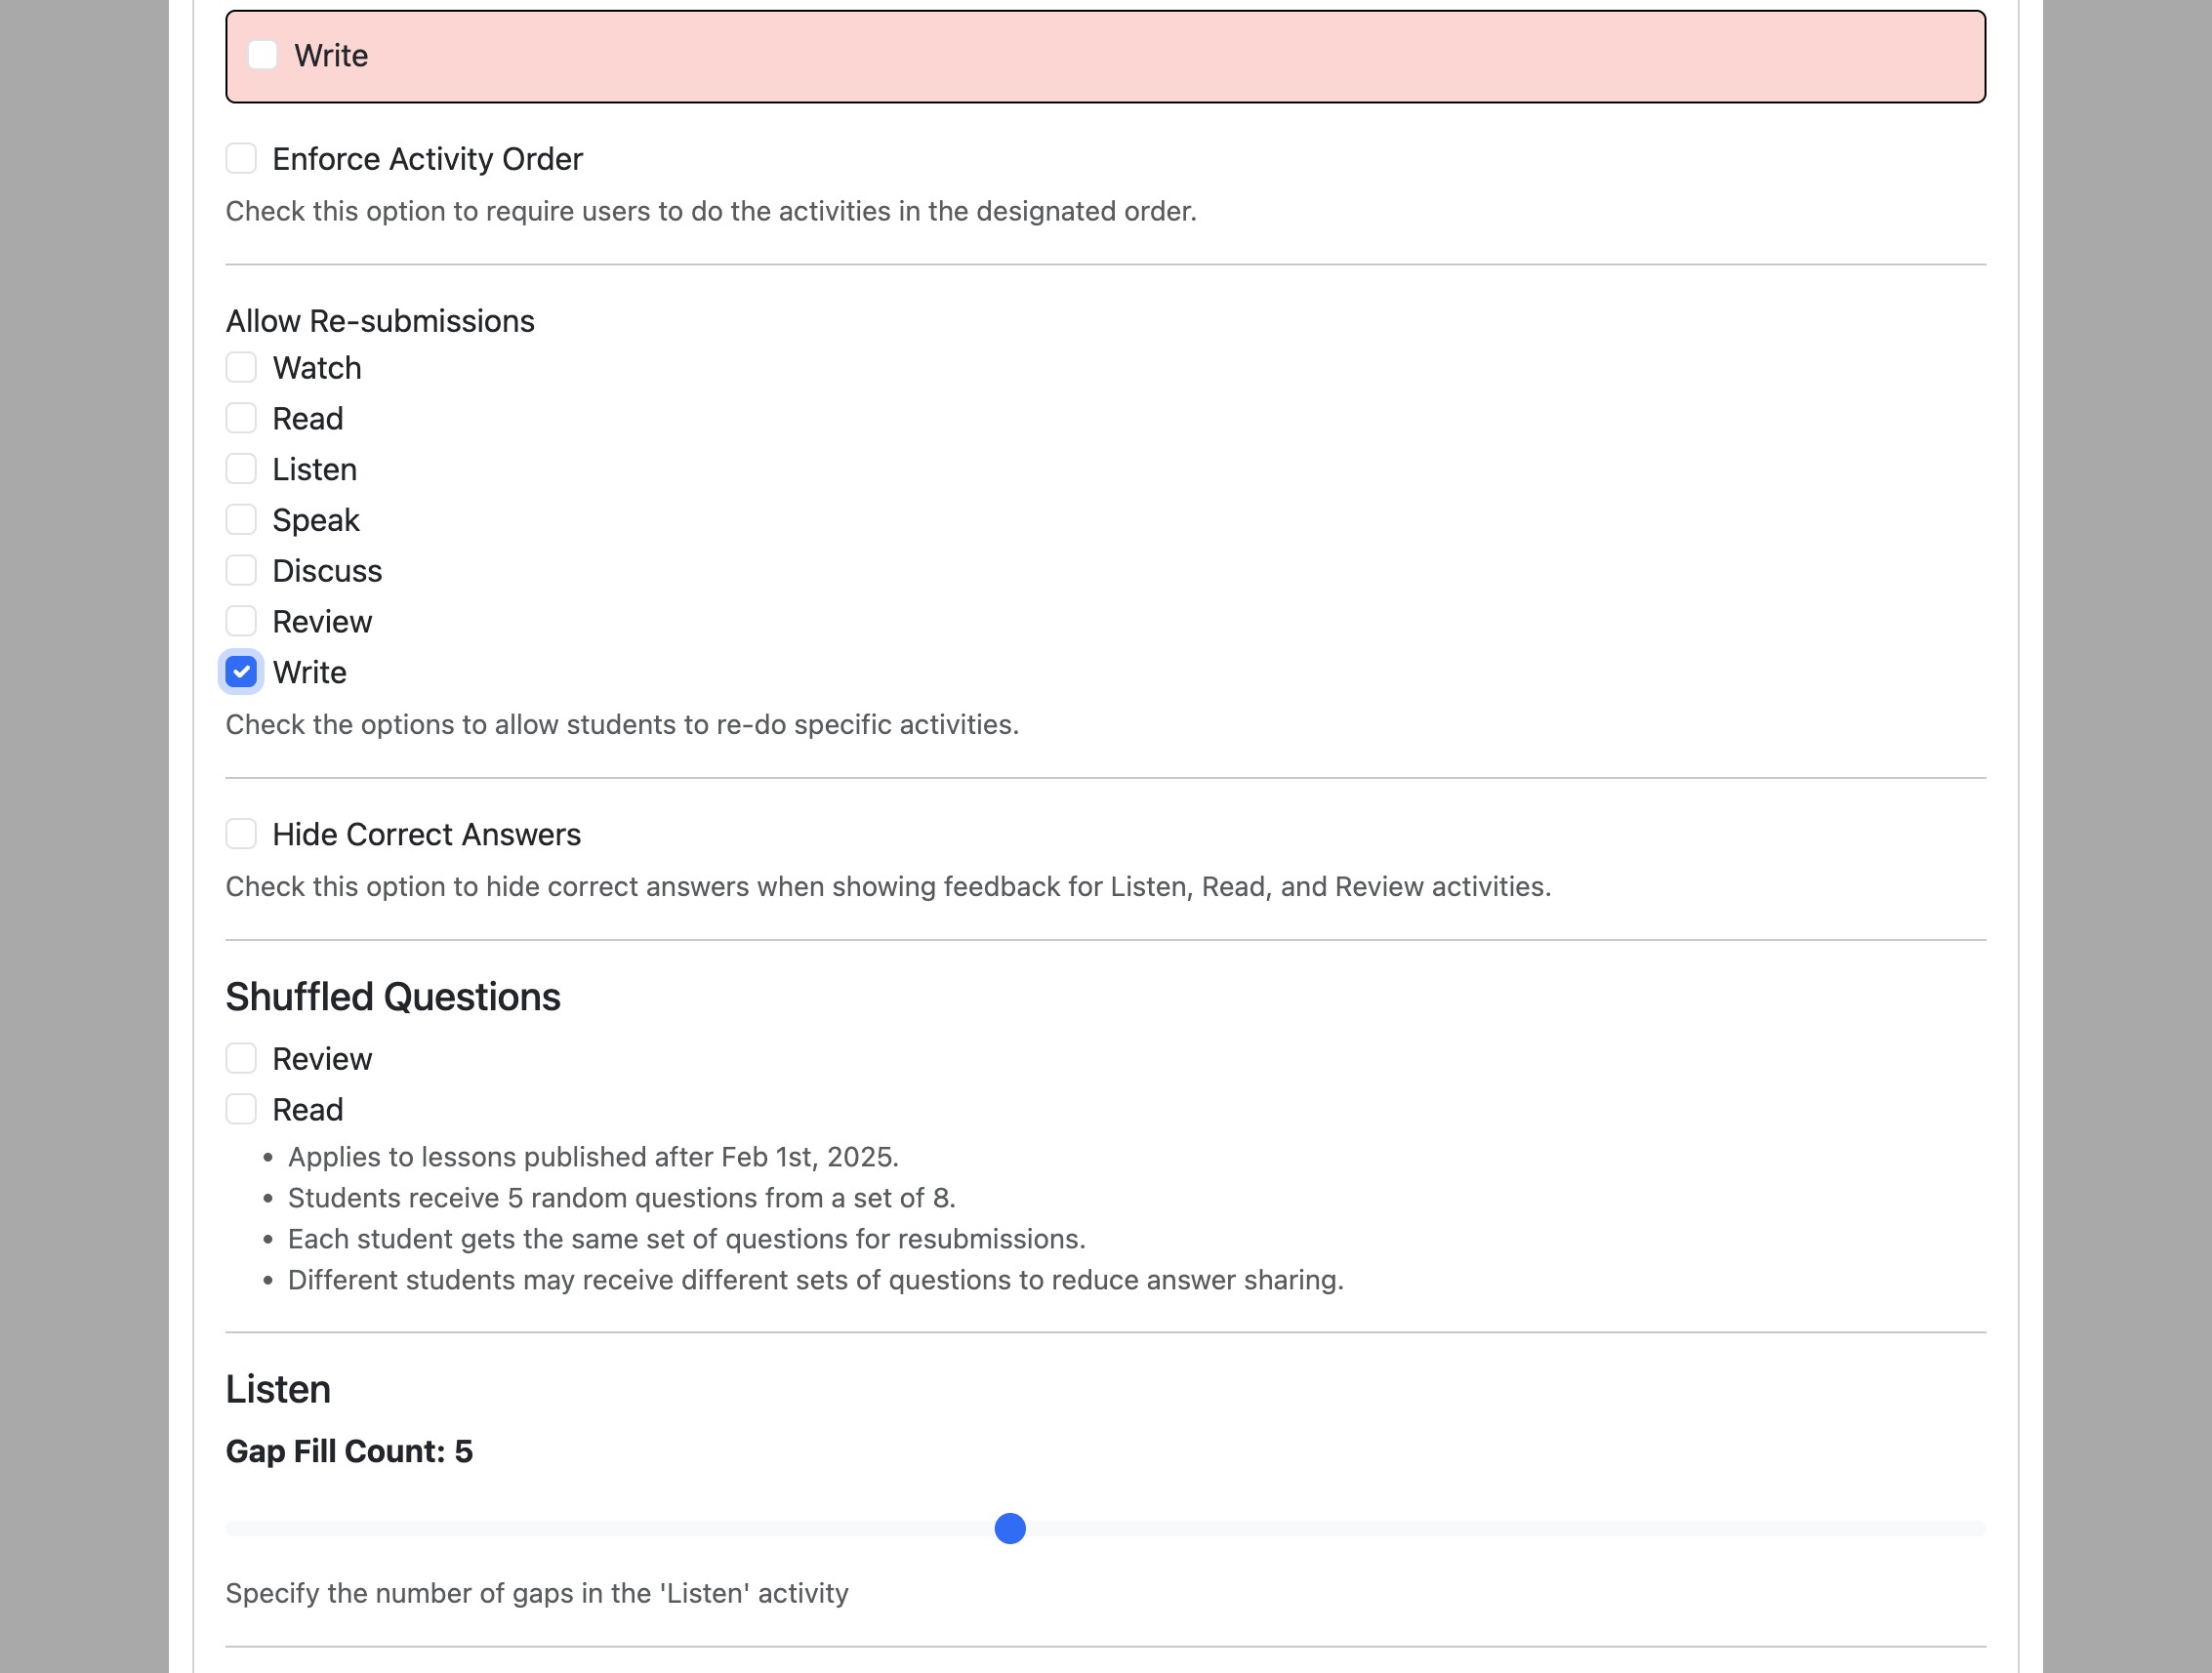
Check or uncheck “Hide Correct Answers” to allow or prevent students from seeing correct answers after submitting activities. They will still see which questions they got right or wrong even if this option is checked.
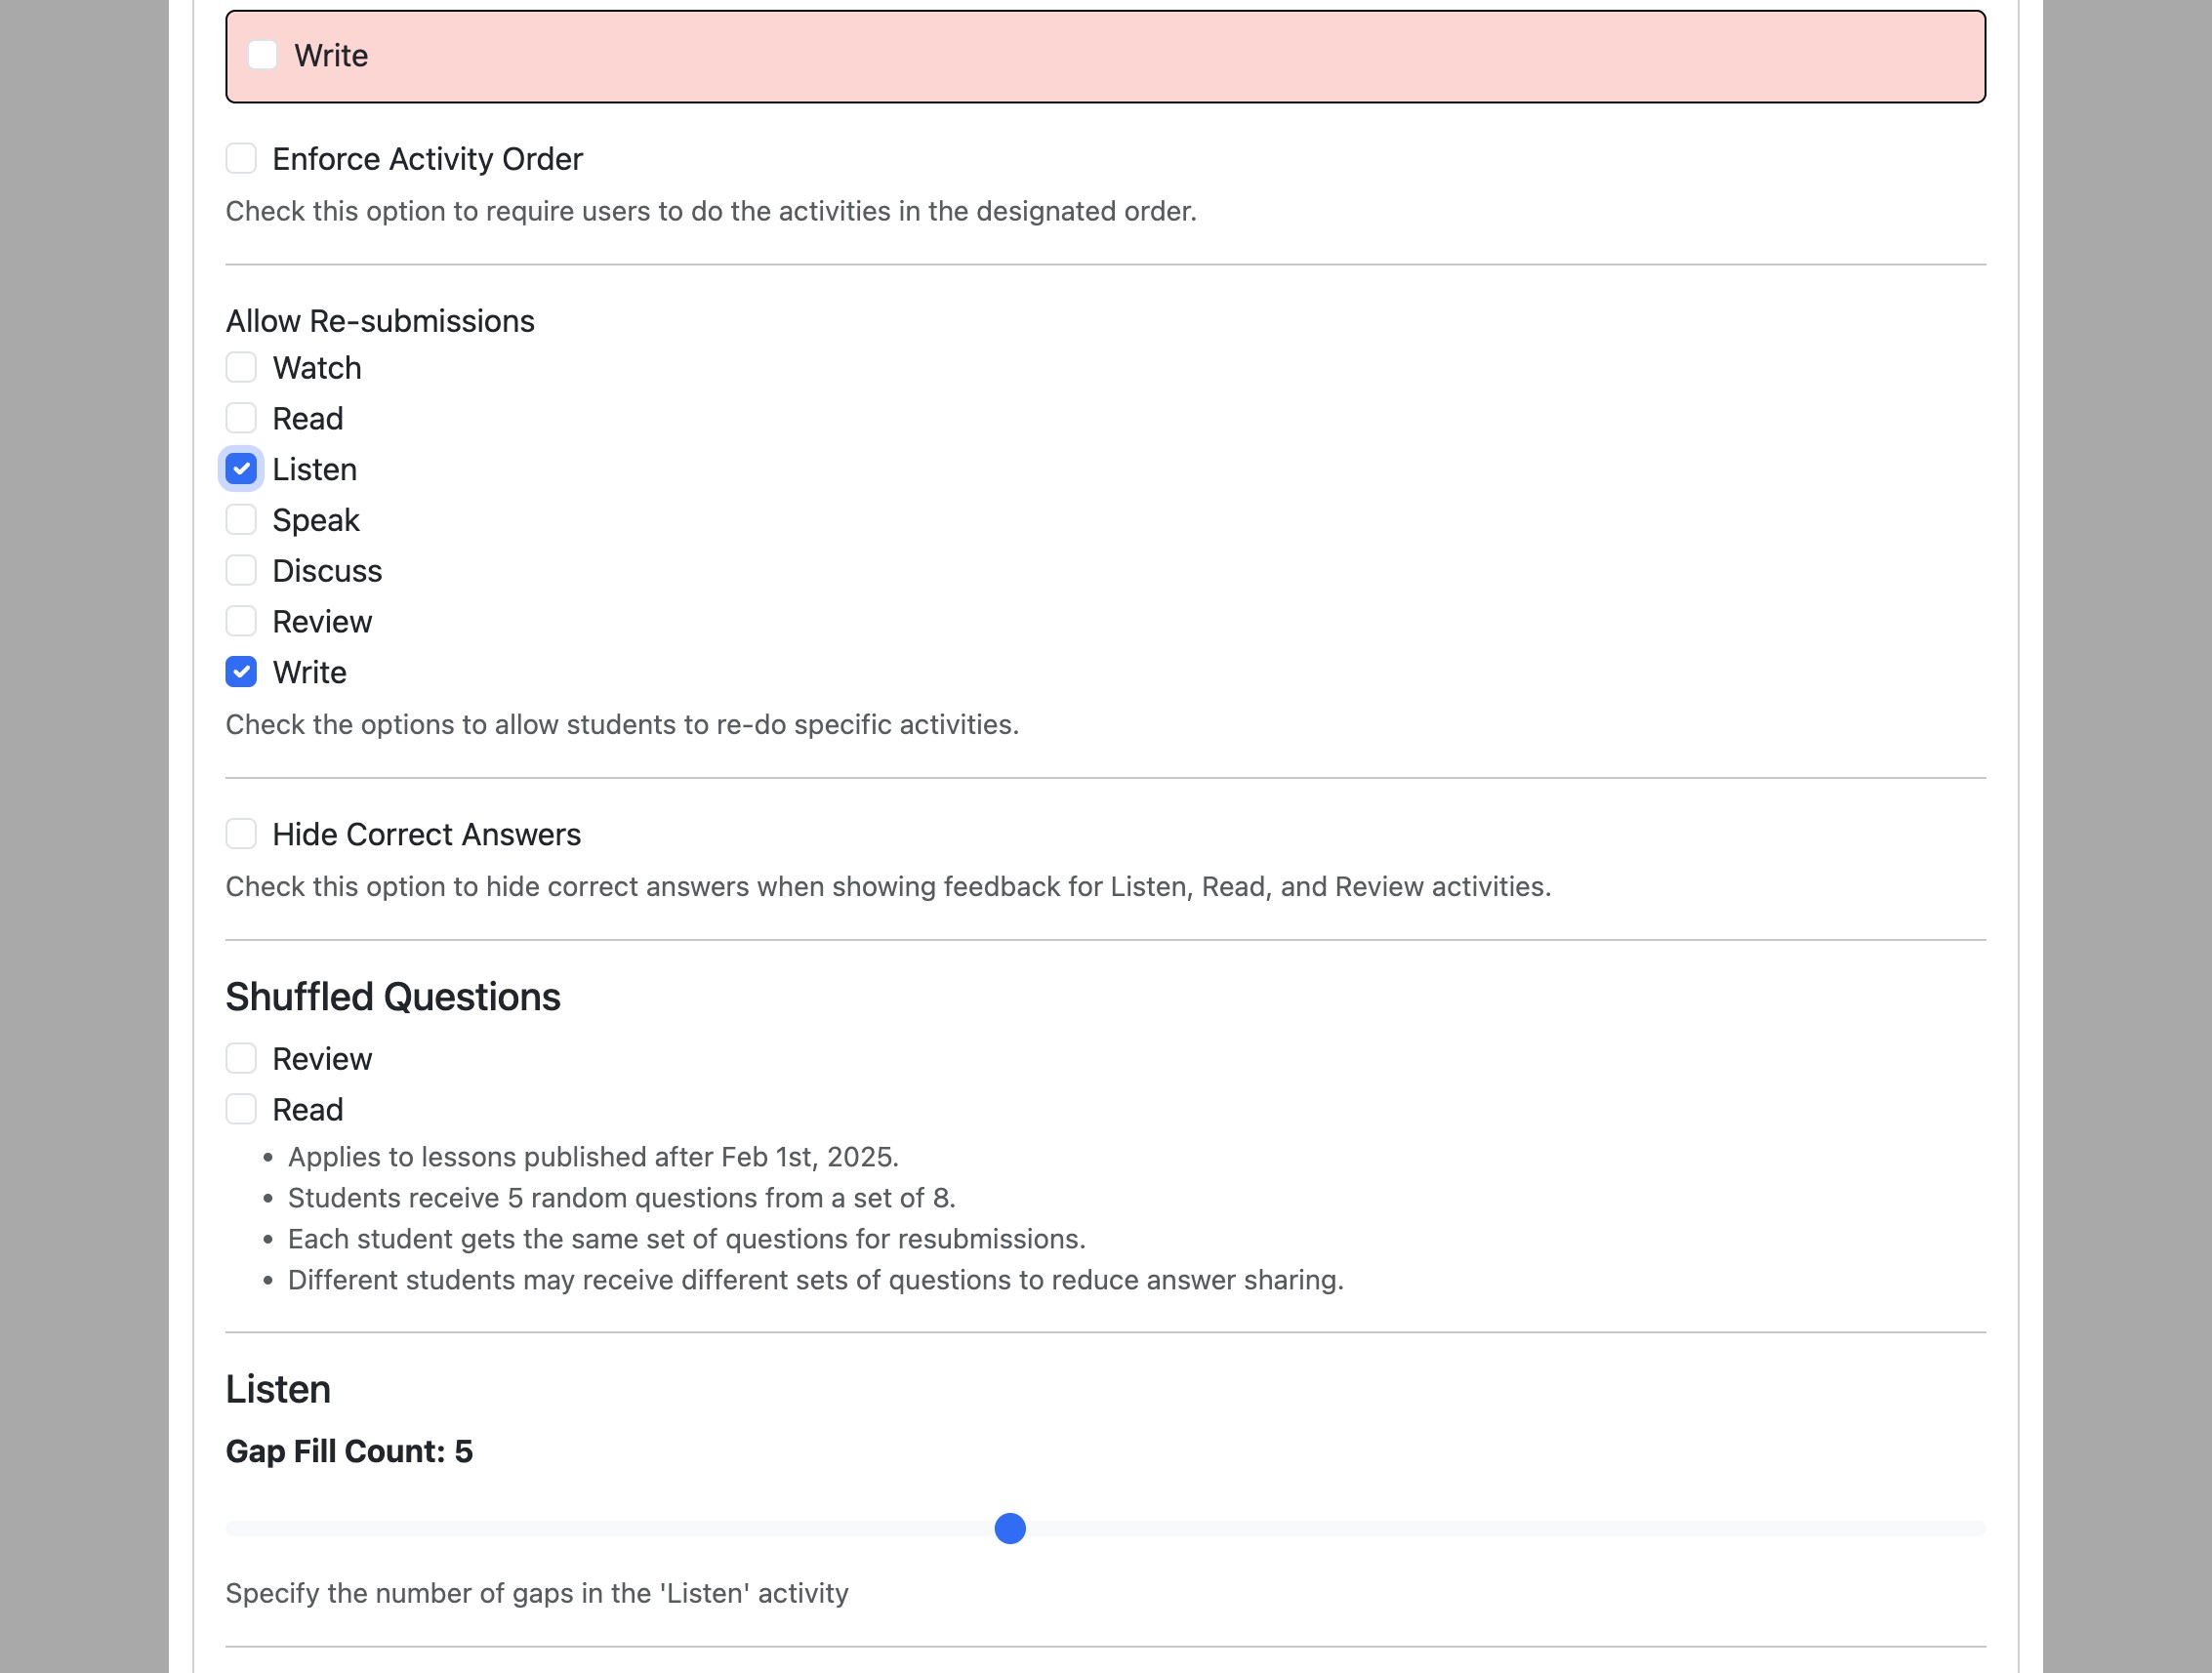
Under “Shuffled Questions” you can randomize supported activity questions to reduce answer-sharing. Shuffling applies to lessons published after February 1, 2025; enabled activities show five random questions from a pool of eight, the same student keeps the same set on resubmission, and different students may receive different sets.
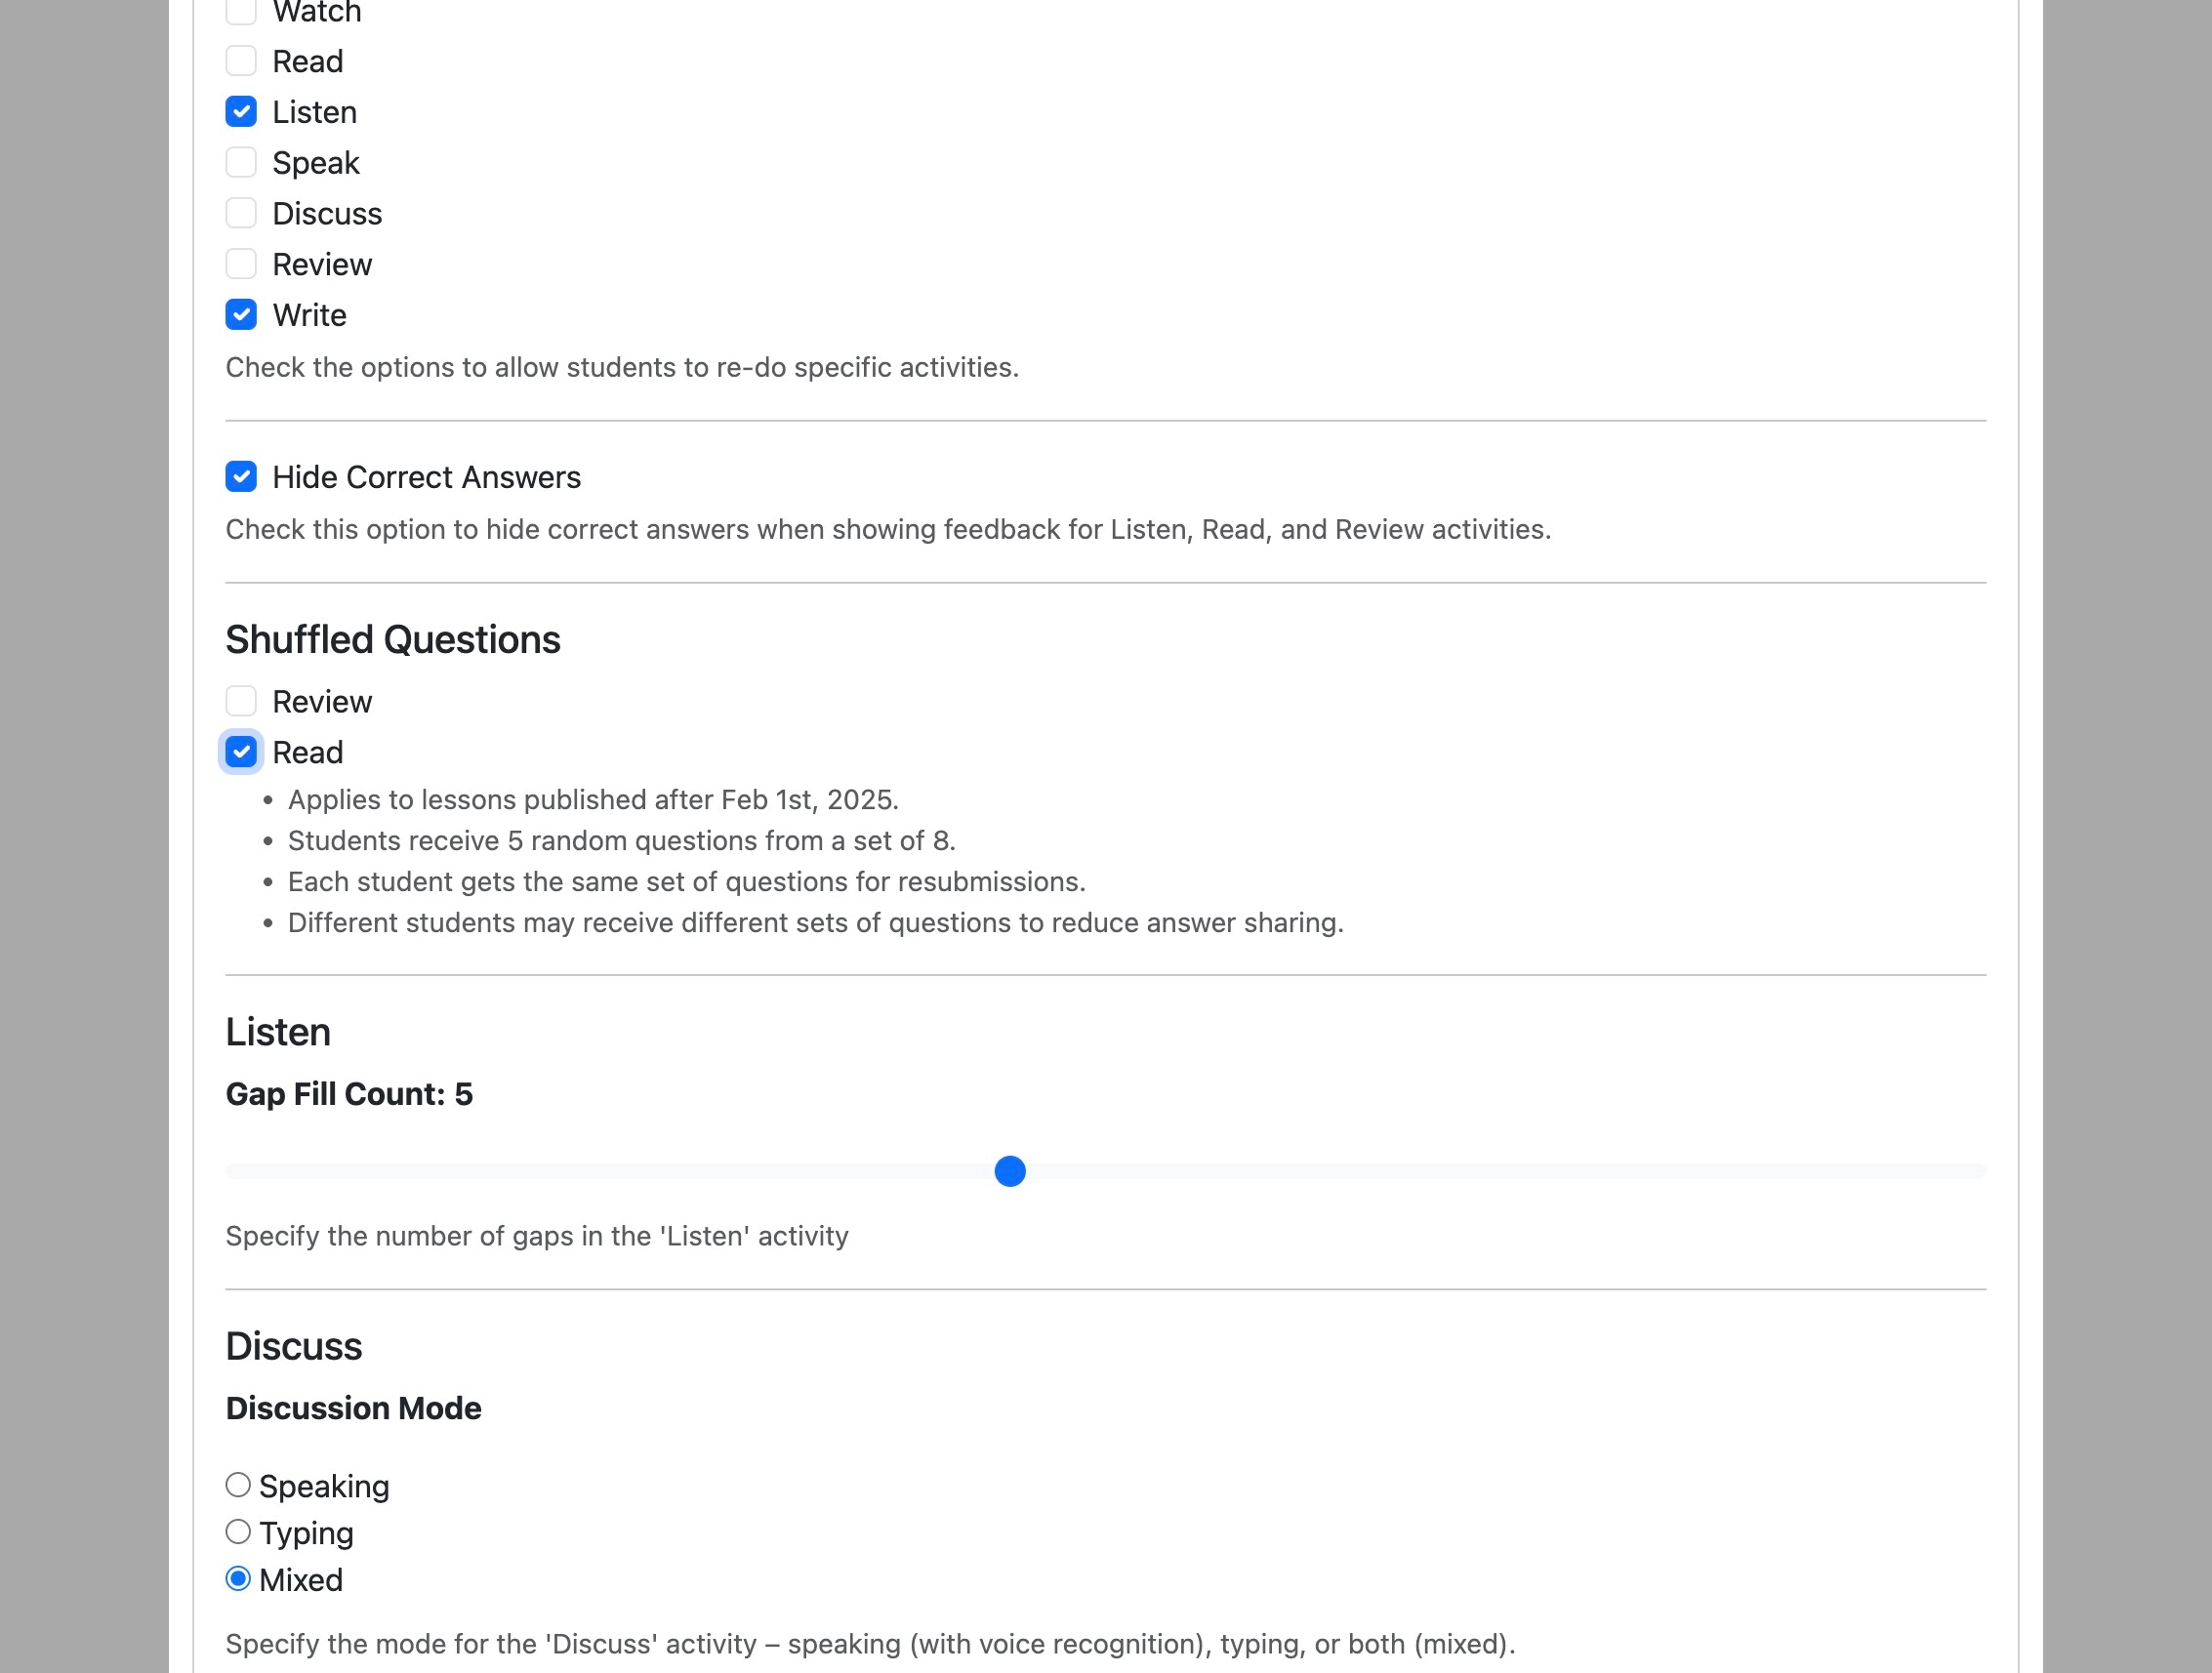
Check "Listening Mode for Questions" in the Read section to hide Read quiz question and answer-choice text from students and show audio controls instead. Students hear each question and choice in their selected voice, which helps keep Read multiple-choice questions as listening tasks when browser-based AI tools can read on-screen text. Use "Speech Transcription Method" to choose the speech-to-text backend for recorded answers: WebSocket live transcription when available, or Lambda as the fallback path.
Move the slider to specify how many words will be removed from the listening gap fill activity. Words are selected automatically starting with the longest word in the text. Words with special characters such as hyphens or apostrophes are excluded.
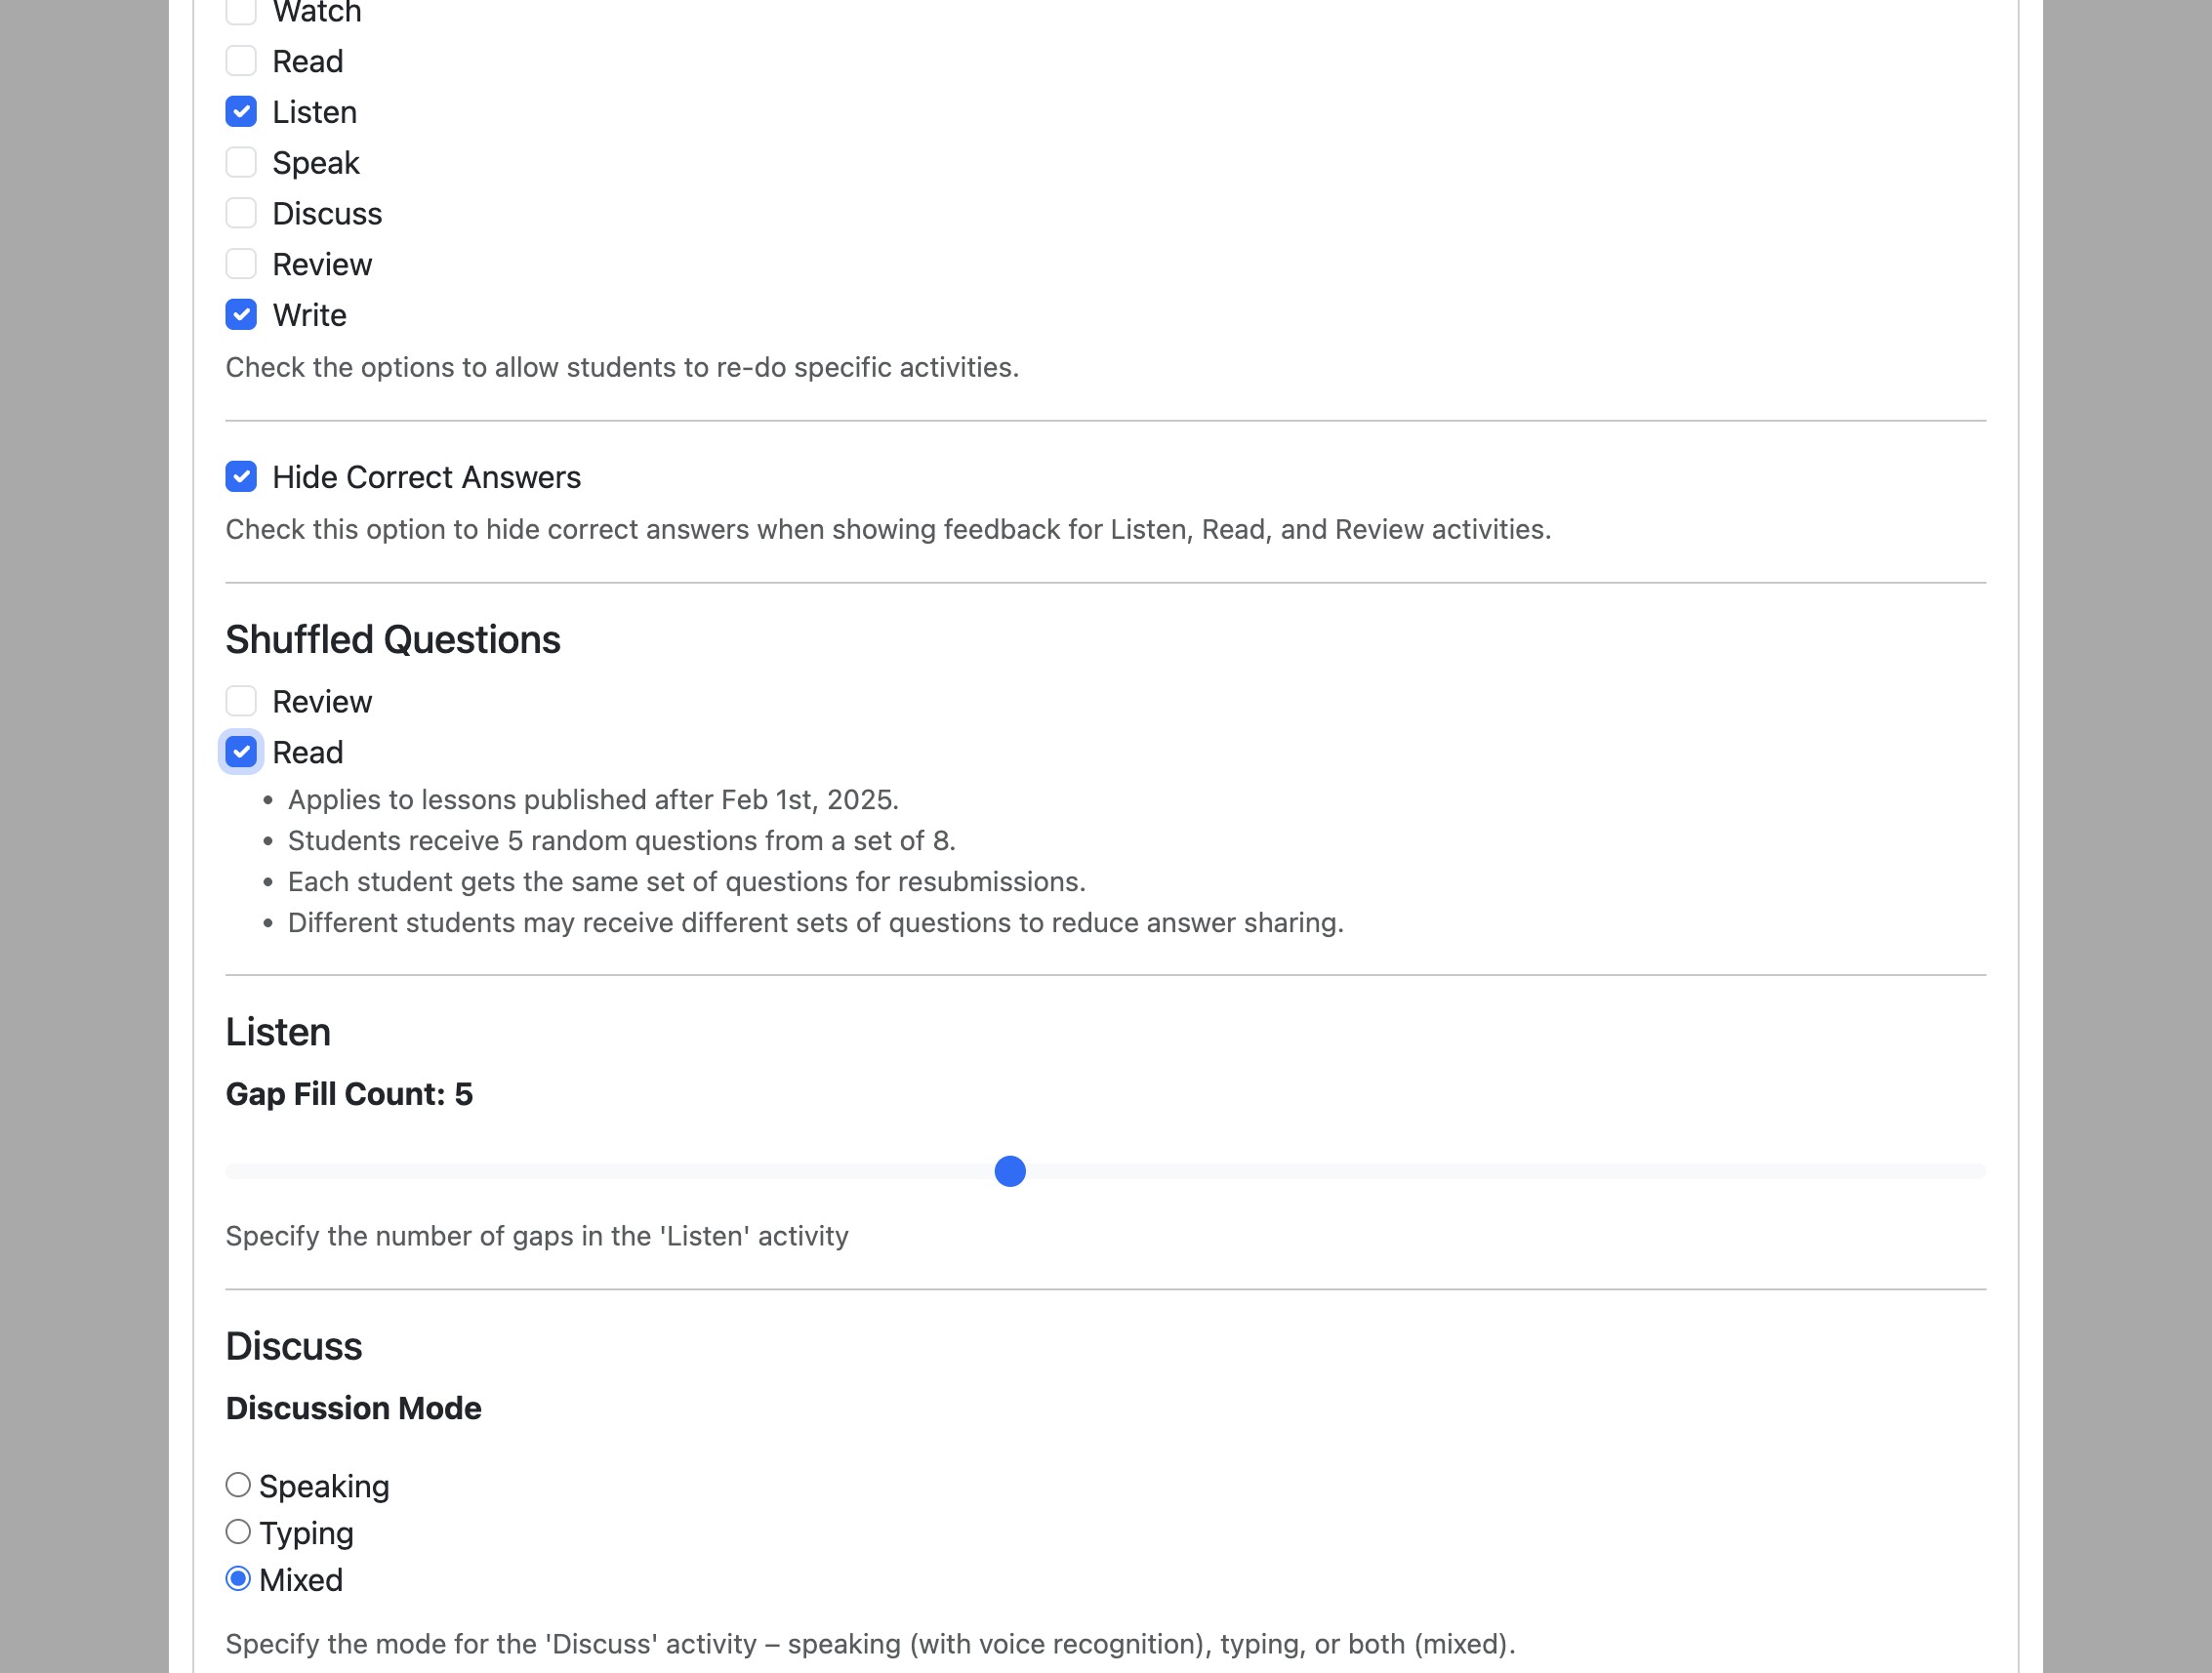
Select how you want the students to participate in the 'Discuss' activity whether via audio recording or typing the response.
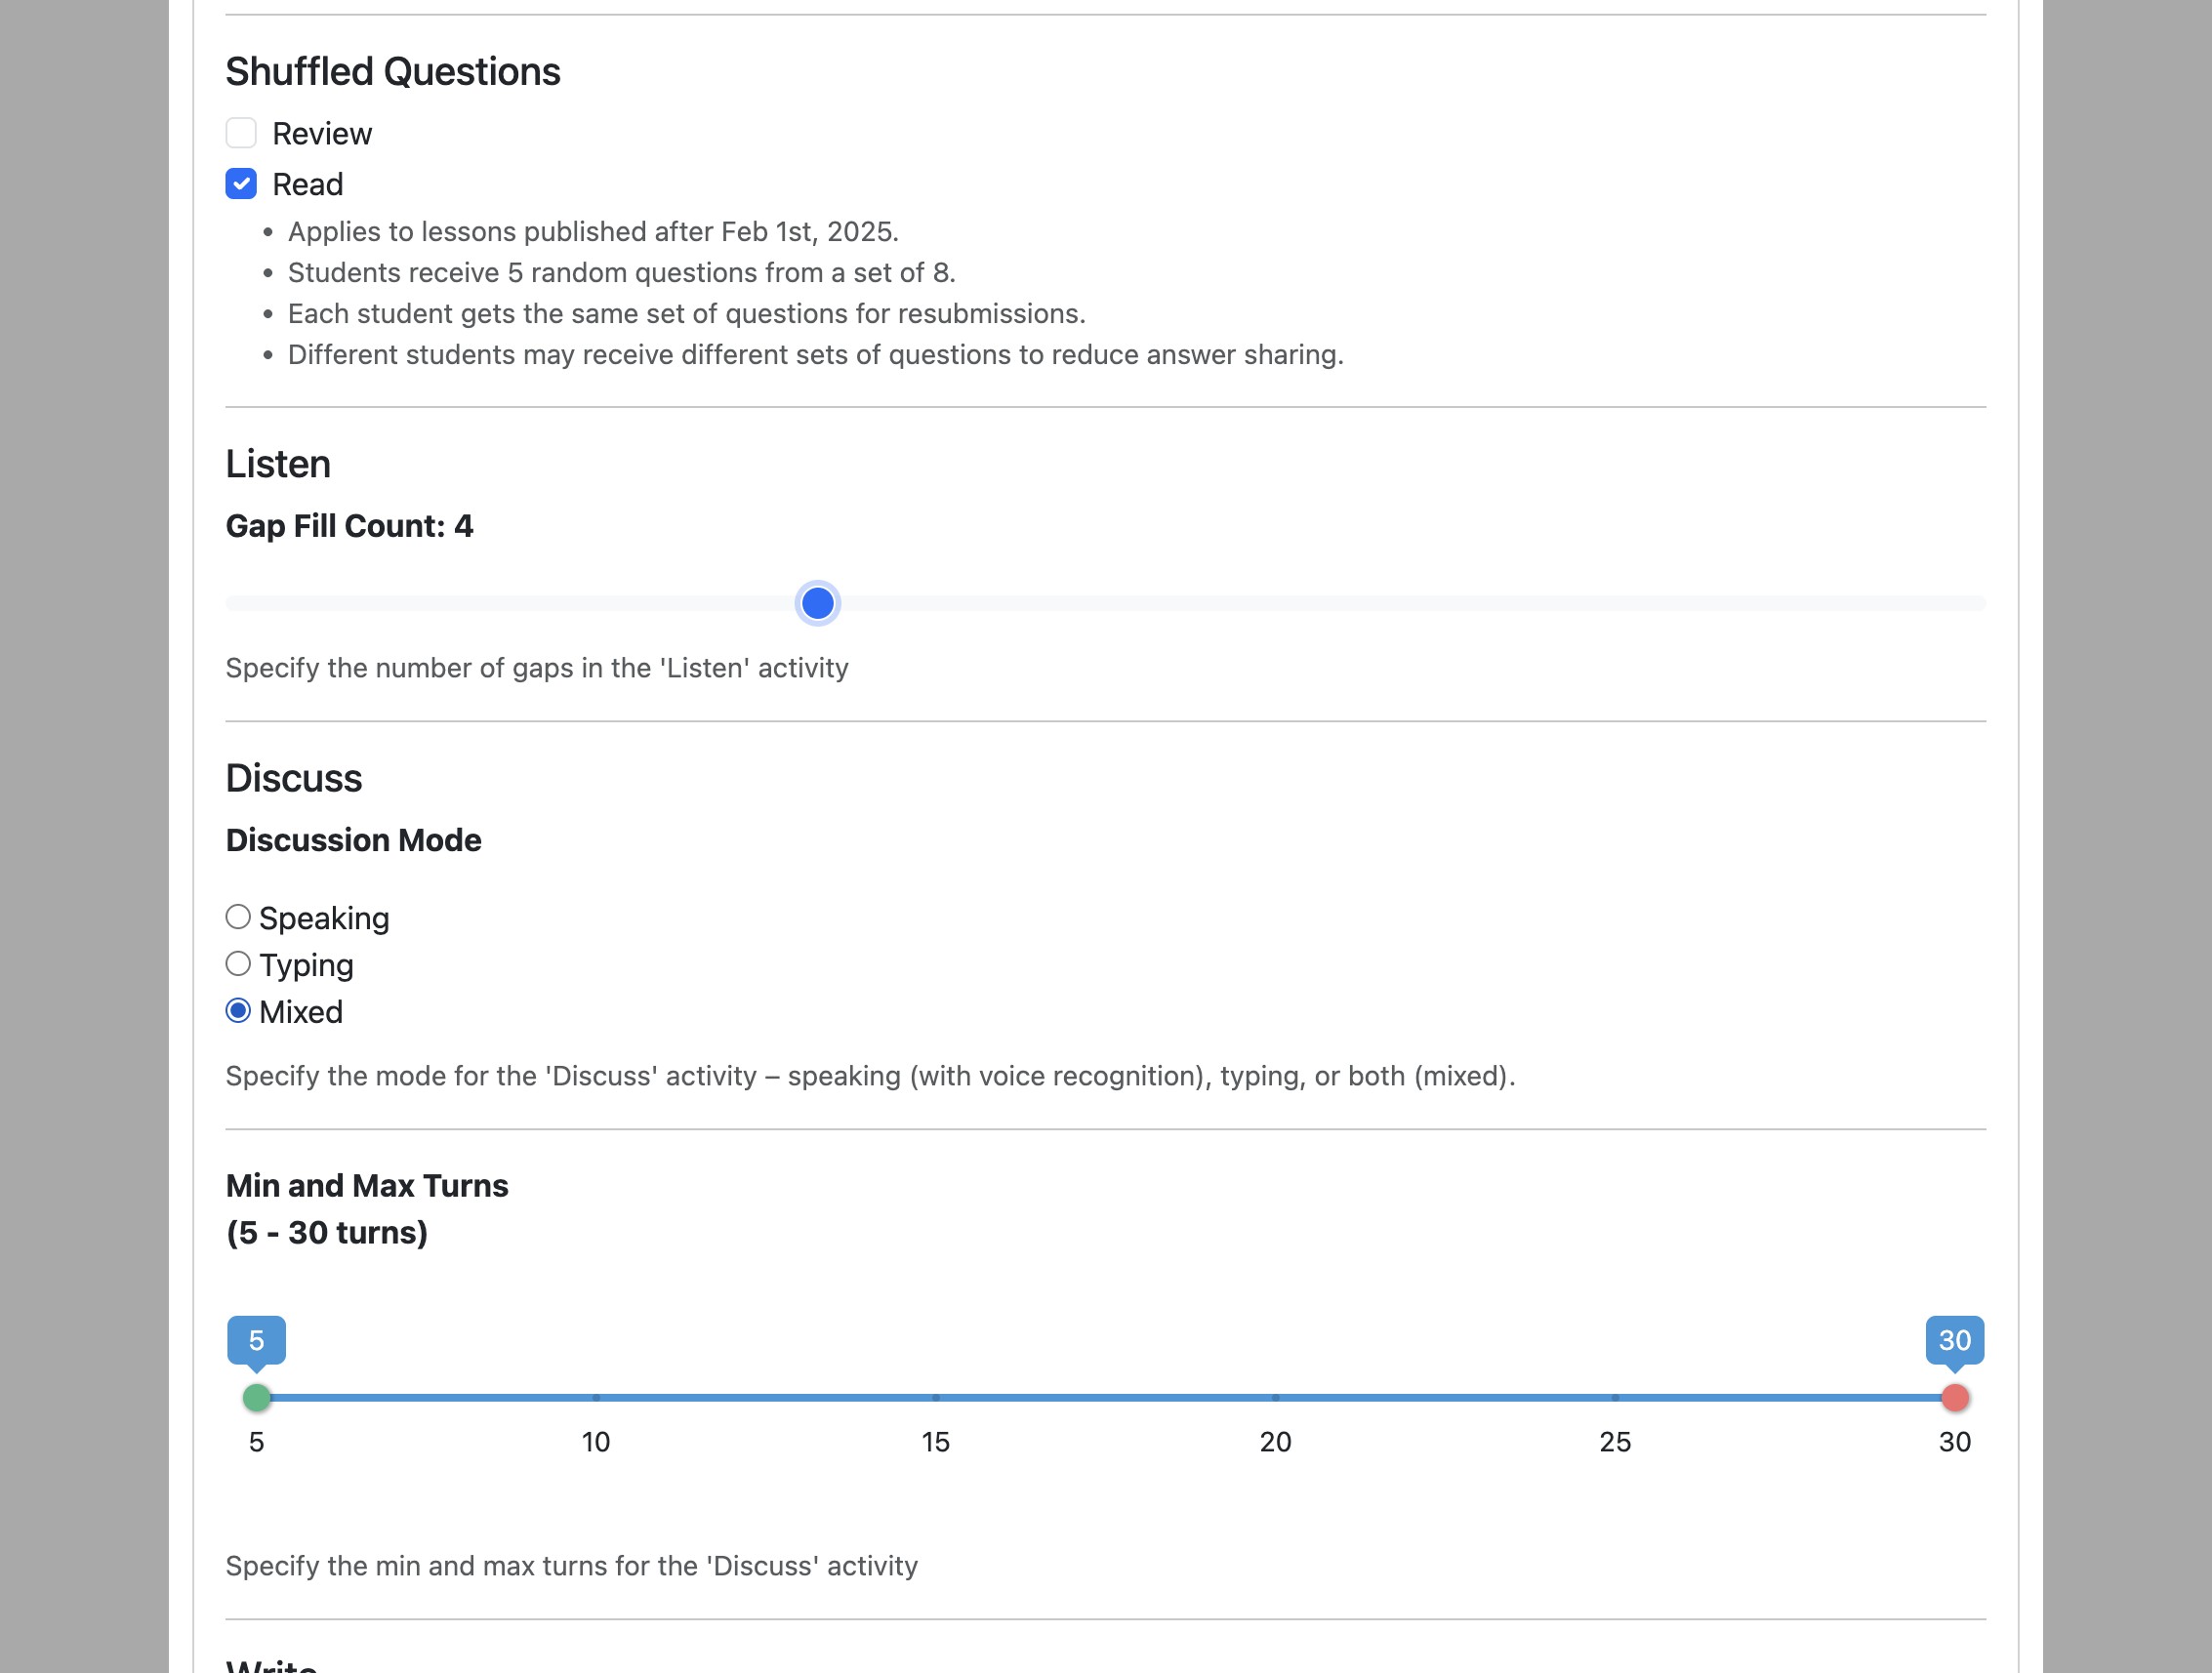
Use the slider to set minimum and maximum turns in the 'Discuss' activity.
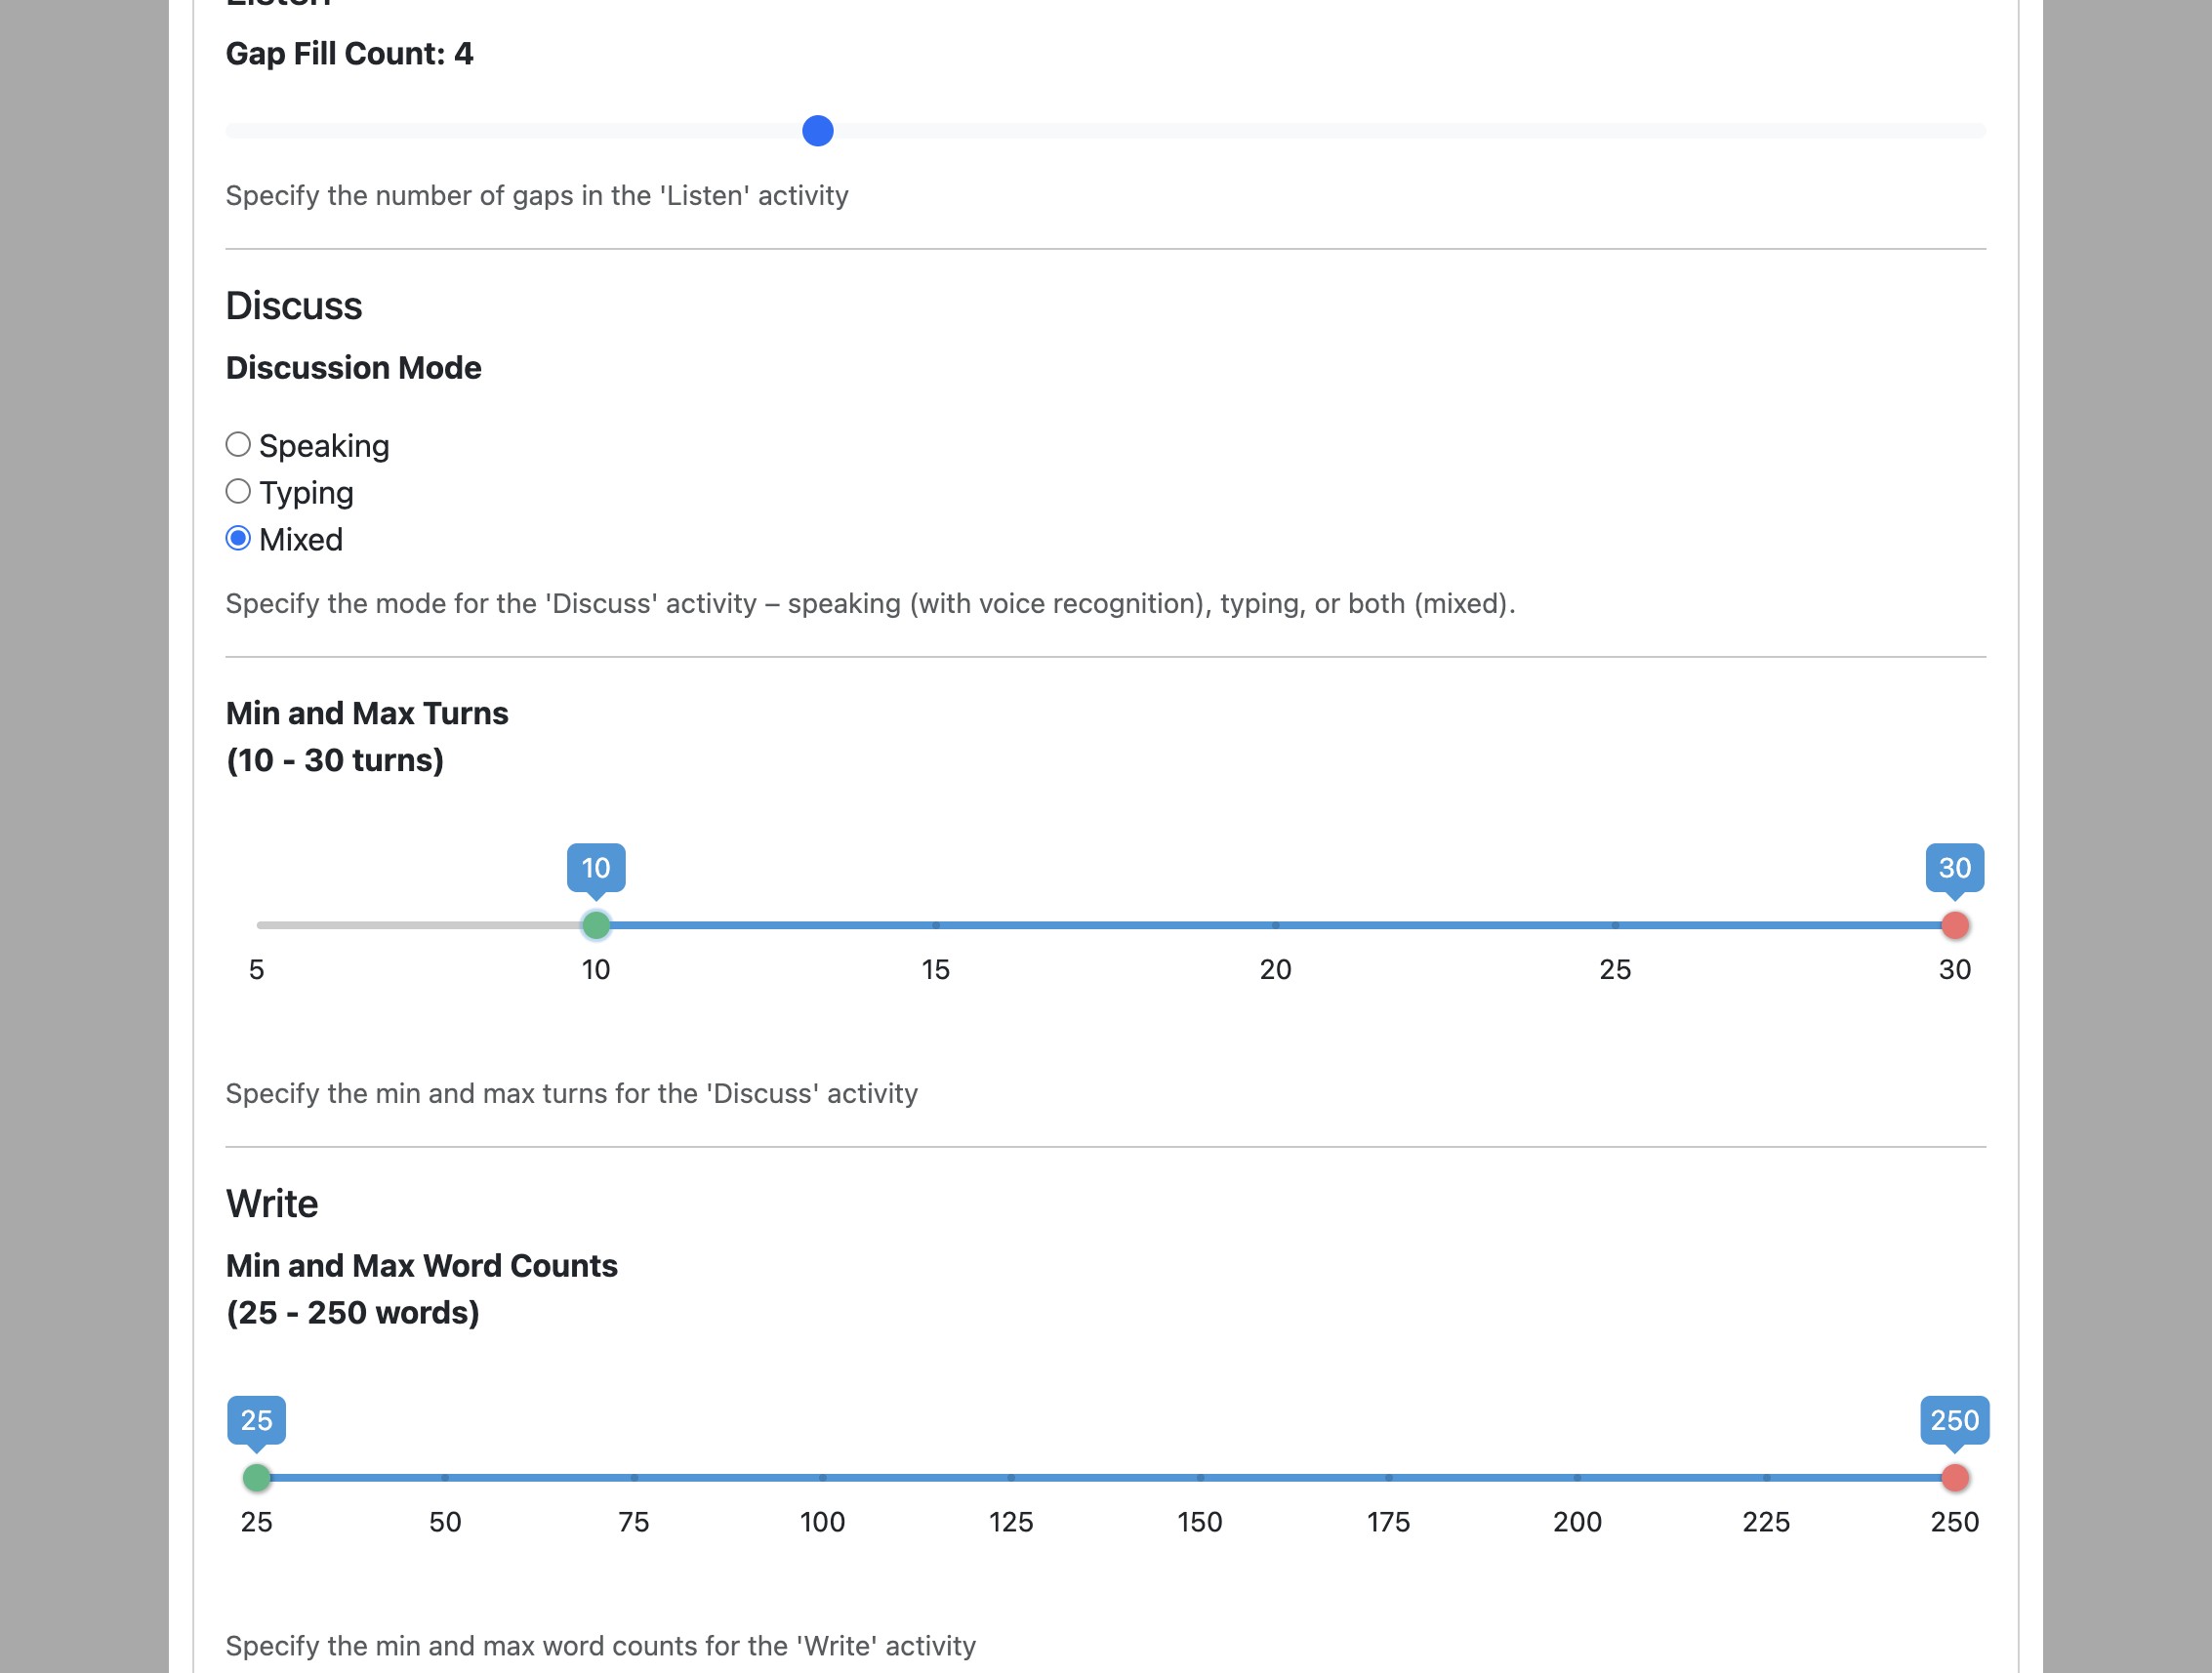
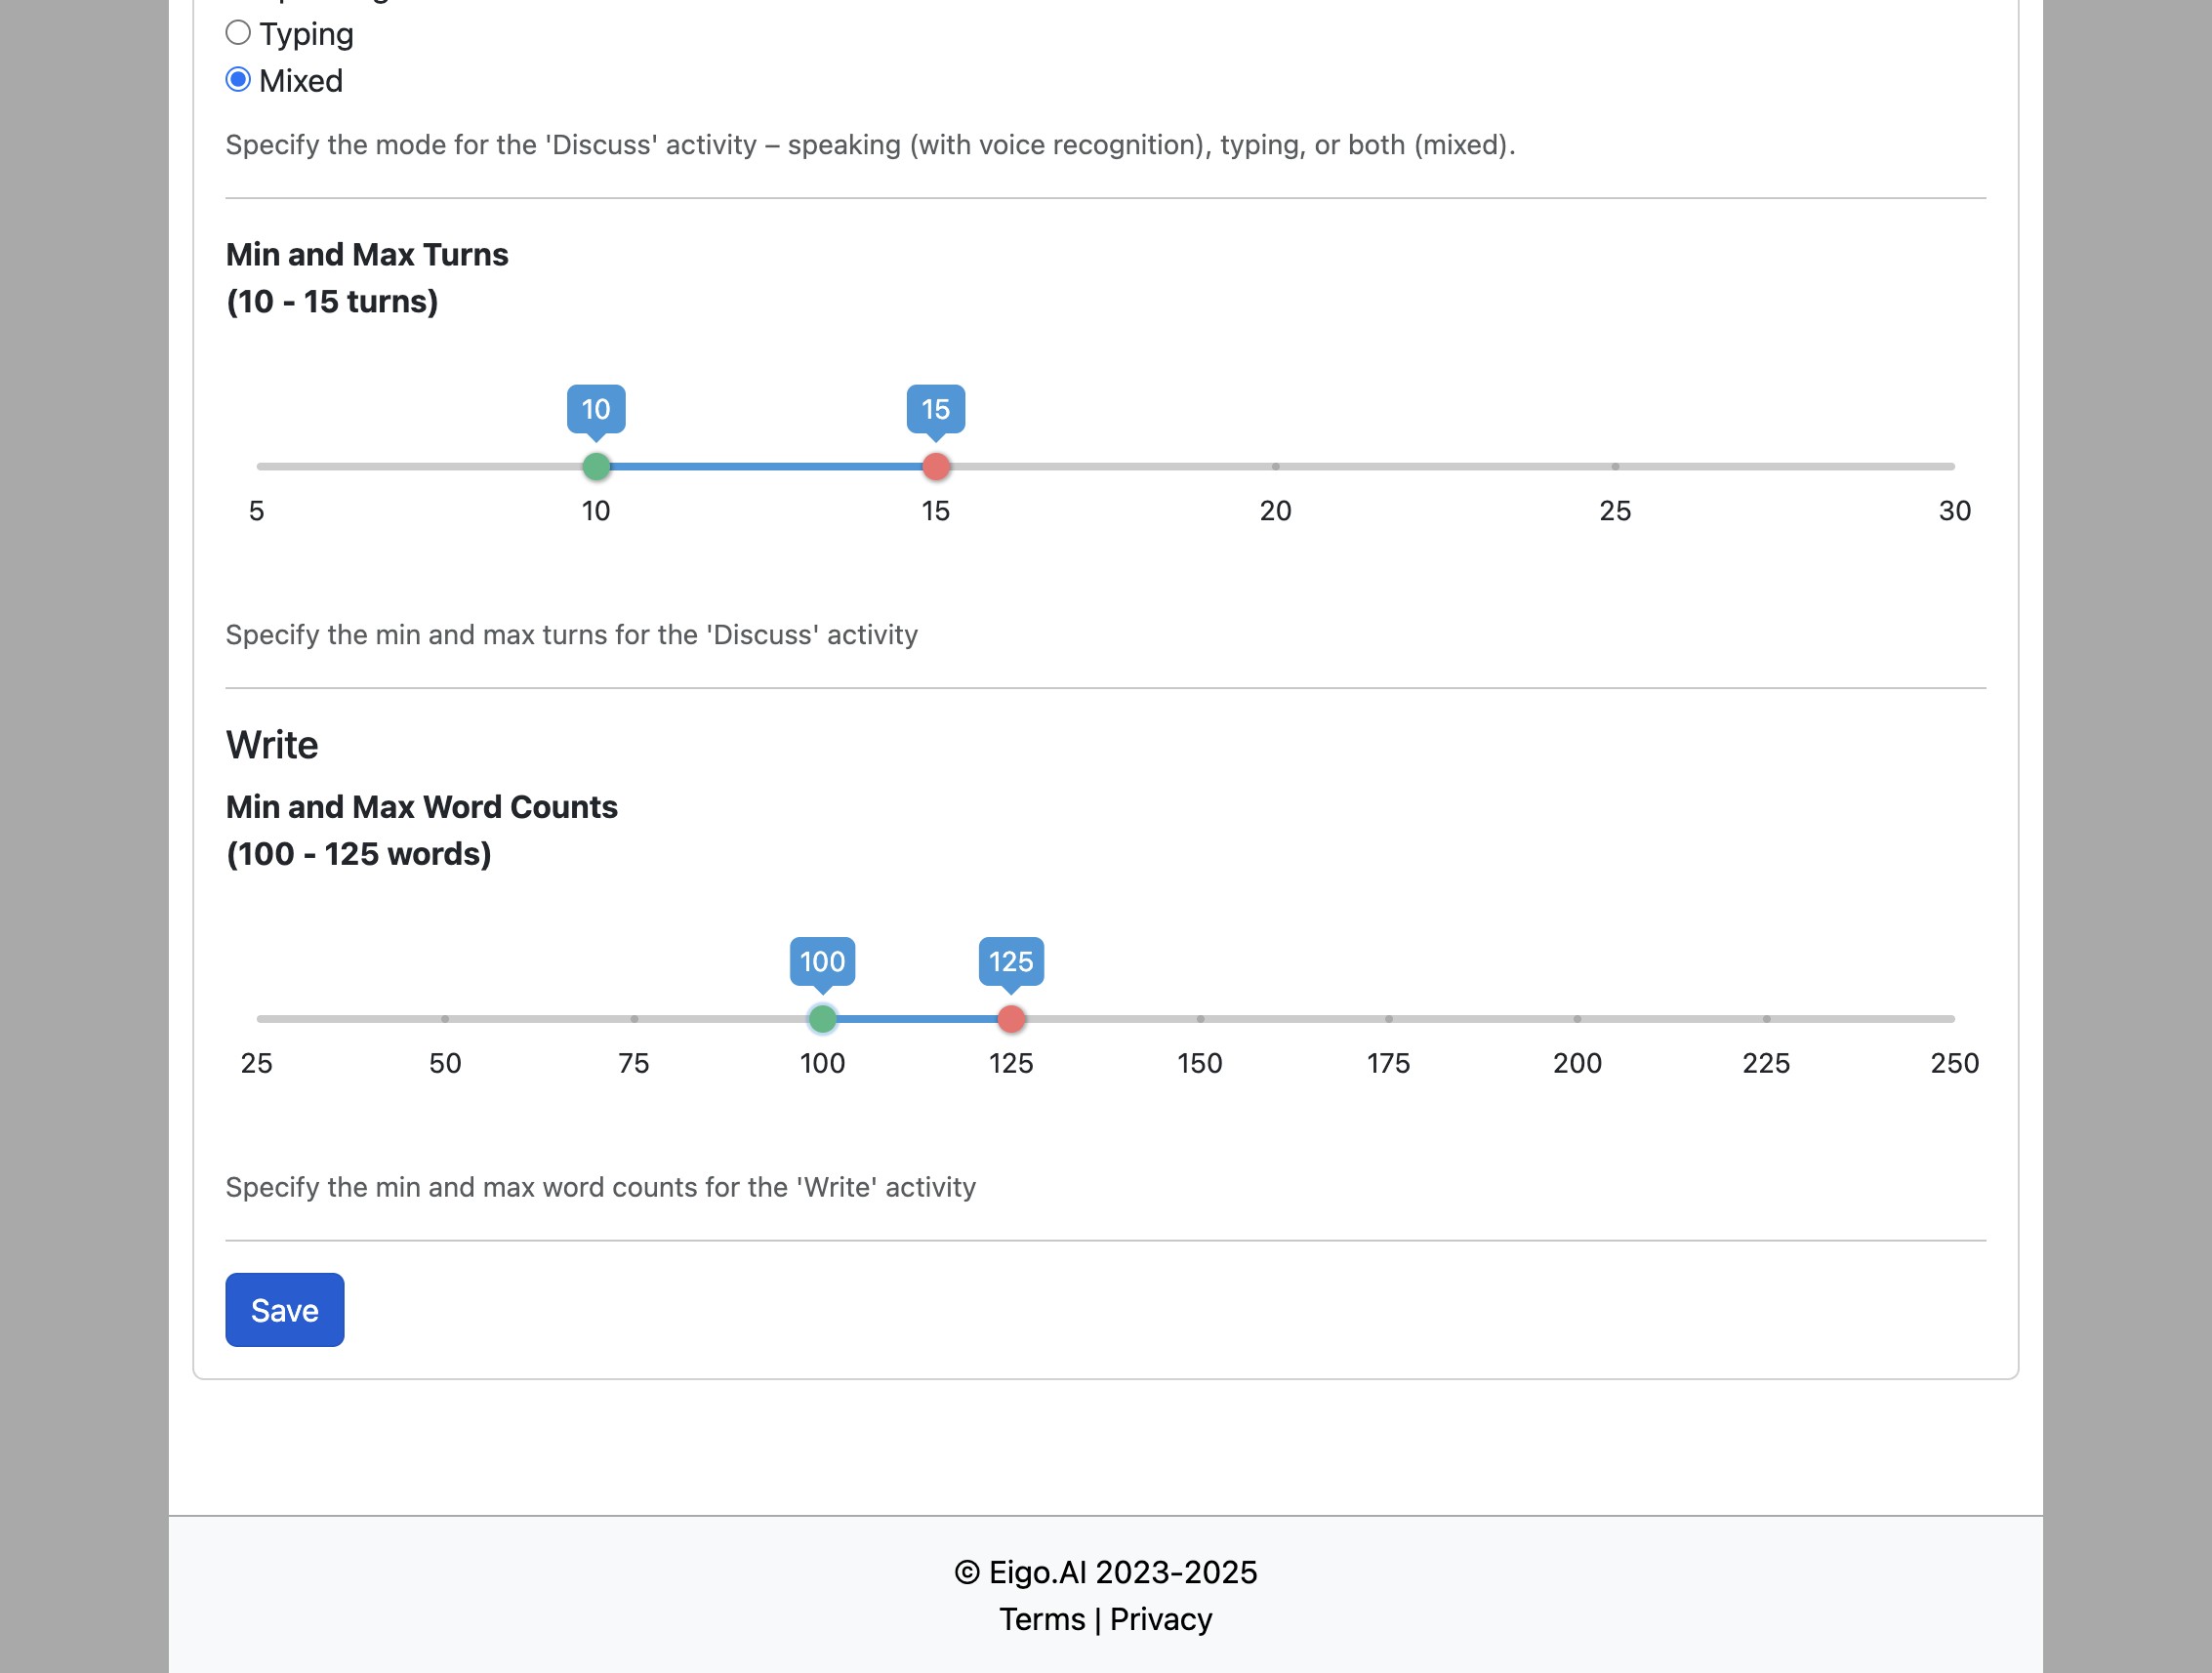
Use the slider to set minimum and maximum word counts in the 'Write' activity.
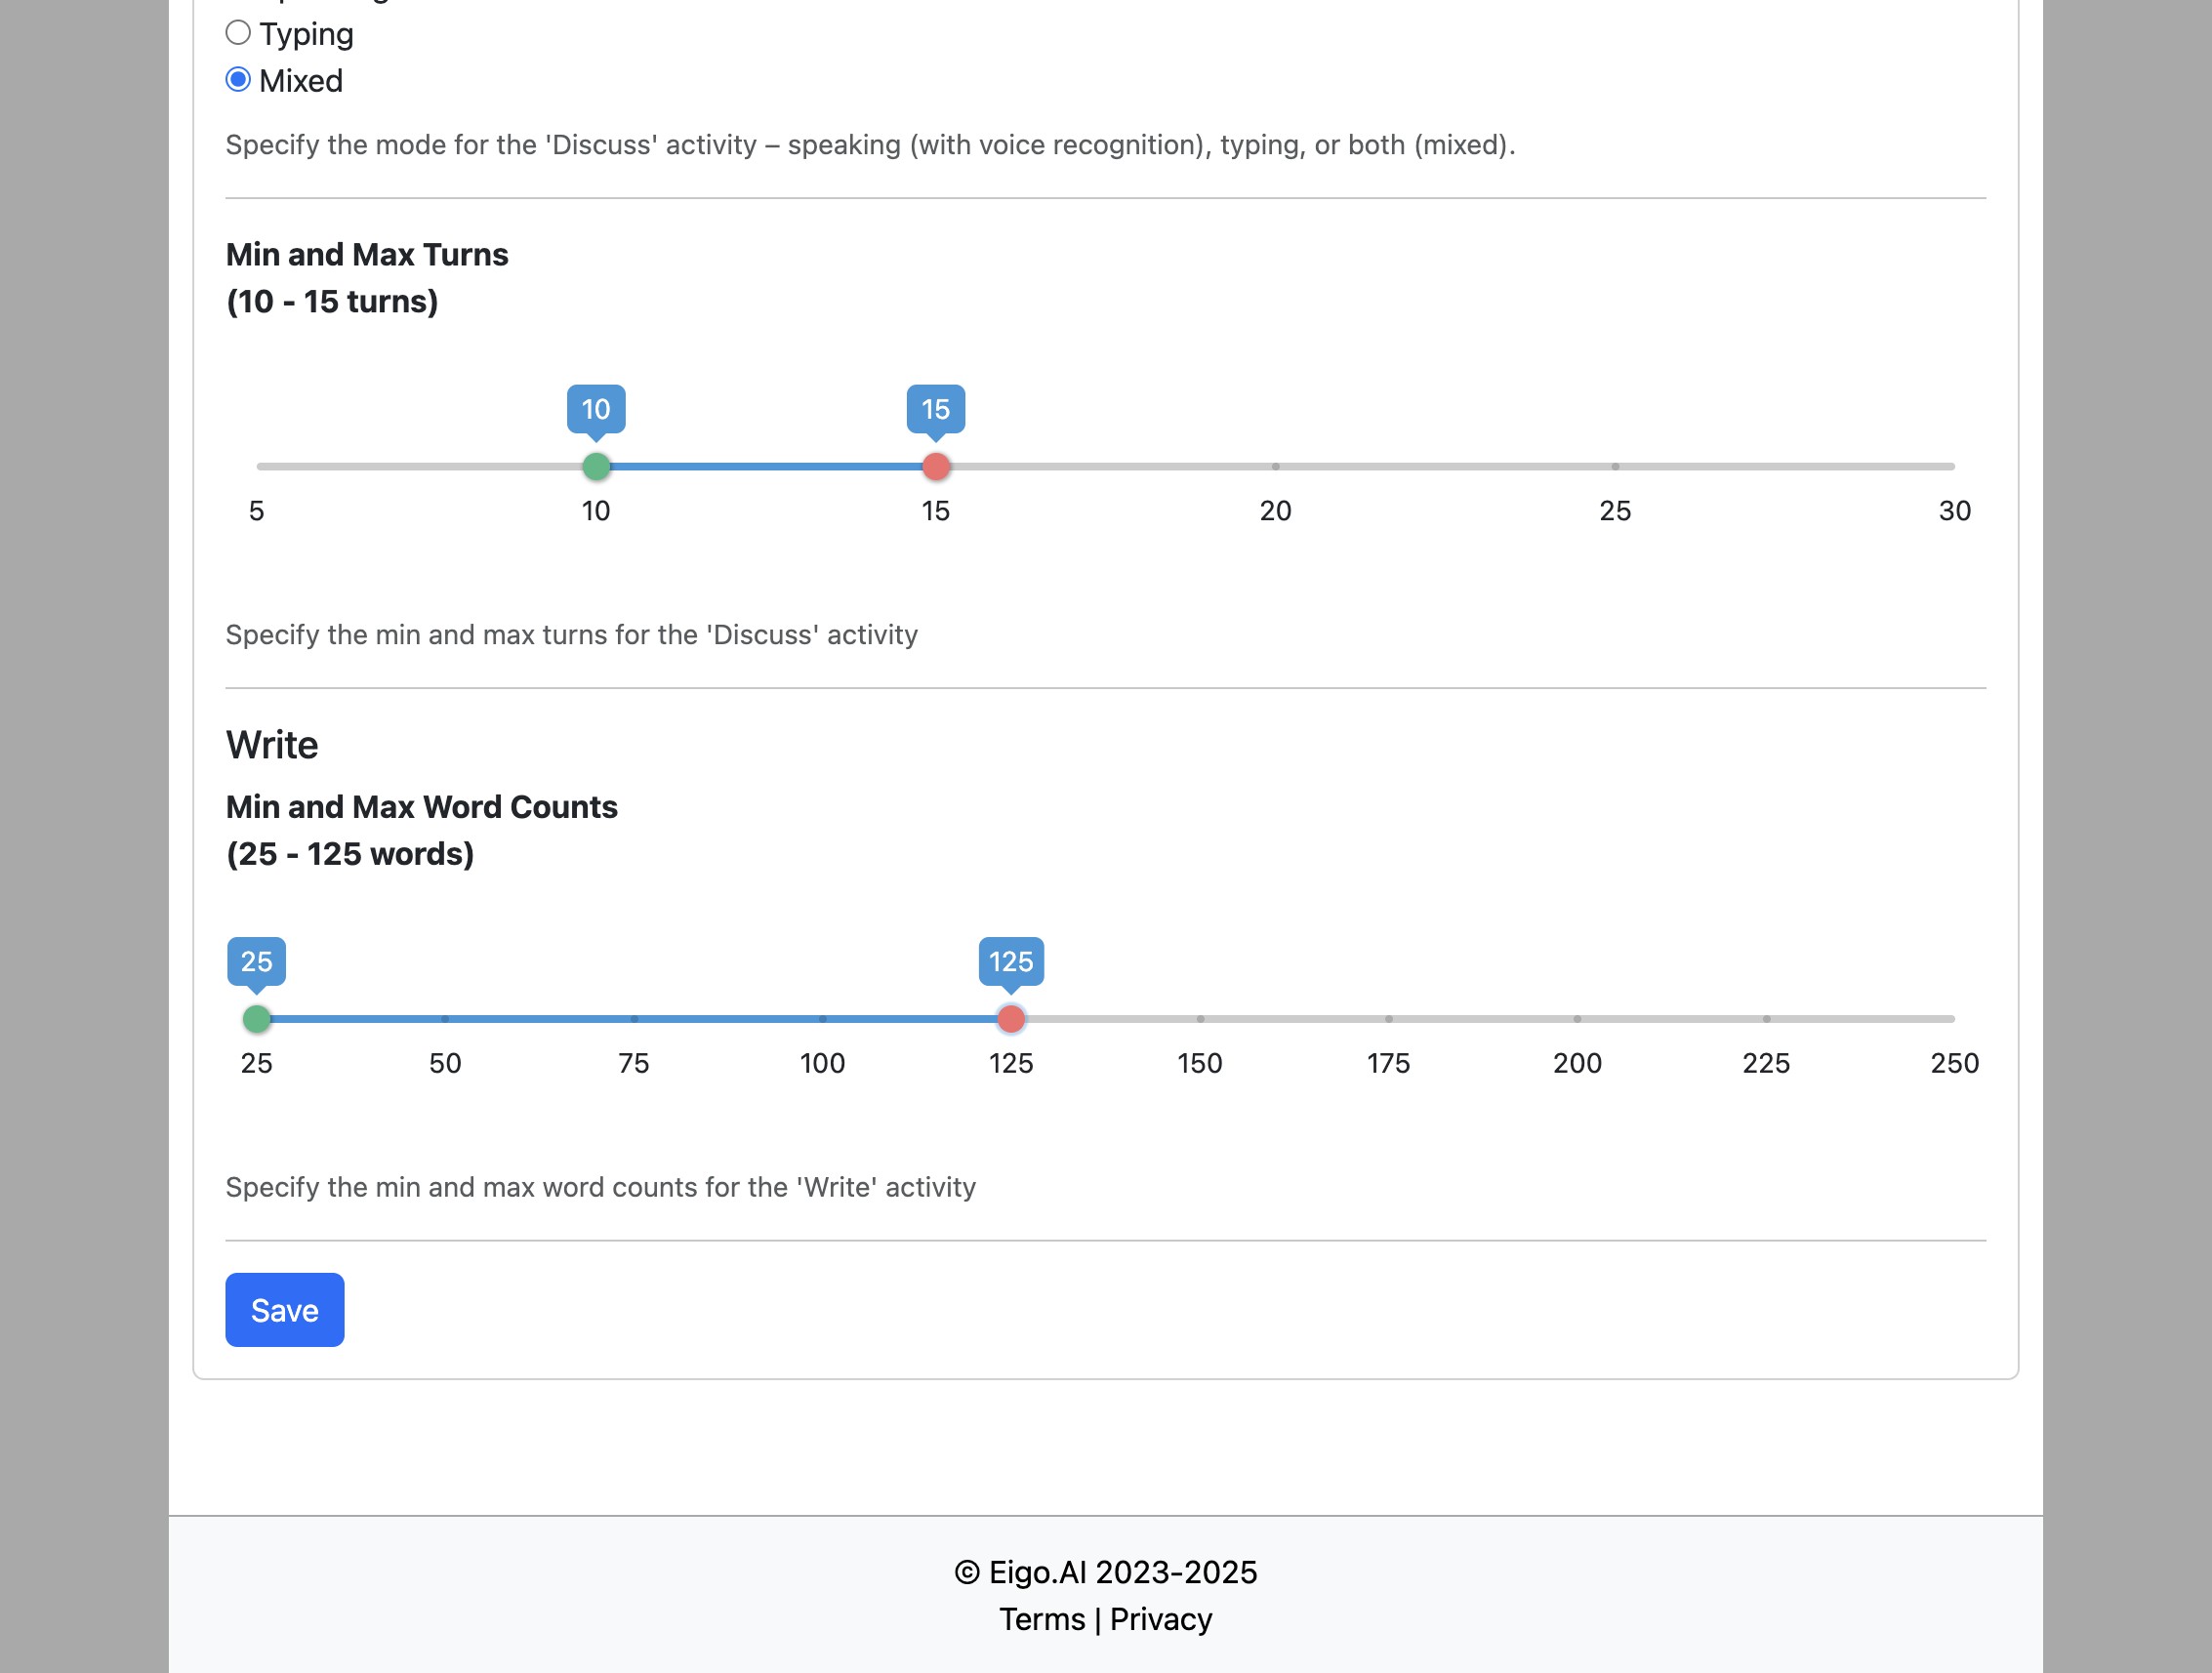
Click "Save" to confirm and save settings.
Classroom Activities
In the “Activities” tab, under “Classroom Activities”, uncheck “Show in student view” to hide Classroom Activities and Pair Activities from students. This option is on by default. Click “Save”.
Student Options
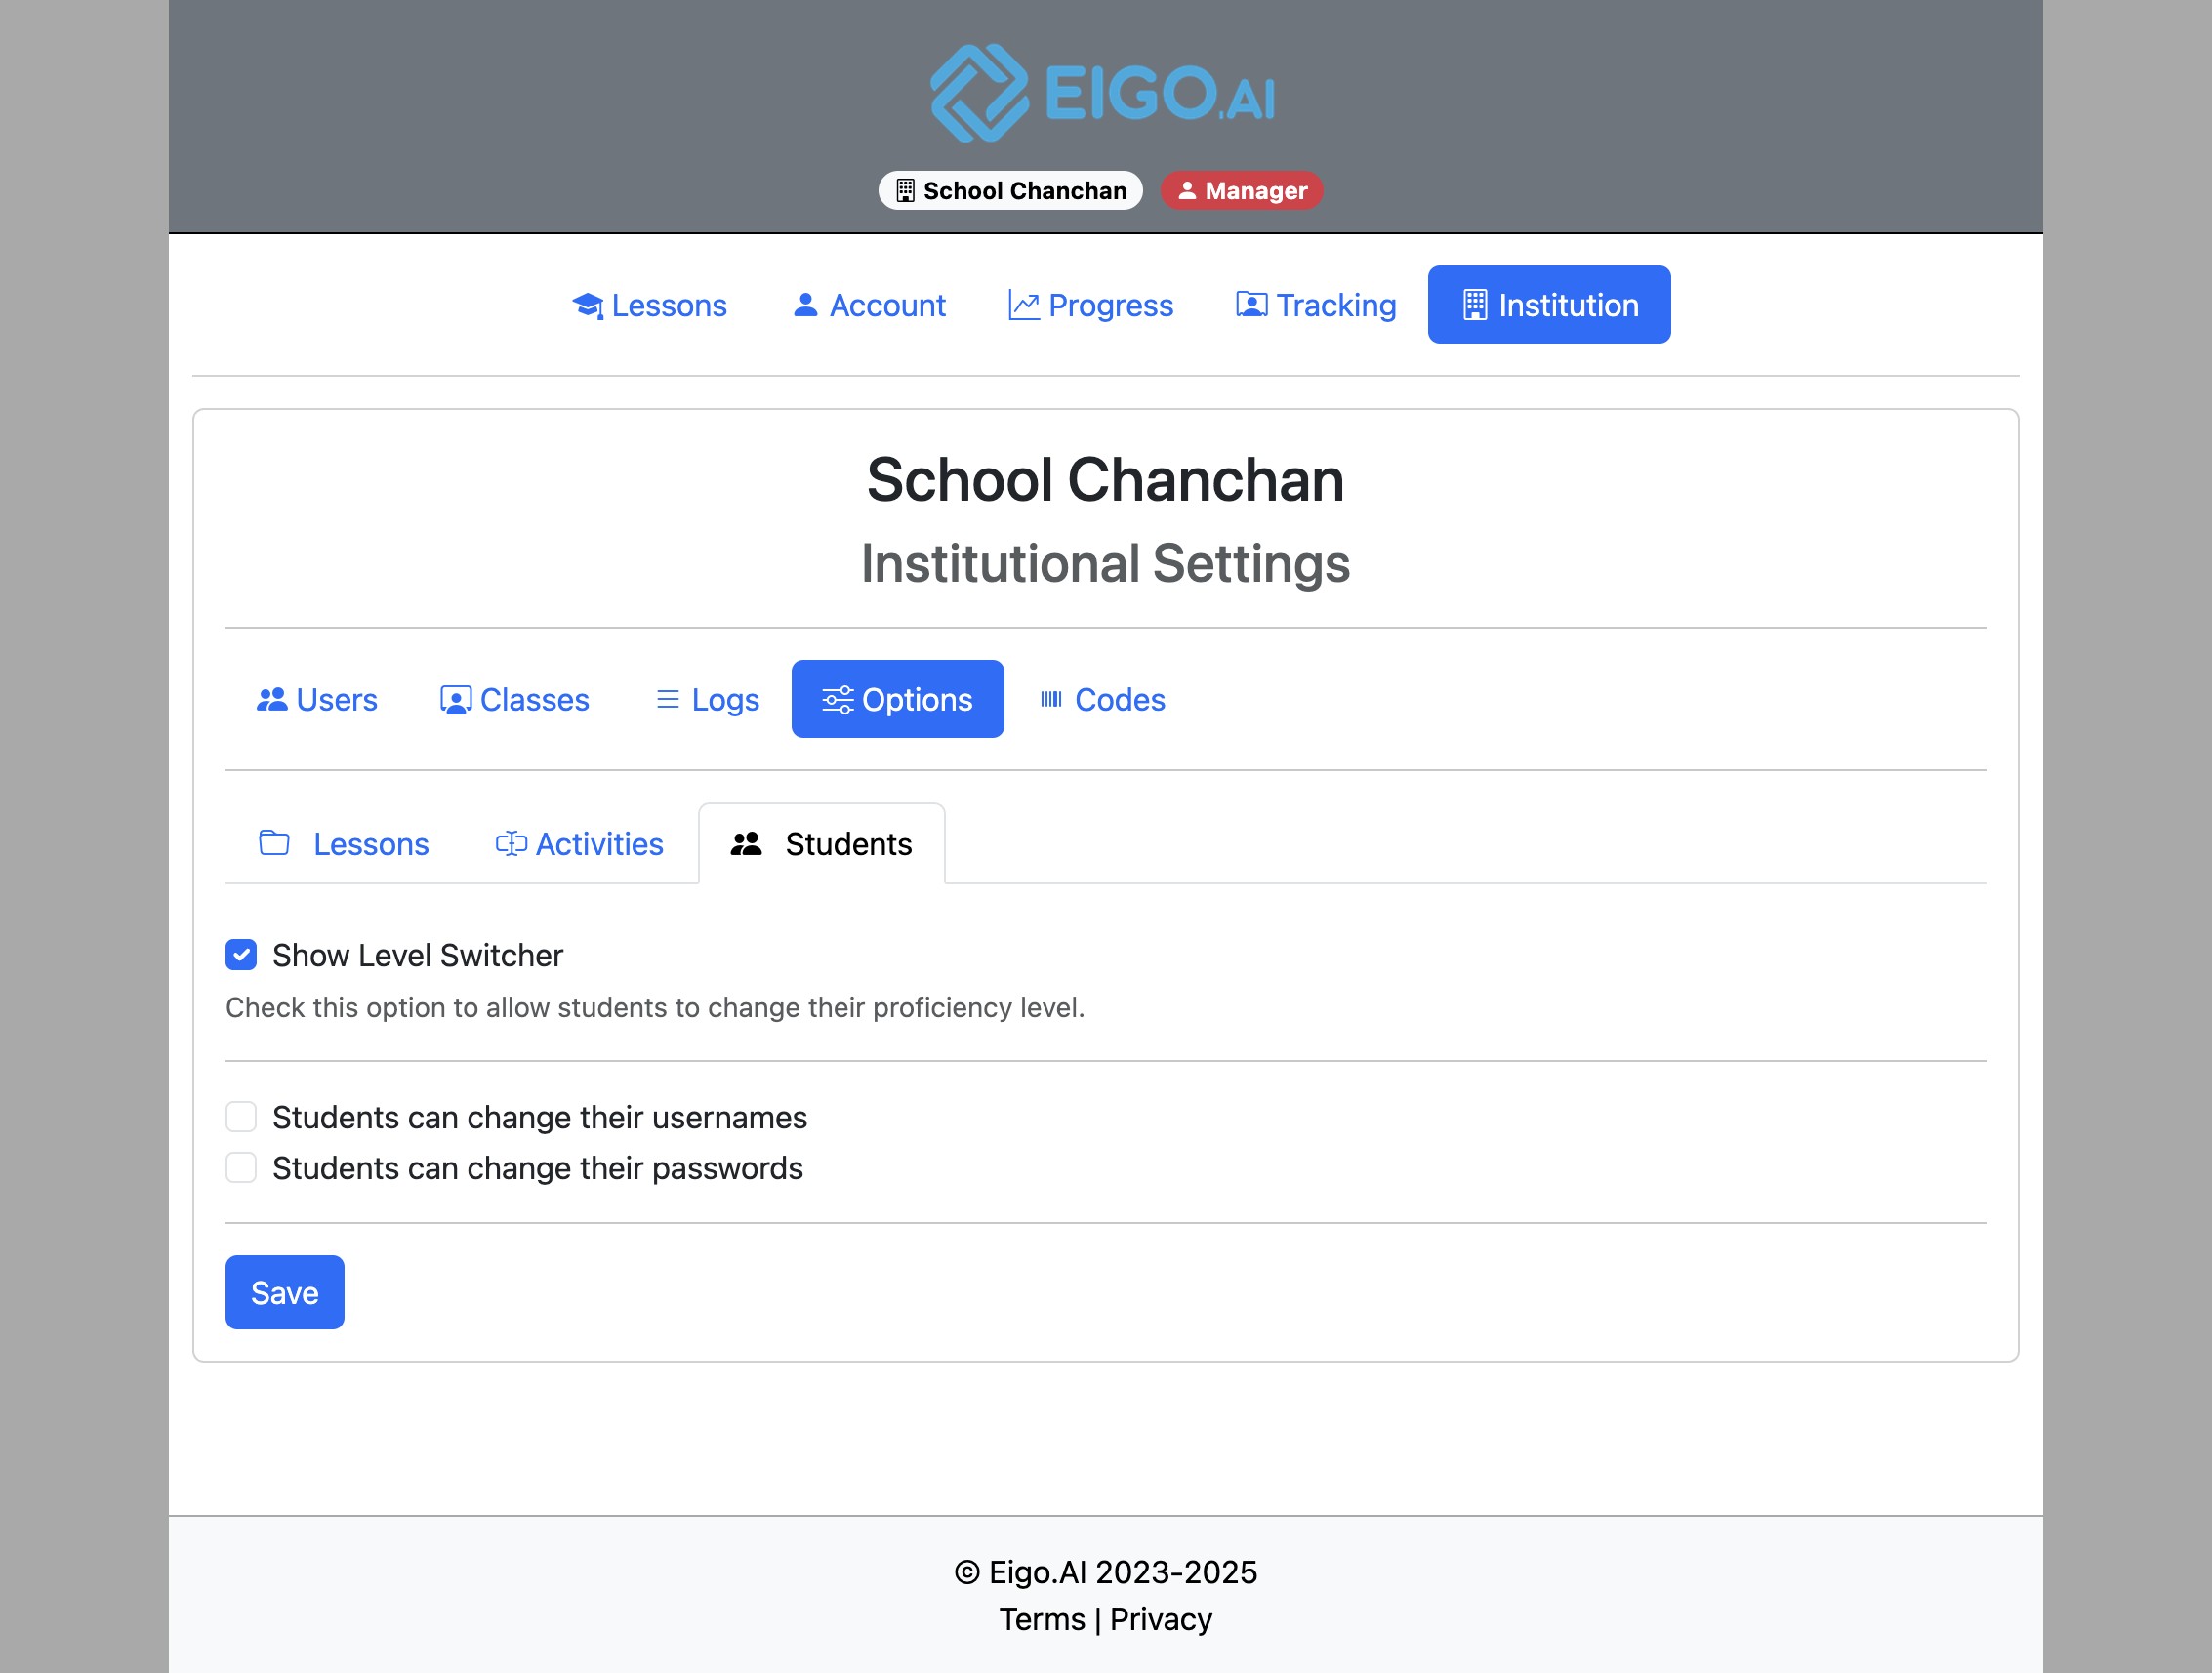
Click the "Students" tab to show options relating to students.
Feedback and definitions language
Allow students to select the feedback and definitions language is checked by default. Uncheck it to require English for students’ vocabulary help and new Write/Discuss feedback and disable their language selector. Click Save.
This applies to existing and newly enrolled students, including those who previously selected Japanese or another language. New feedback and vocabulary help use English even if a student still has an older page open; ask students to reload to see the locked selector. Previously generated feedback is unchanged. Lesson texts and exercises are unchanged, and teachers, managers, and administrators keep their own language choice.
Saved class overrides take precedence over institution defaults. If a class already has its own saved settings, uncheck this option in that class too, or reset the class to inherit institution settings. Older saved class overrides allow language selection until you change this option.
For an individual class, open Institution → Classes → Actions → Class Settings → Students; see How to override institutional options for specified classes.
For guidance on English practice and help with the separate automatic translation warning, see Ensuring students use Eigo.AI in English. See also student language settings.
Select the 'Show Level Switcher' checkbox to allow students to change their proficiency level.
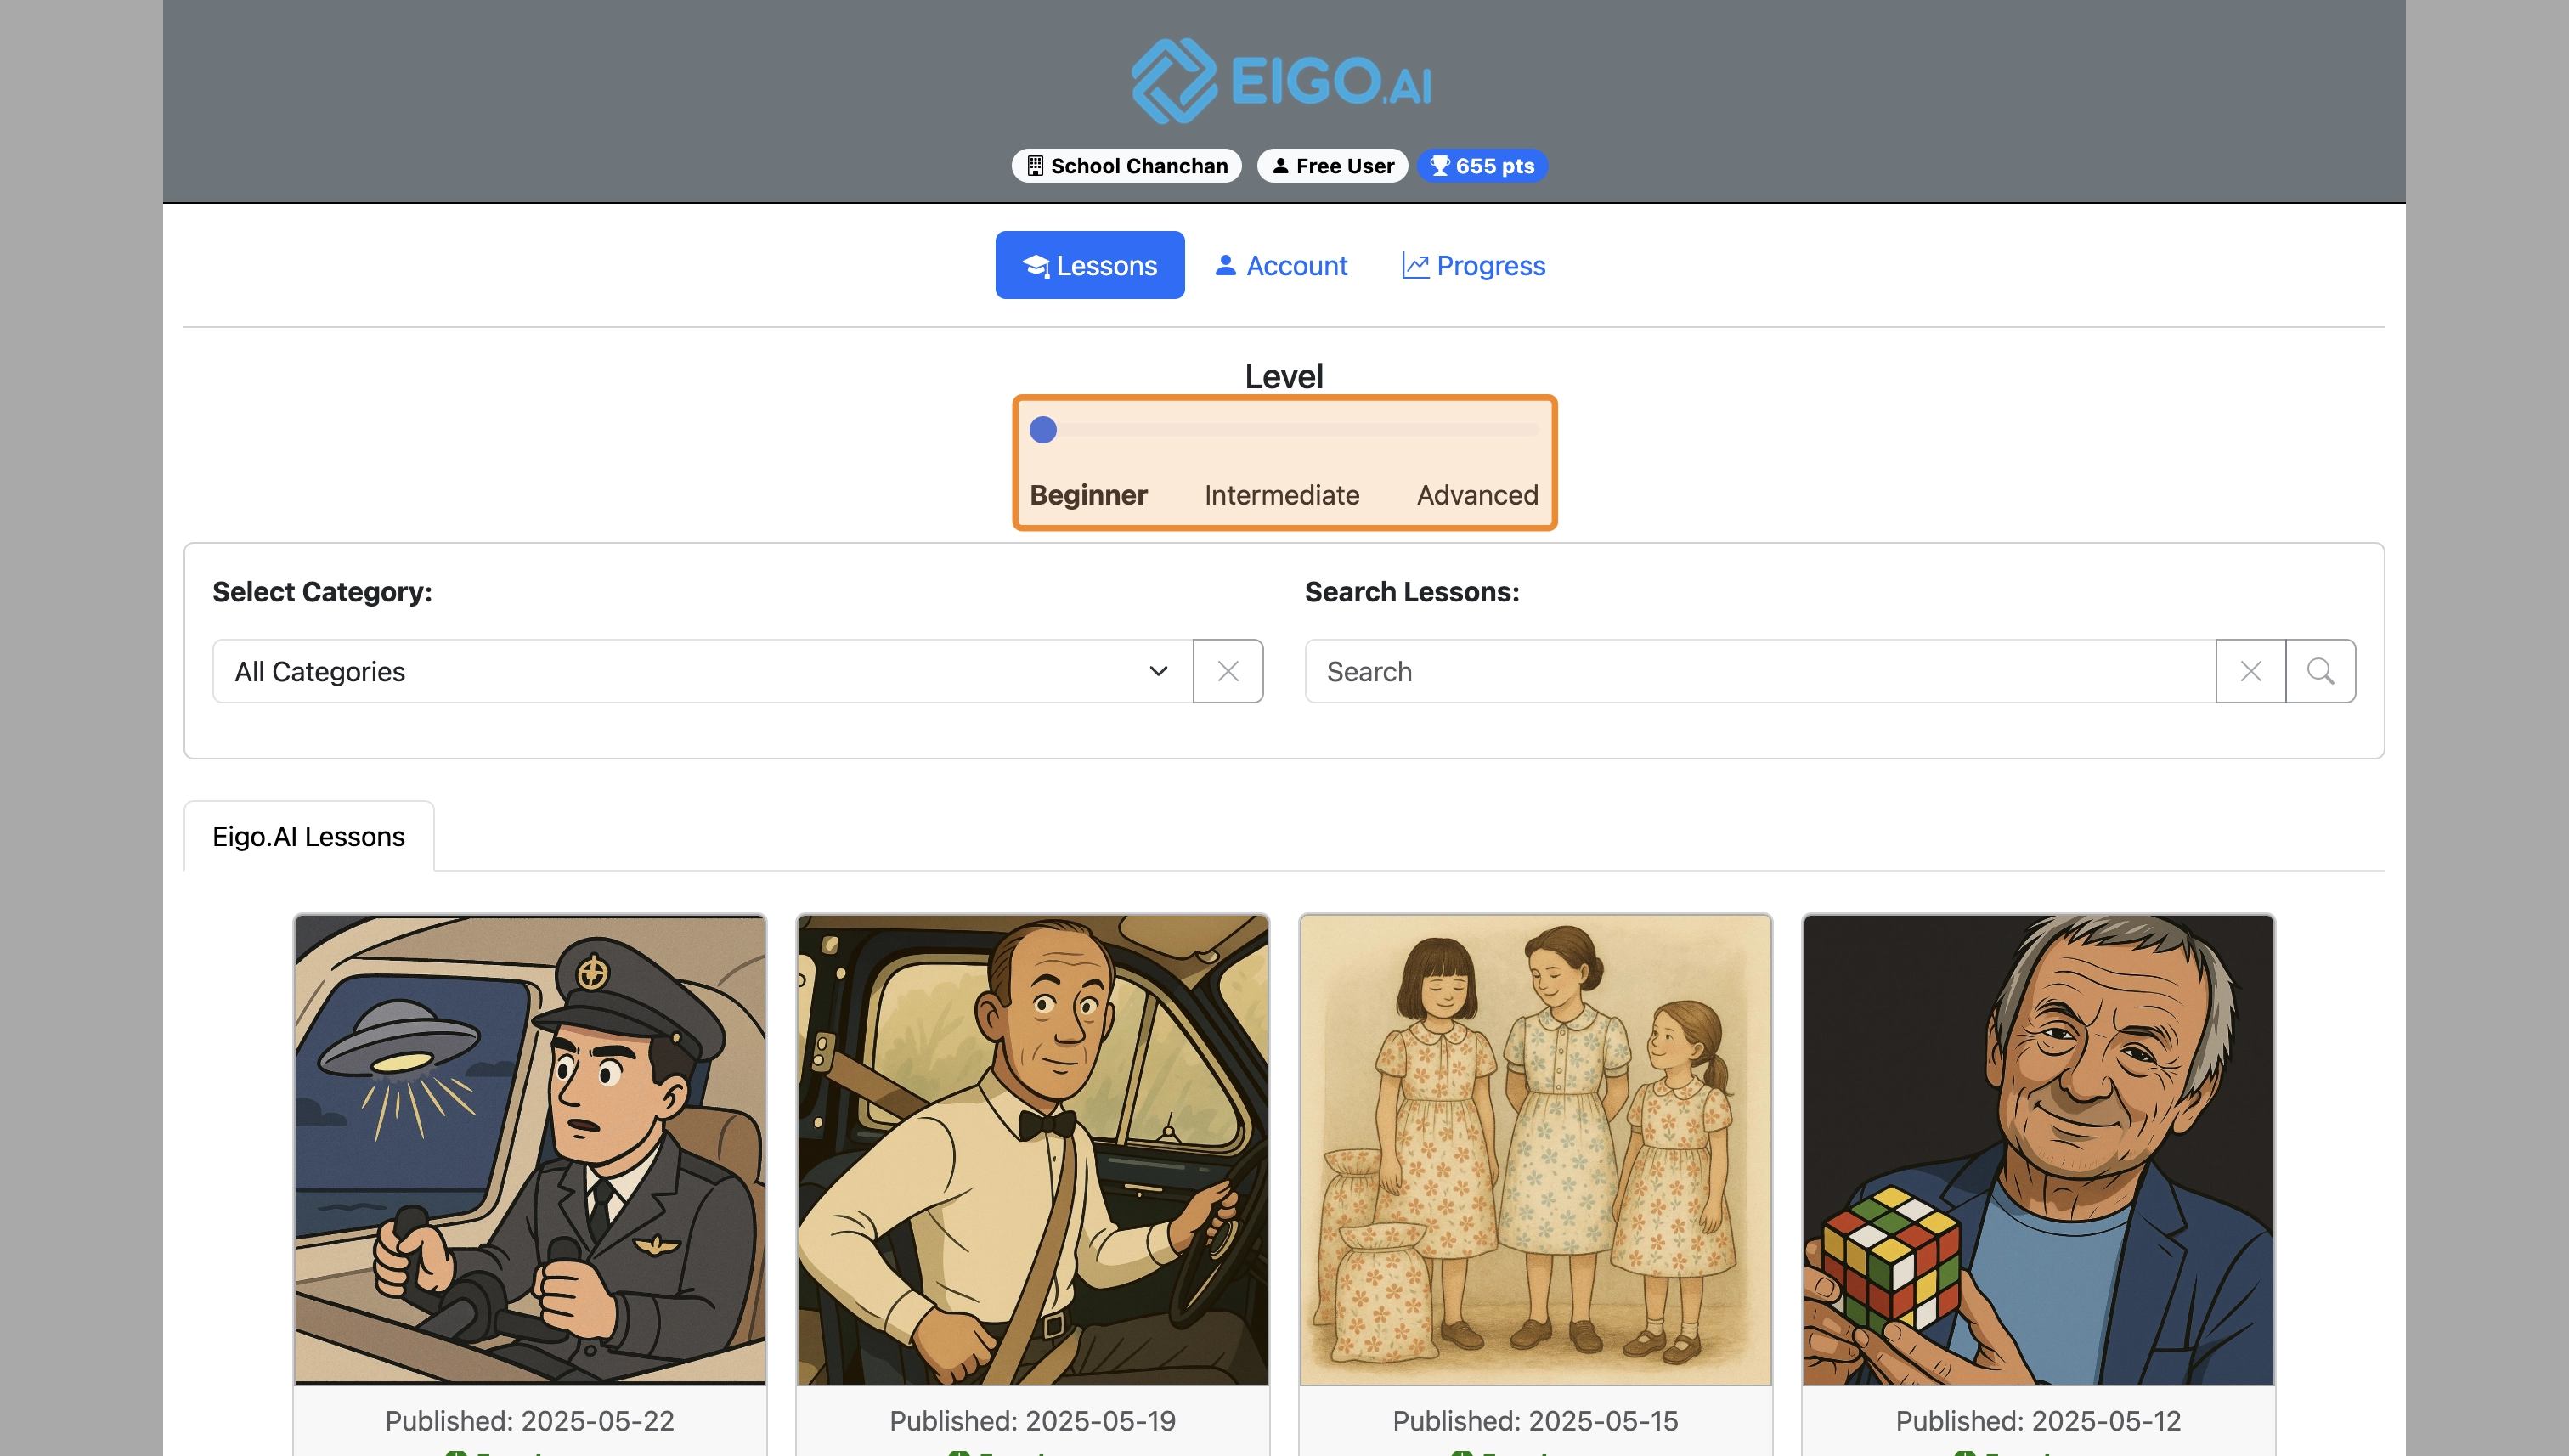
Students can adjust their proficiency level using the slider.
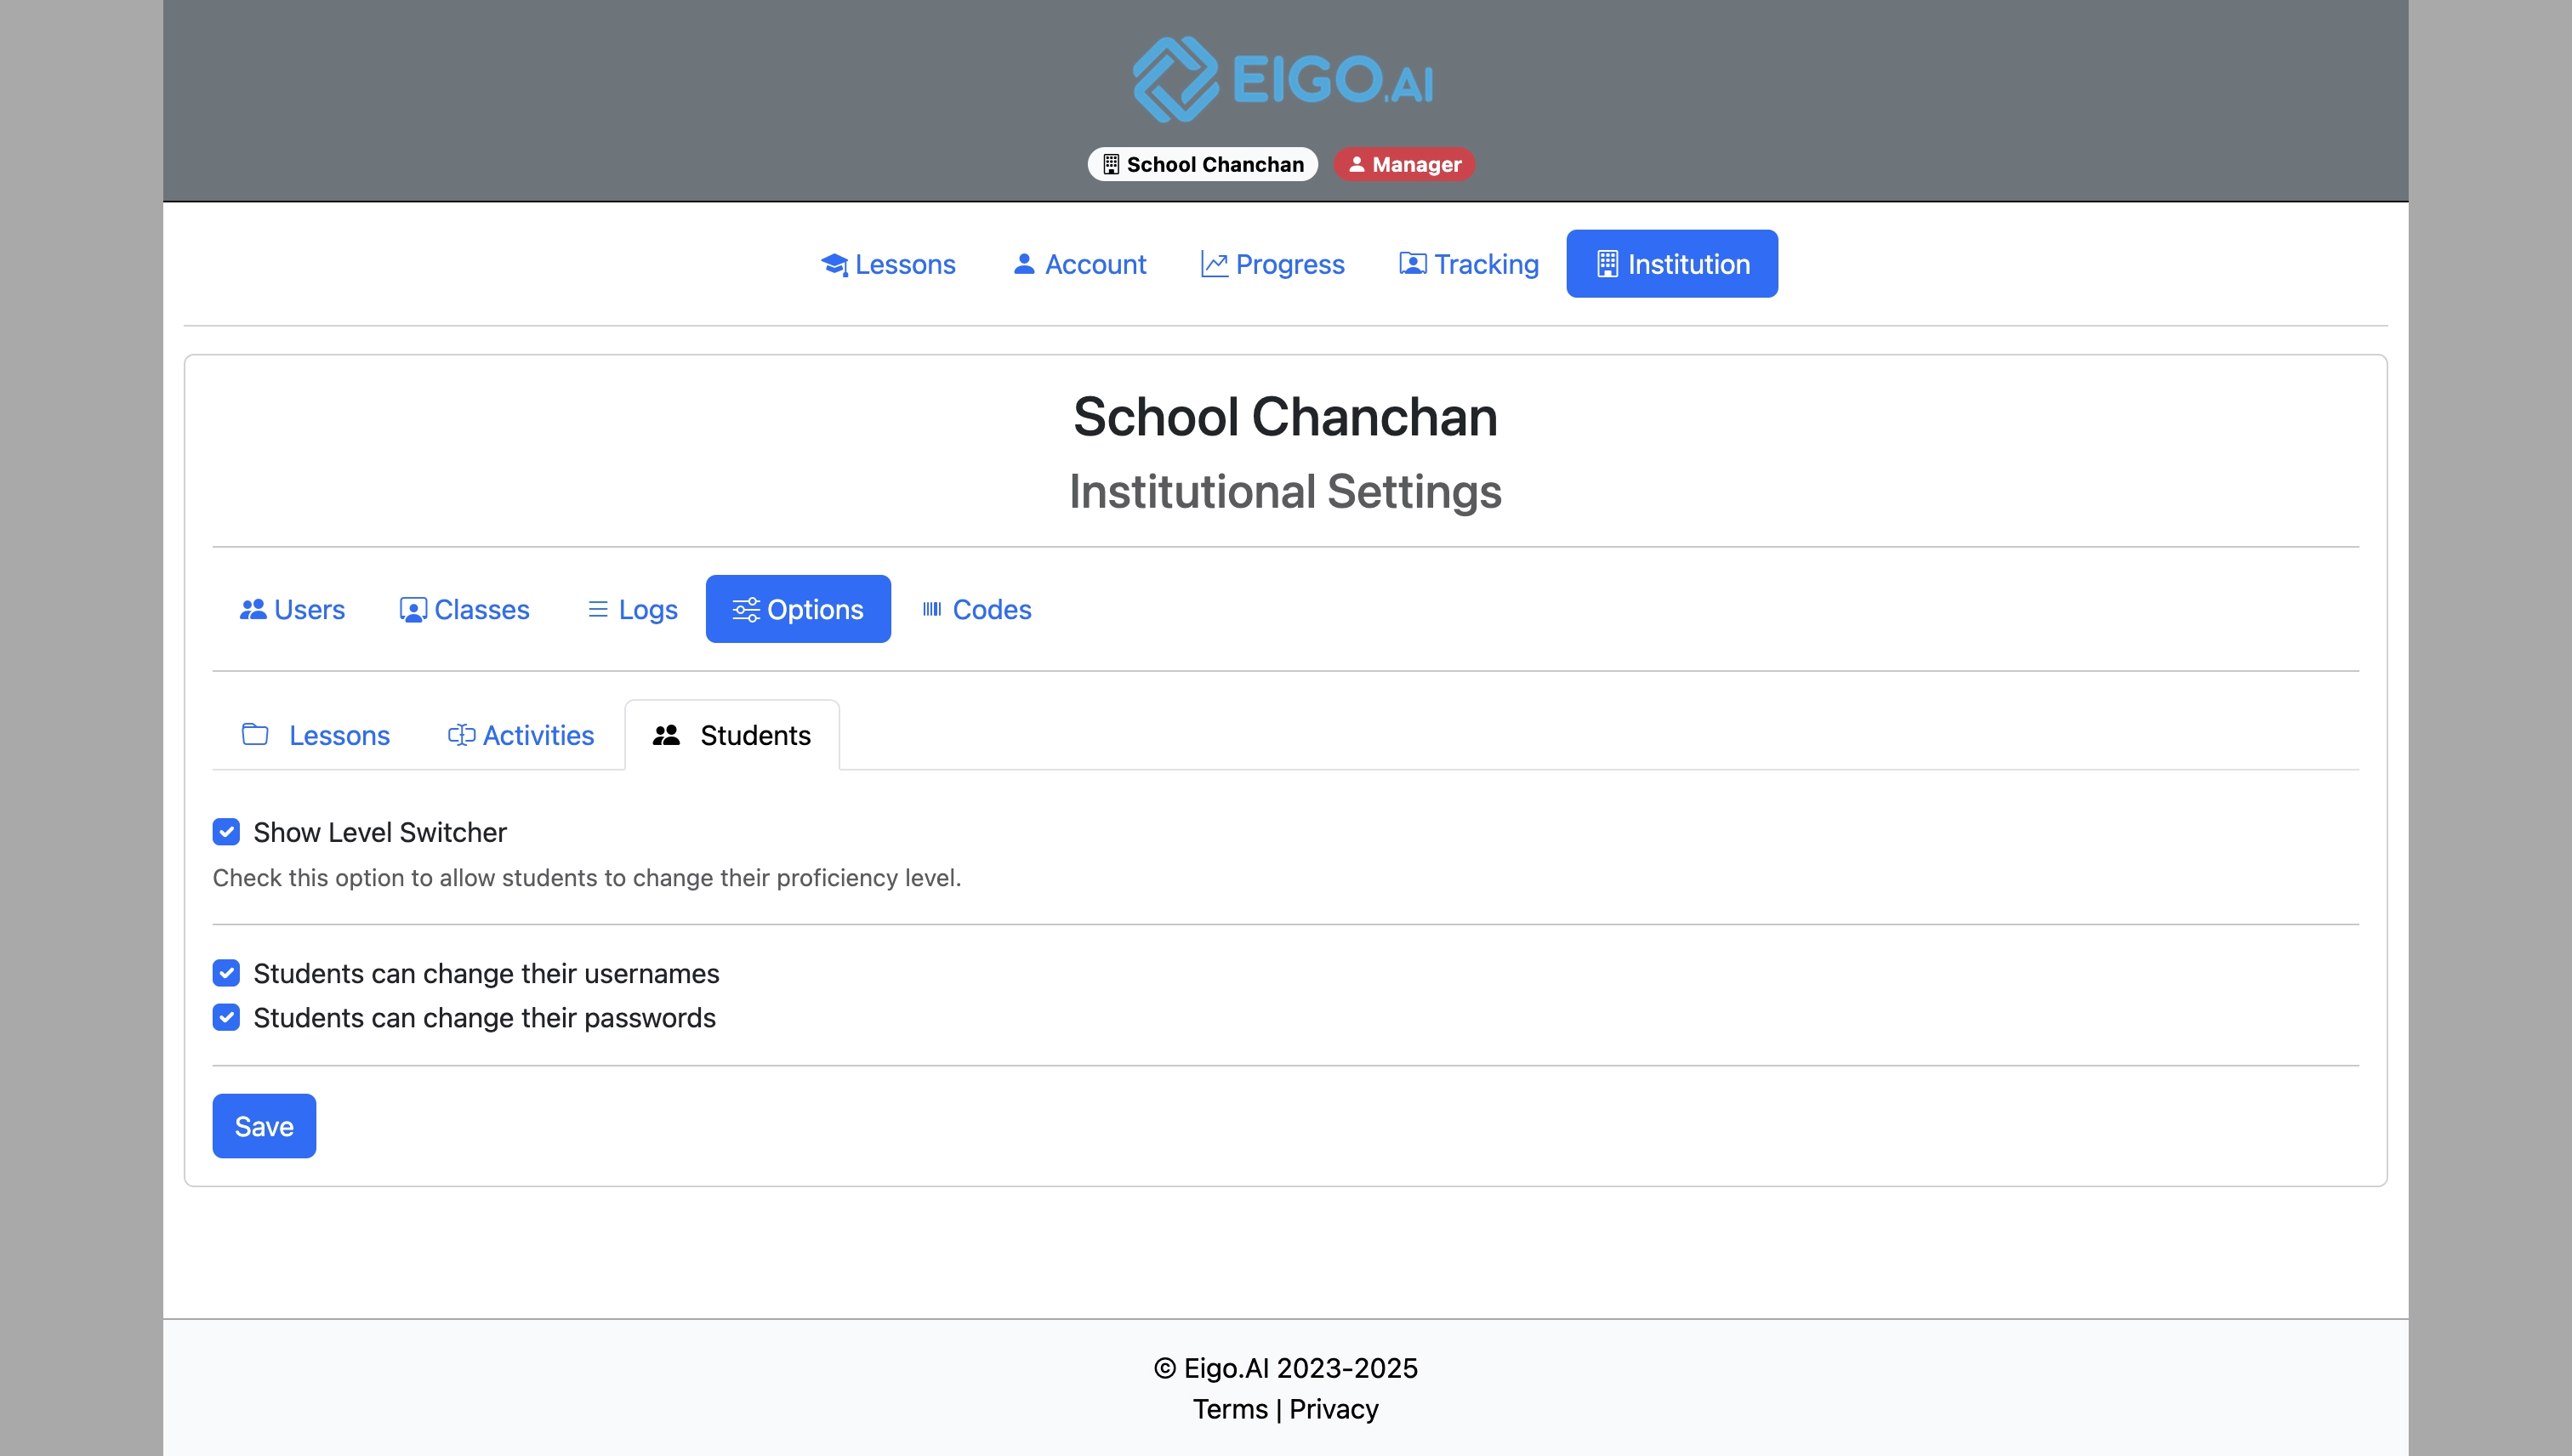
Enable the checkboxes to permit students to update their usernames and passwords.
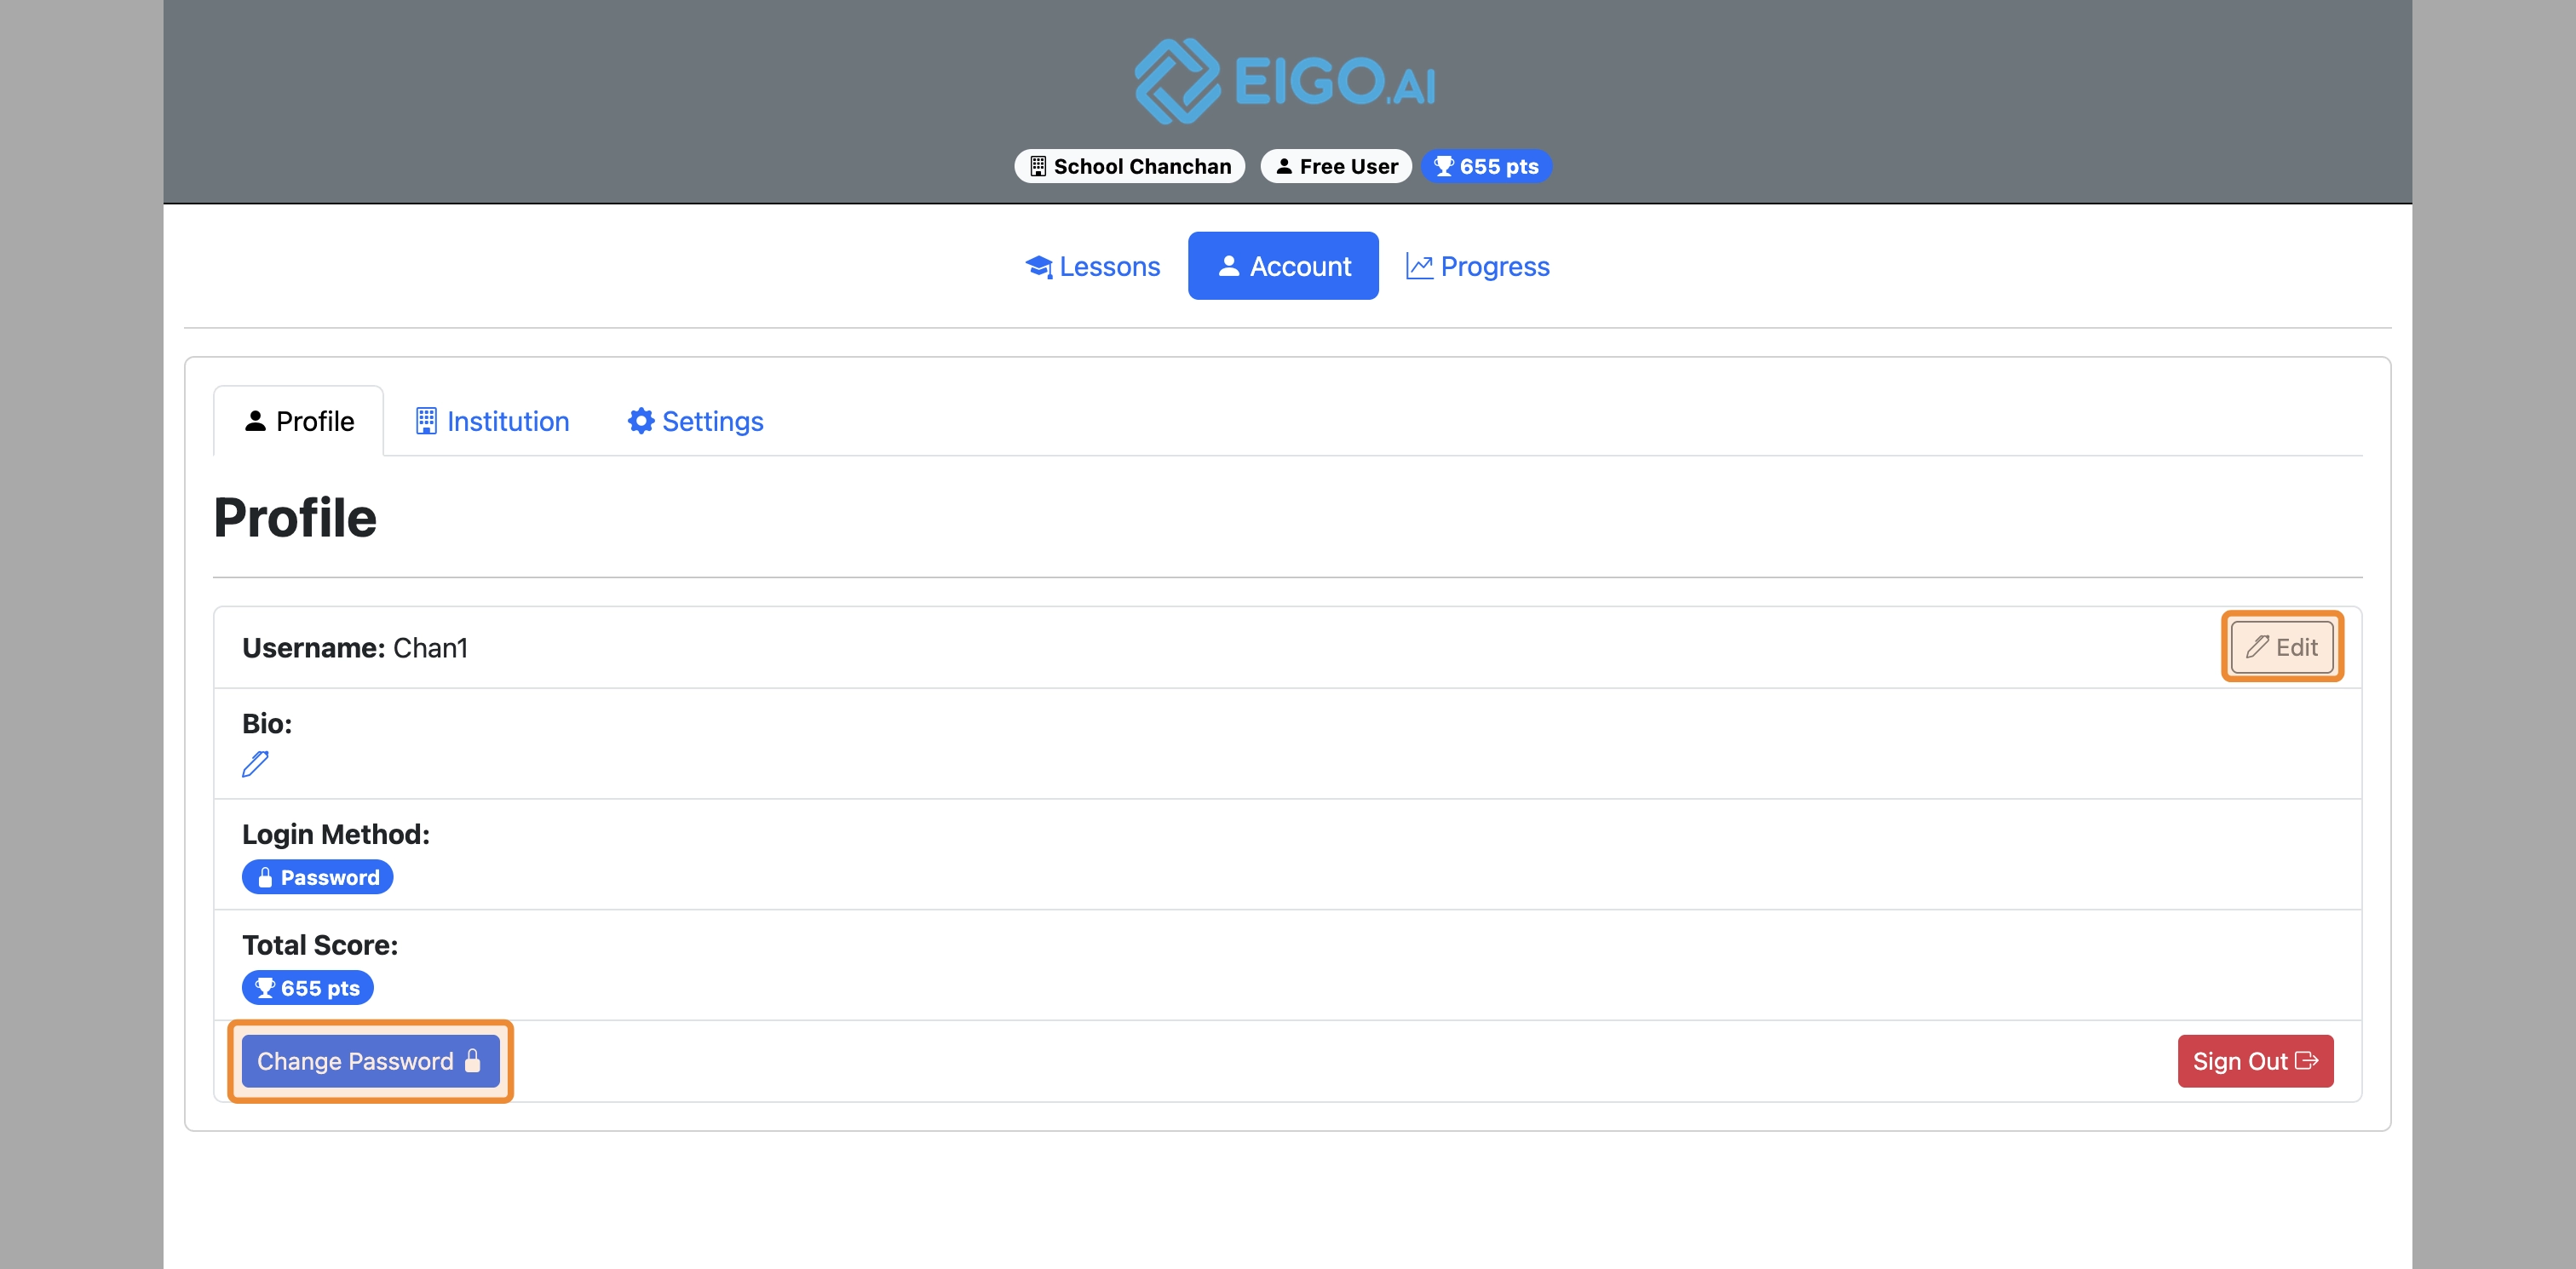
This allows students to change their username and password in their profile.
Click "Save" to confirm and save settings.